
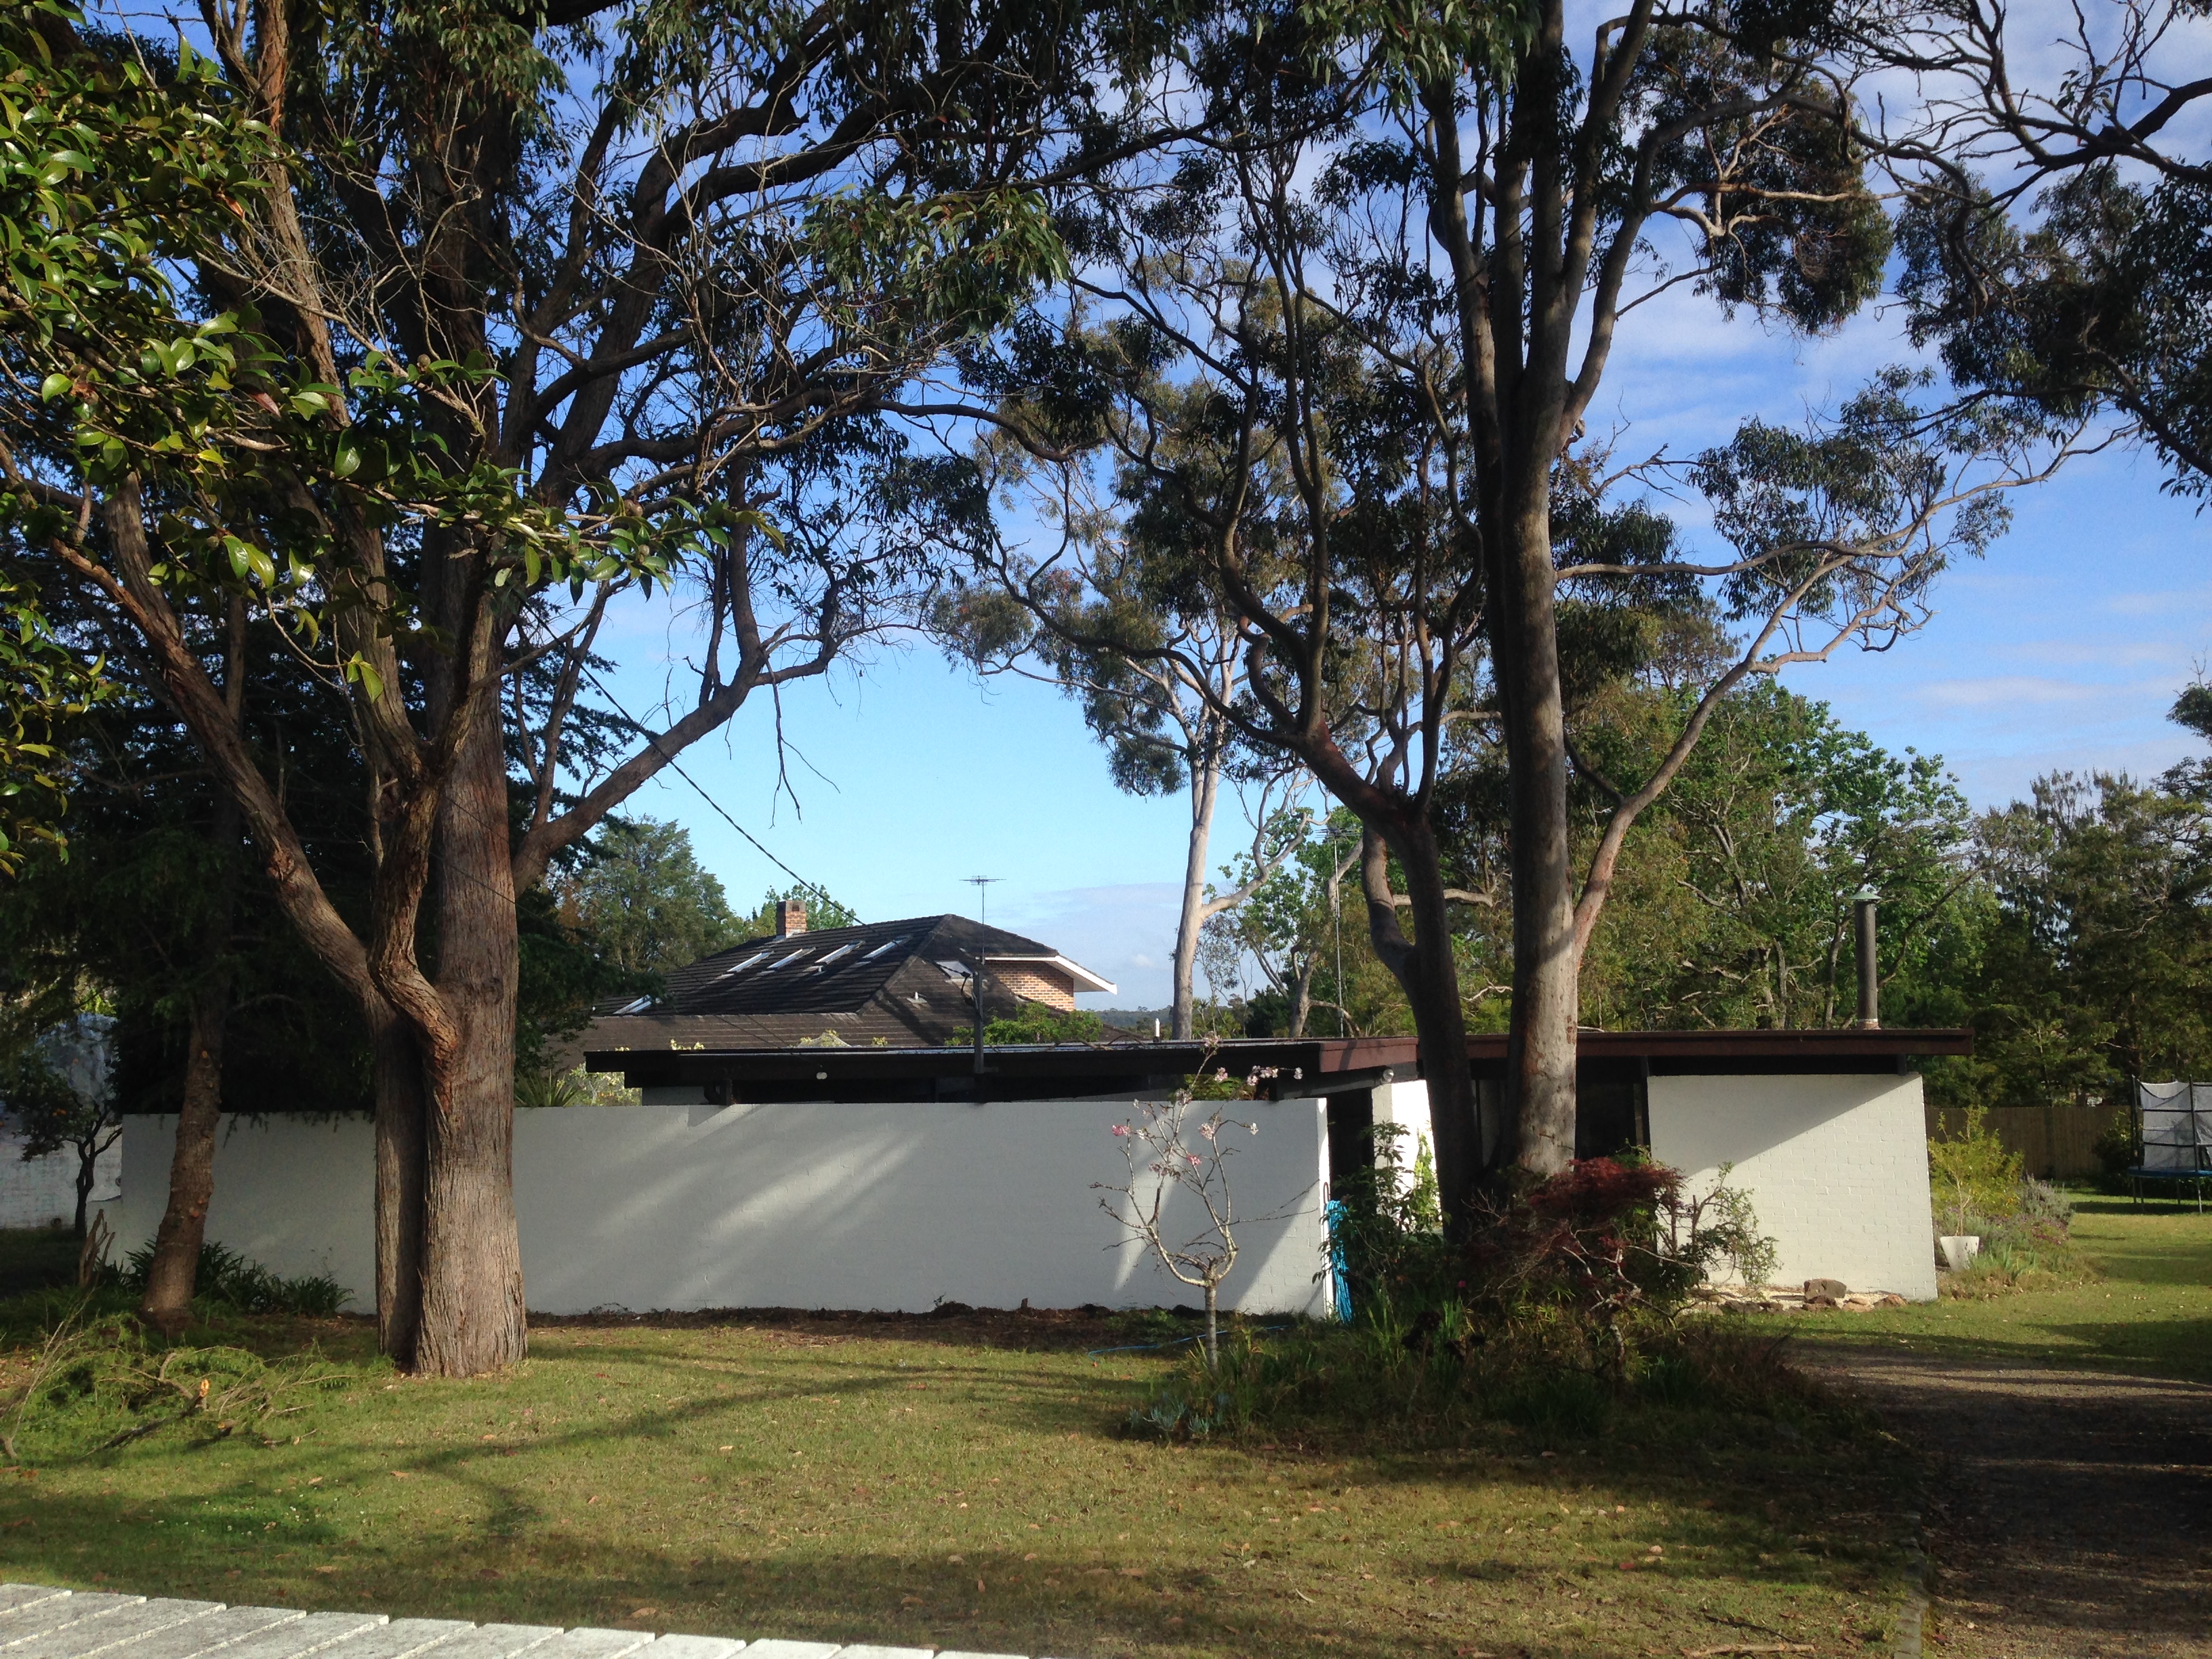
 Our Pettit & Sevitt Lowline by Ken Wooley before extensions. We removed unruly shrubs and repainted the long low white wall out front shortly after buying the house. We also painted bedrooms to freshen everything up before starting on restoration/renovation.
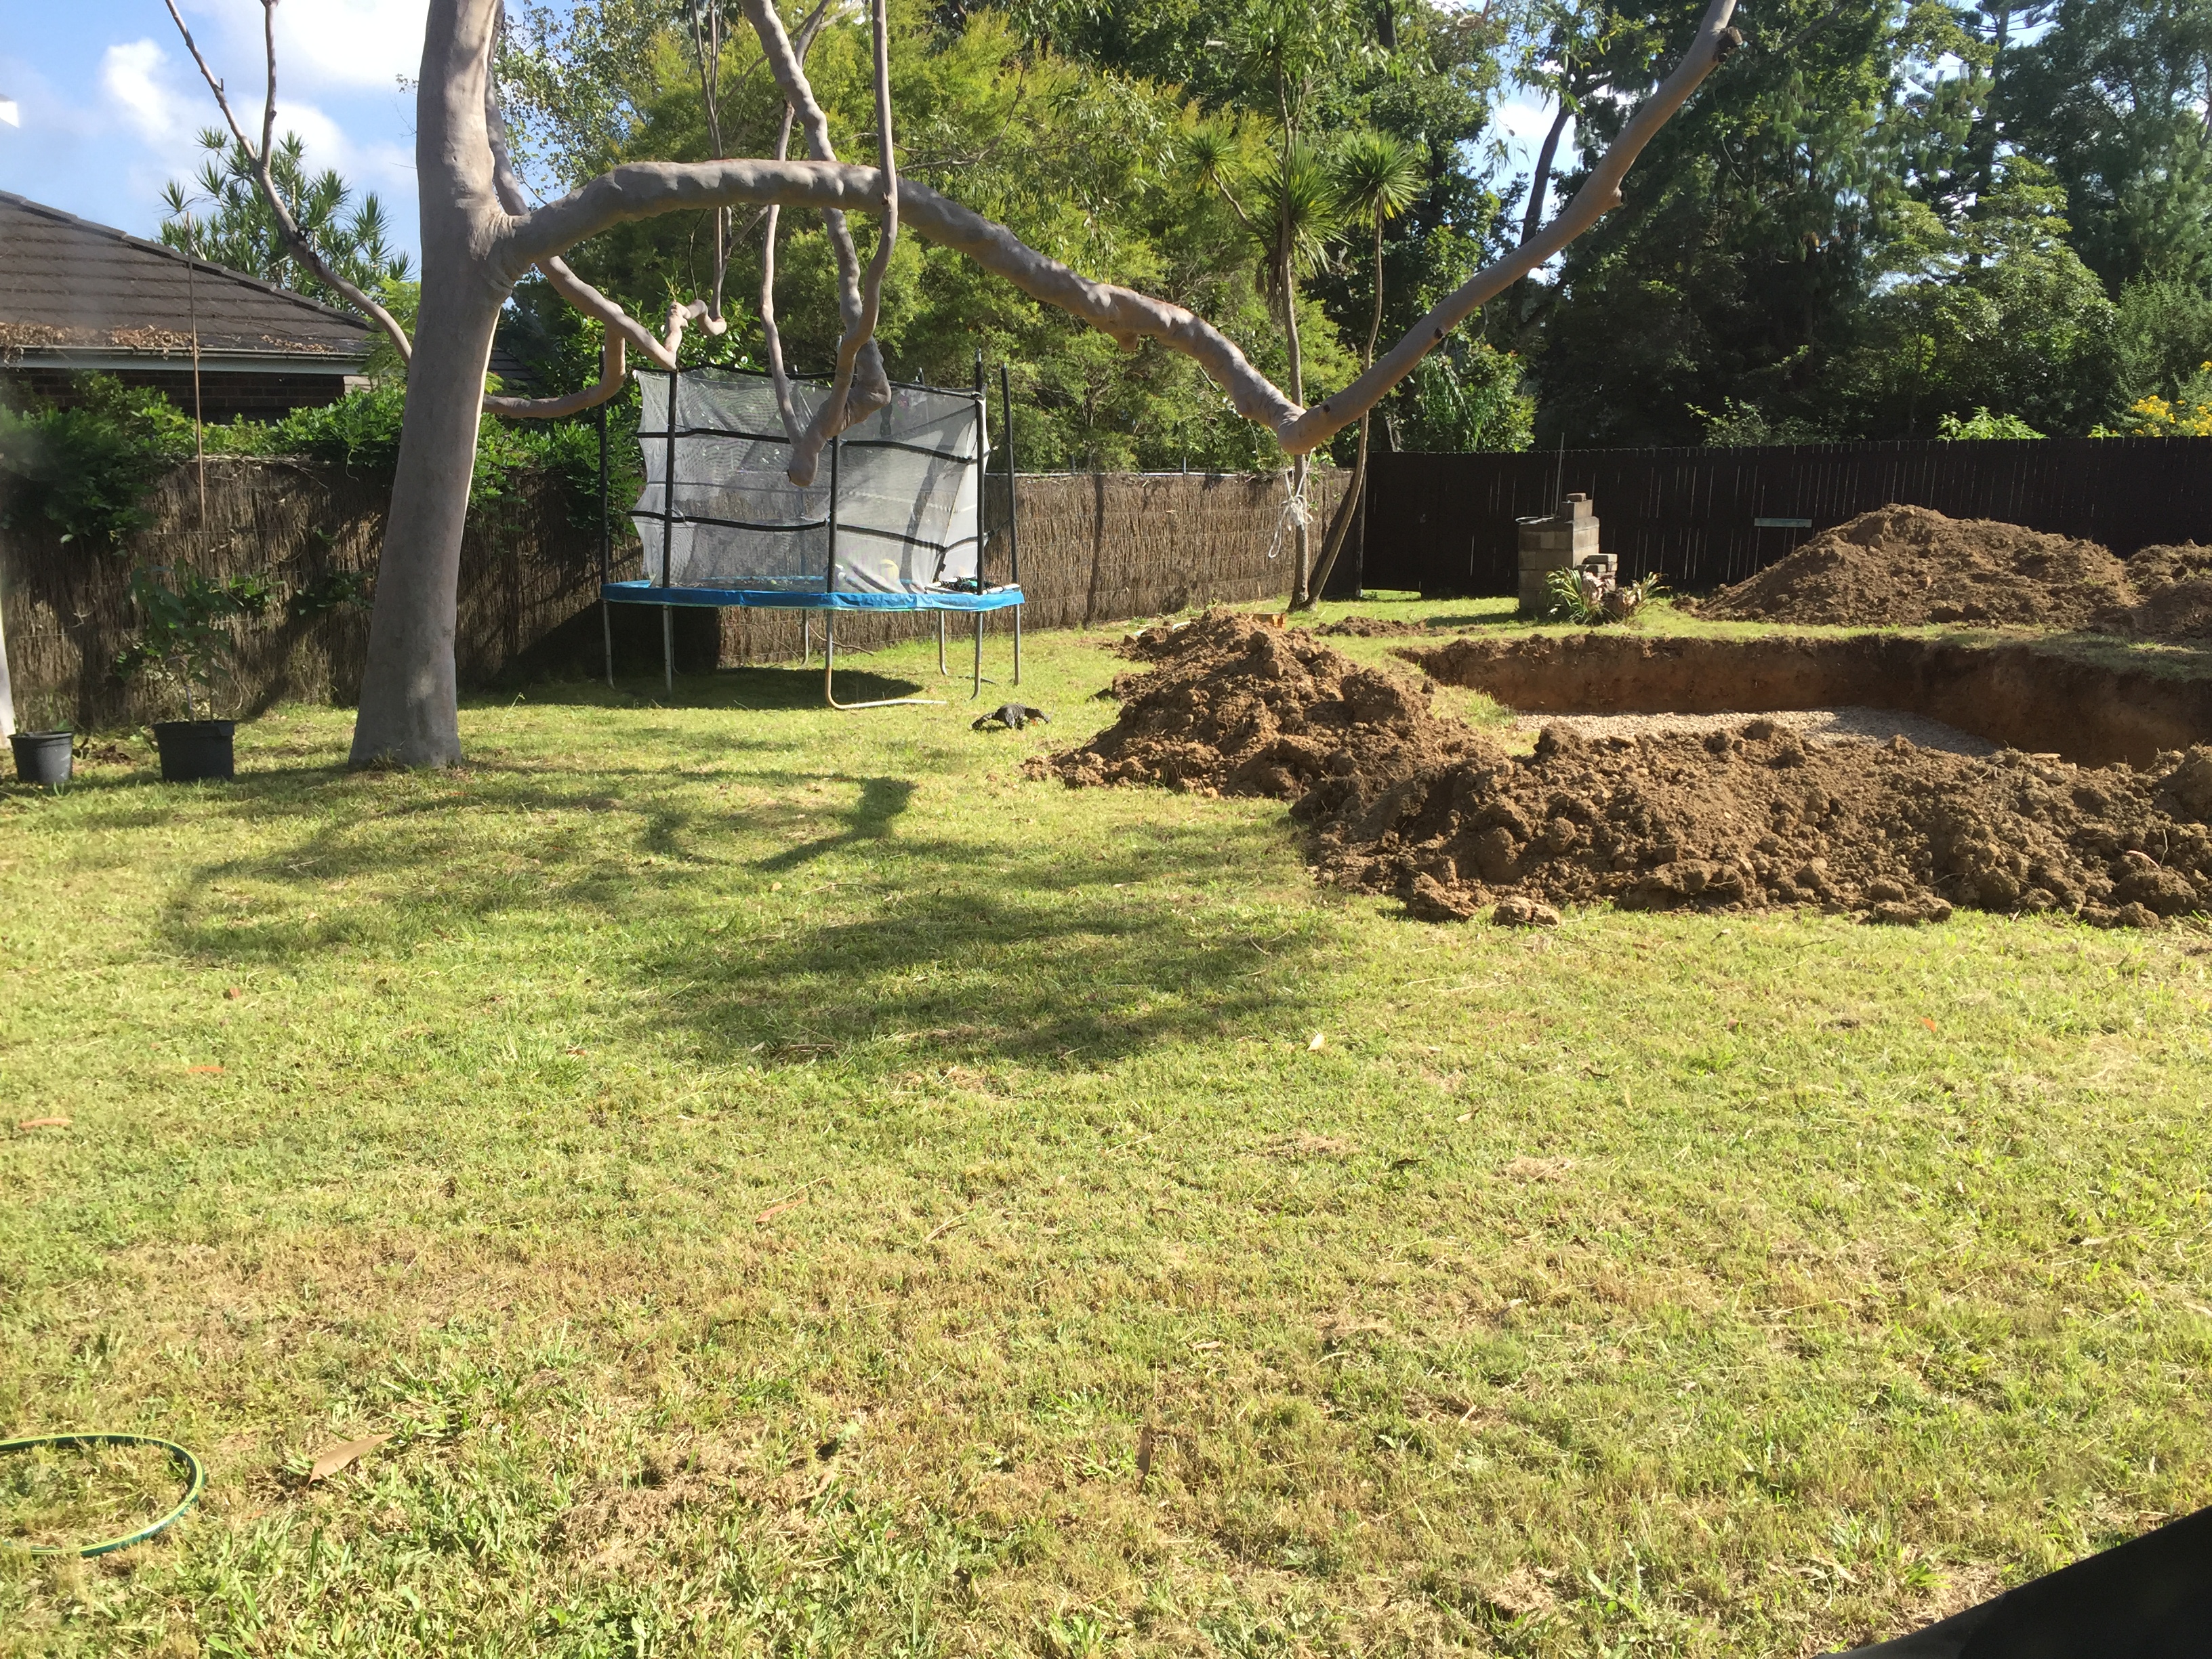 March 2016: We were required to build a drainage pit of 8m x 10m…which we are now told is somewhat “over the top” by the engineer … but alas, it’s part of the DA and so it must be. Earthworks are expensive, so of course we wish we’d known. On the upside, at least we’ll never everrr have reason to have worry about drainage problems! Our excavator did an amazing job.
 March 2016: Once the pit was dug, drainage pipe was laid along with tonnes of blue metal stone and river pebble. Then it was covered over with soil. Presto. If there was ever a real “Money Pit” this certainly qualifies in every way. But thanks to Australian standards and the necessity of just about every house build to have over engineered drainage and stormwater plans, we should avoid the floods seen in many under-engineered countries.
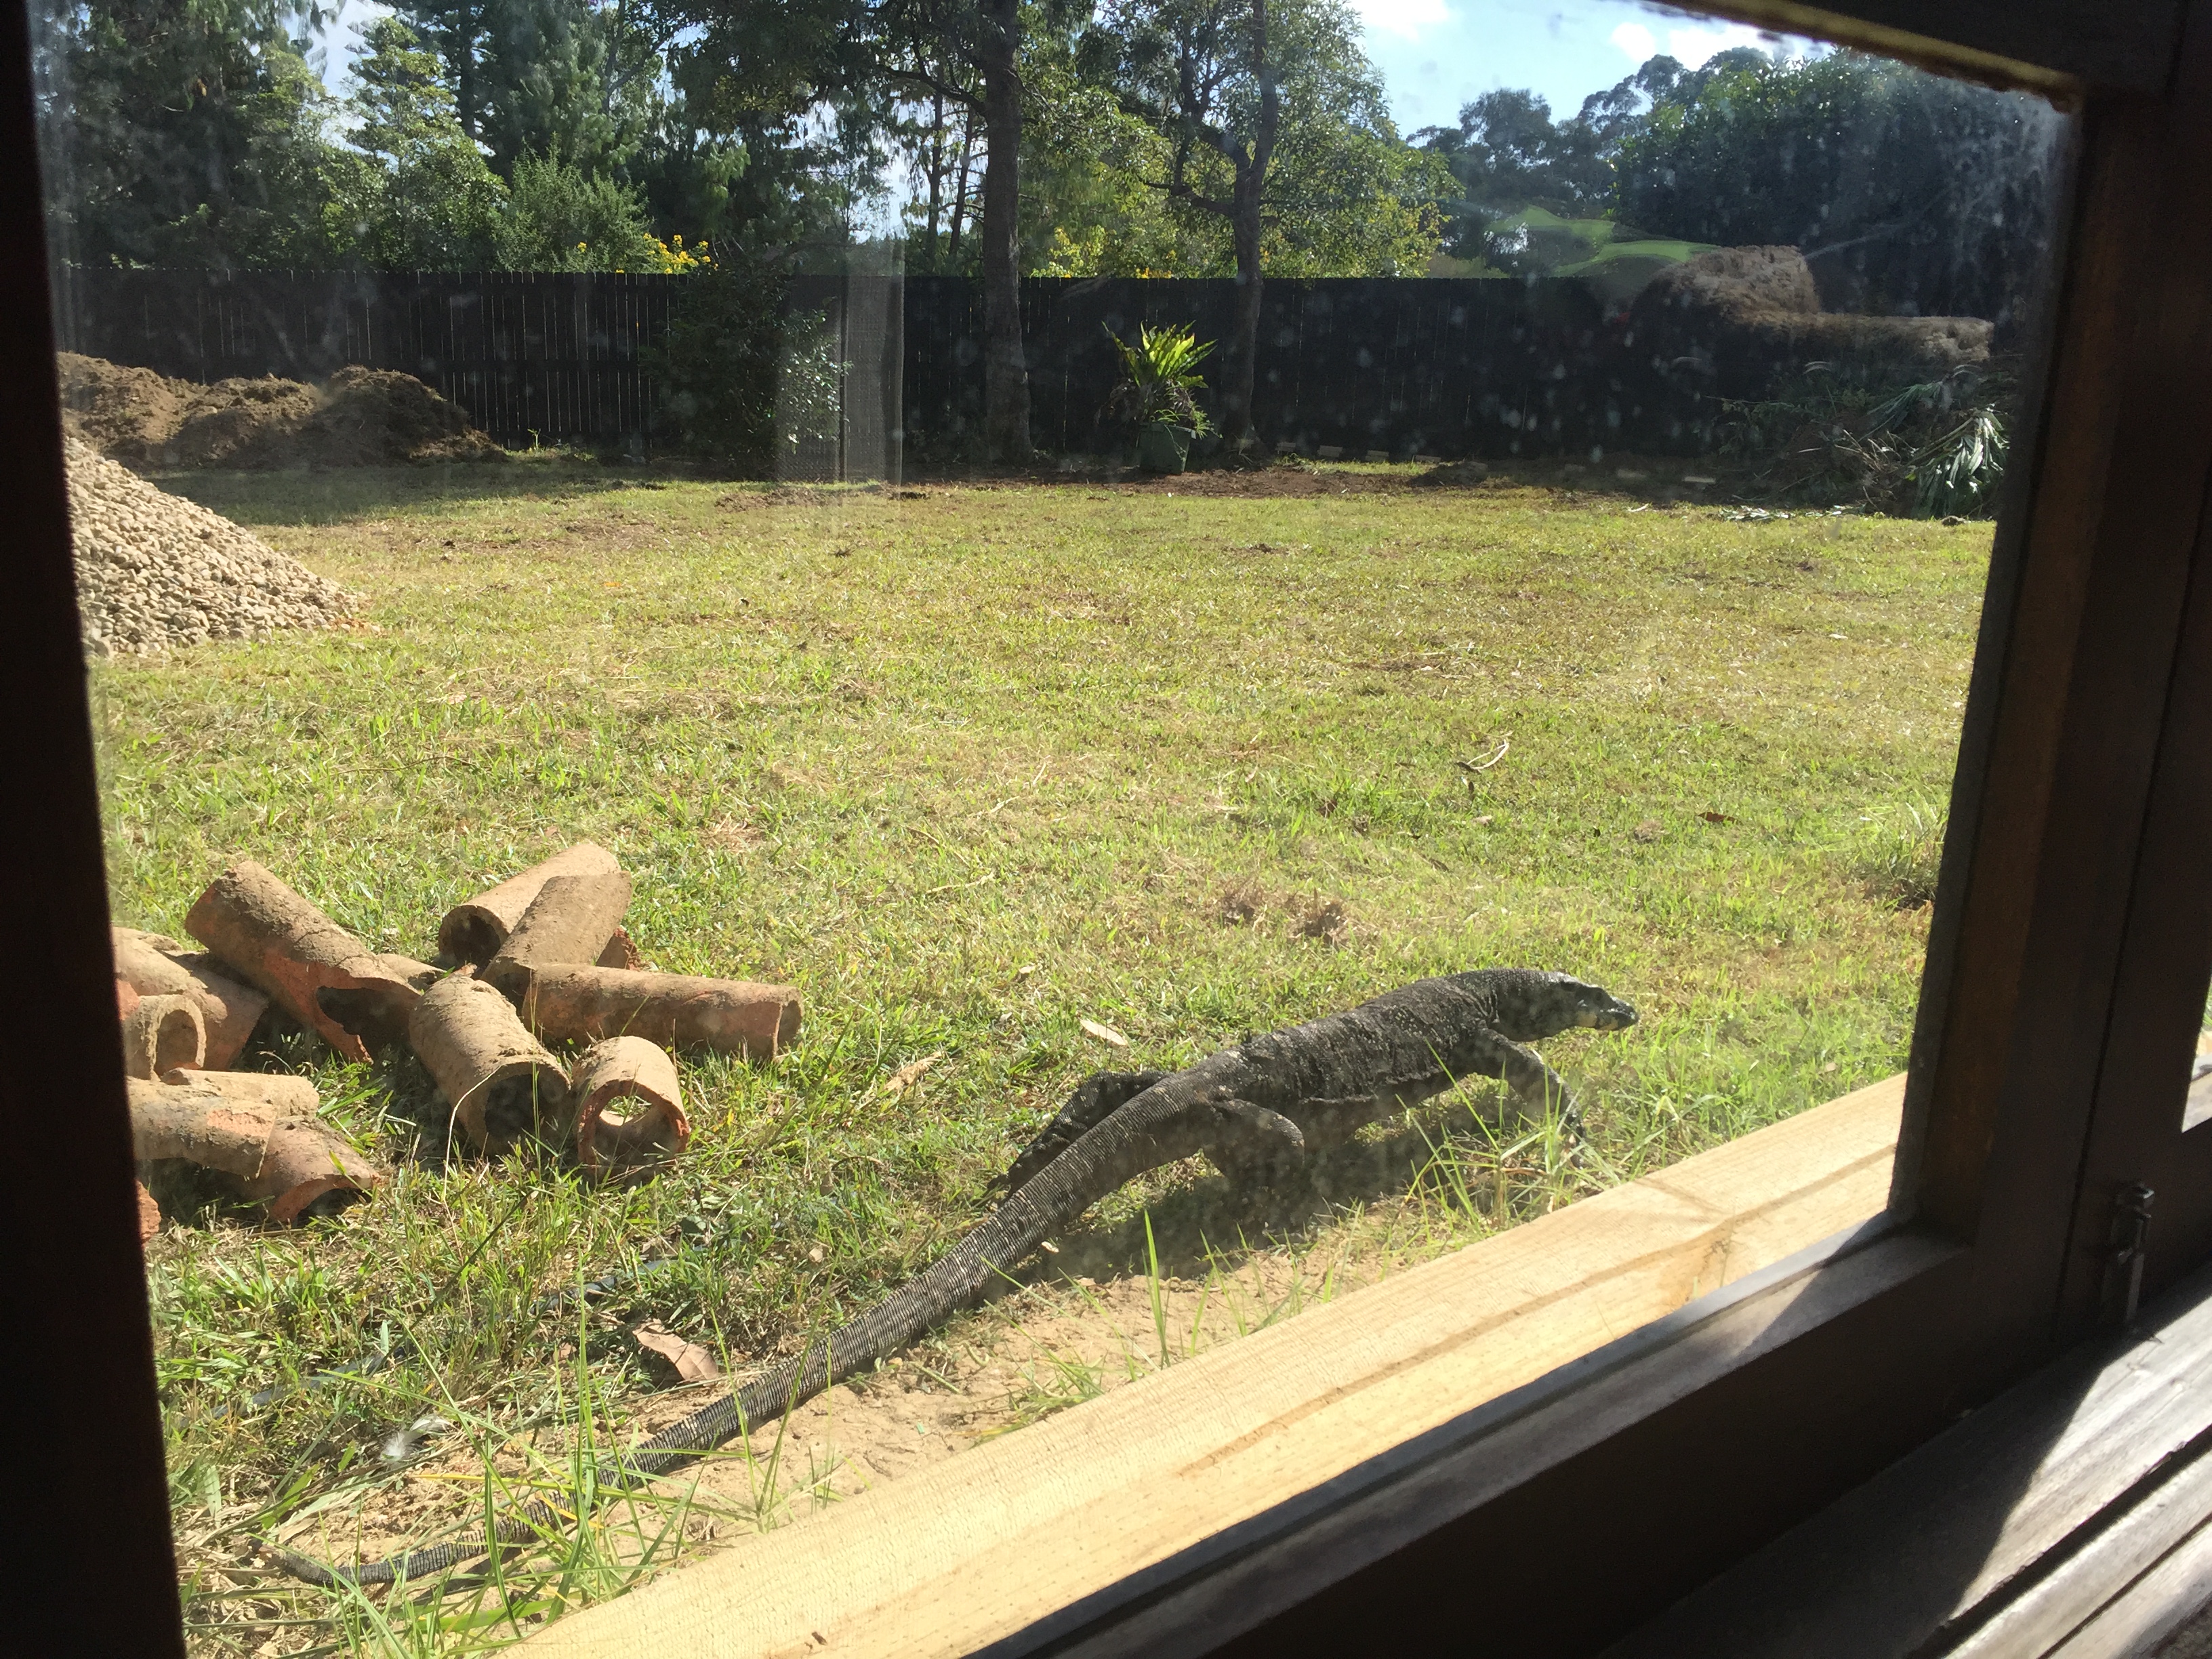 Our local goanna came to see what the fuss was about. There are usually two which come around, this is the smaller one. The other is around 2 metres long
 April 2016: To the left, you can make out the drainage pit now filled over with soil. Mick our excavator gets started with digging the pool. As you can see, he’s amazing at cutting straight shapes into the ground.
 April 2016: Making progress with the pool. So much clay! Thankfully we did not hit any sandstone. Blue metal is laid on the base.
 May 2016: Two amazing Greek guys came to do the steel structural reinforcement for the pool…bending the steel with their bare hands. And one was 72 years old. Impressive! The pool is now ready for concreting following the certifiers inspection.
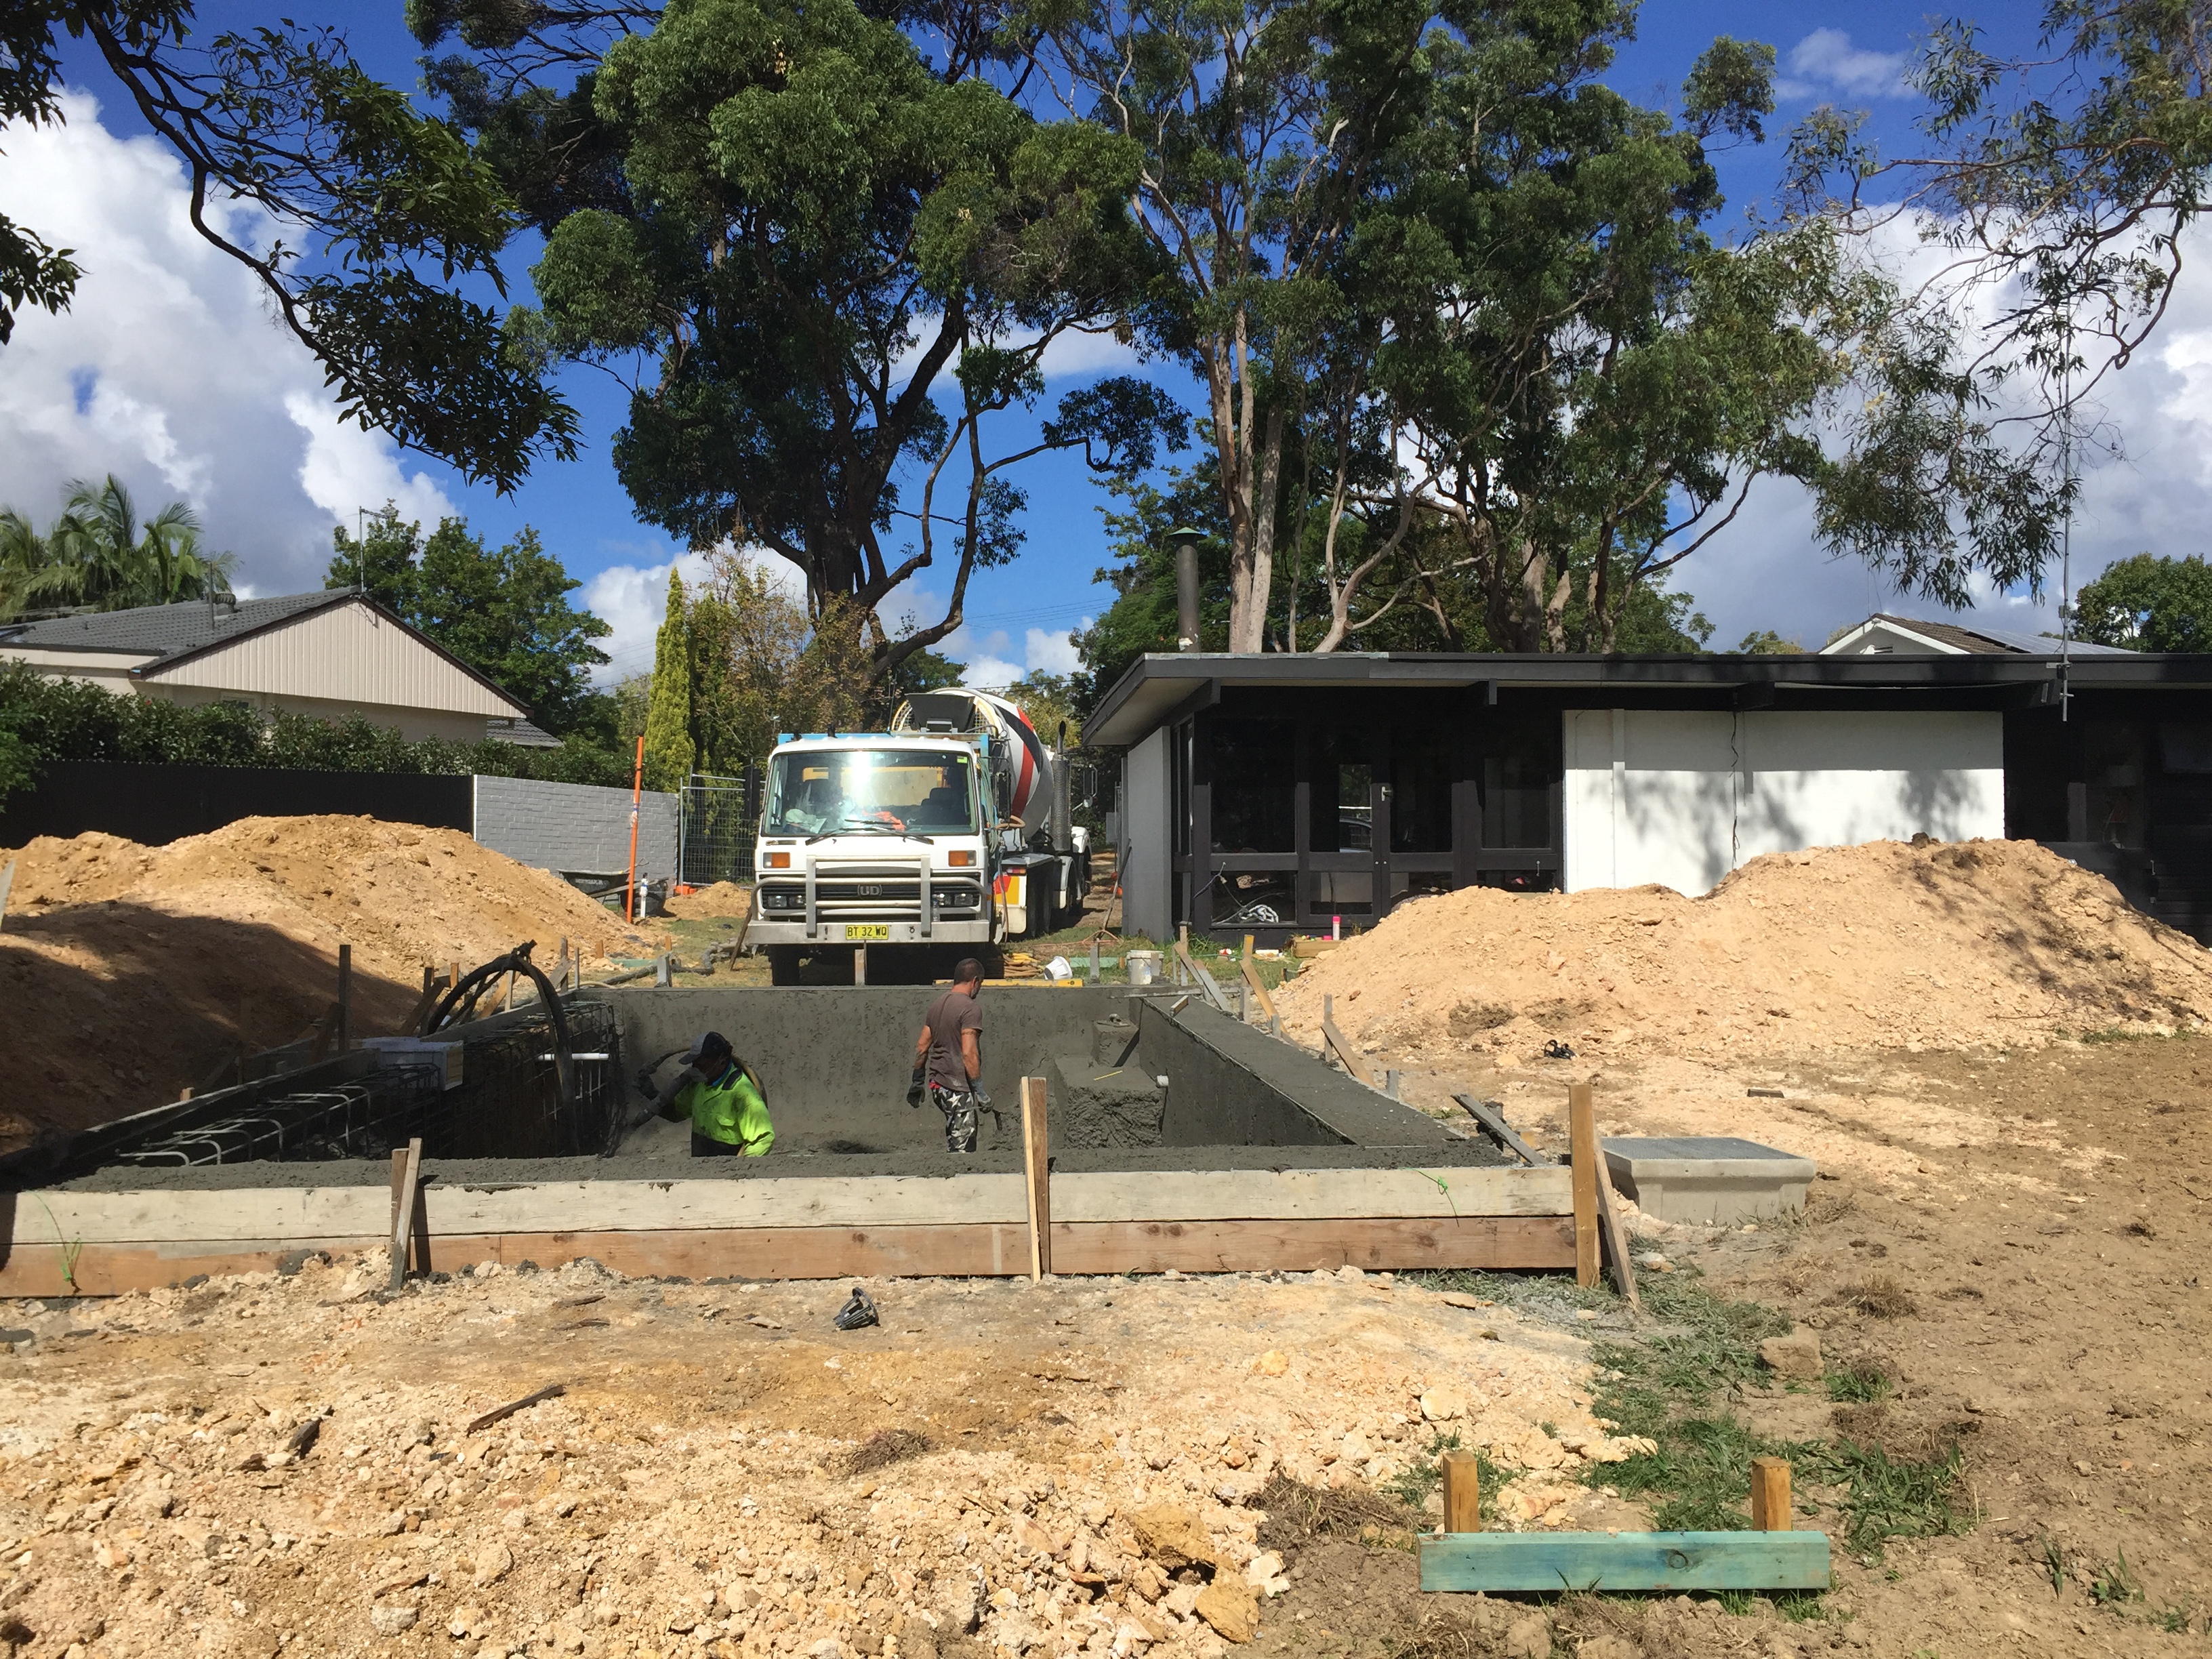 May 2016: View from the backyard looking to the existing house. The pool is concreted while access is still possible to the rear. Once the truck goes, we begin construction of the extension in that space.
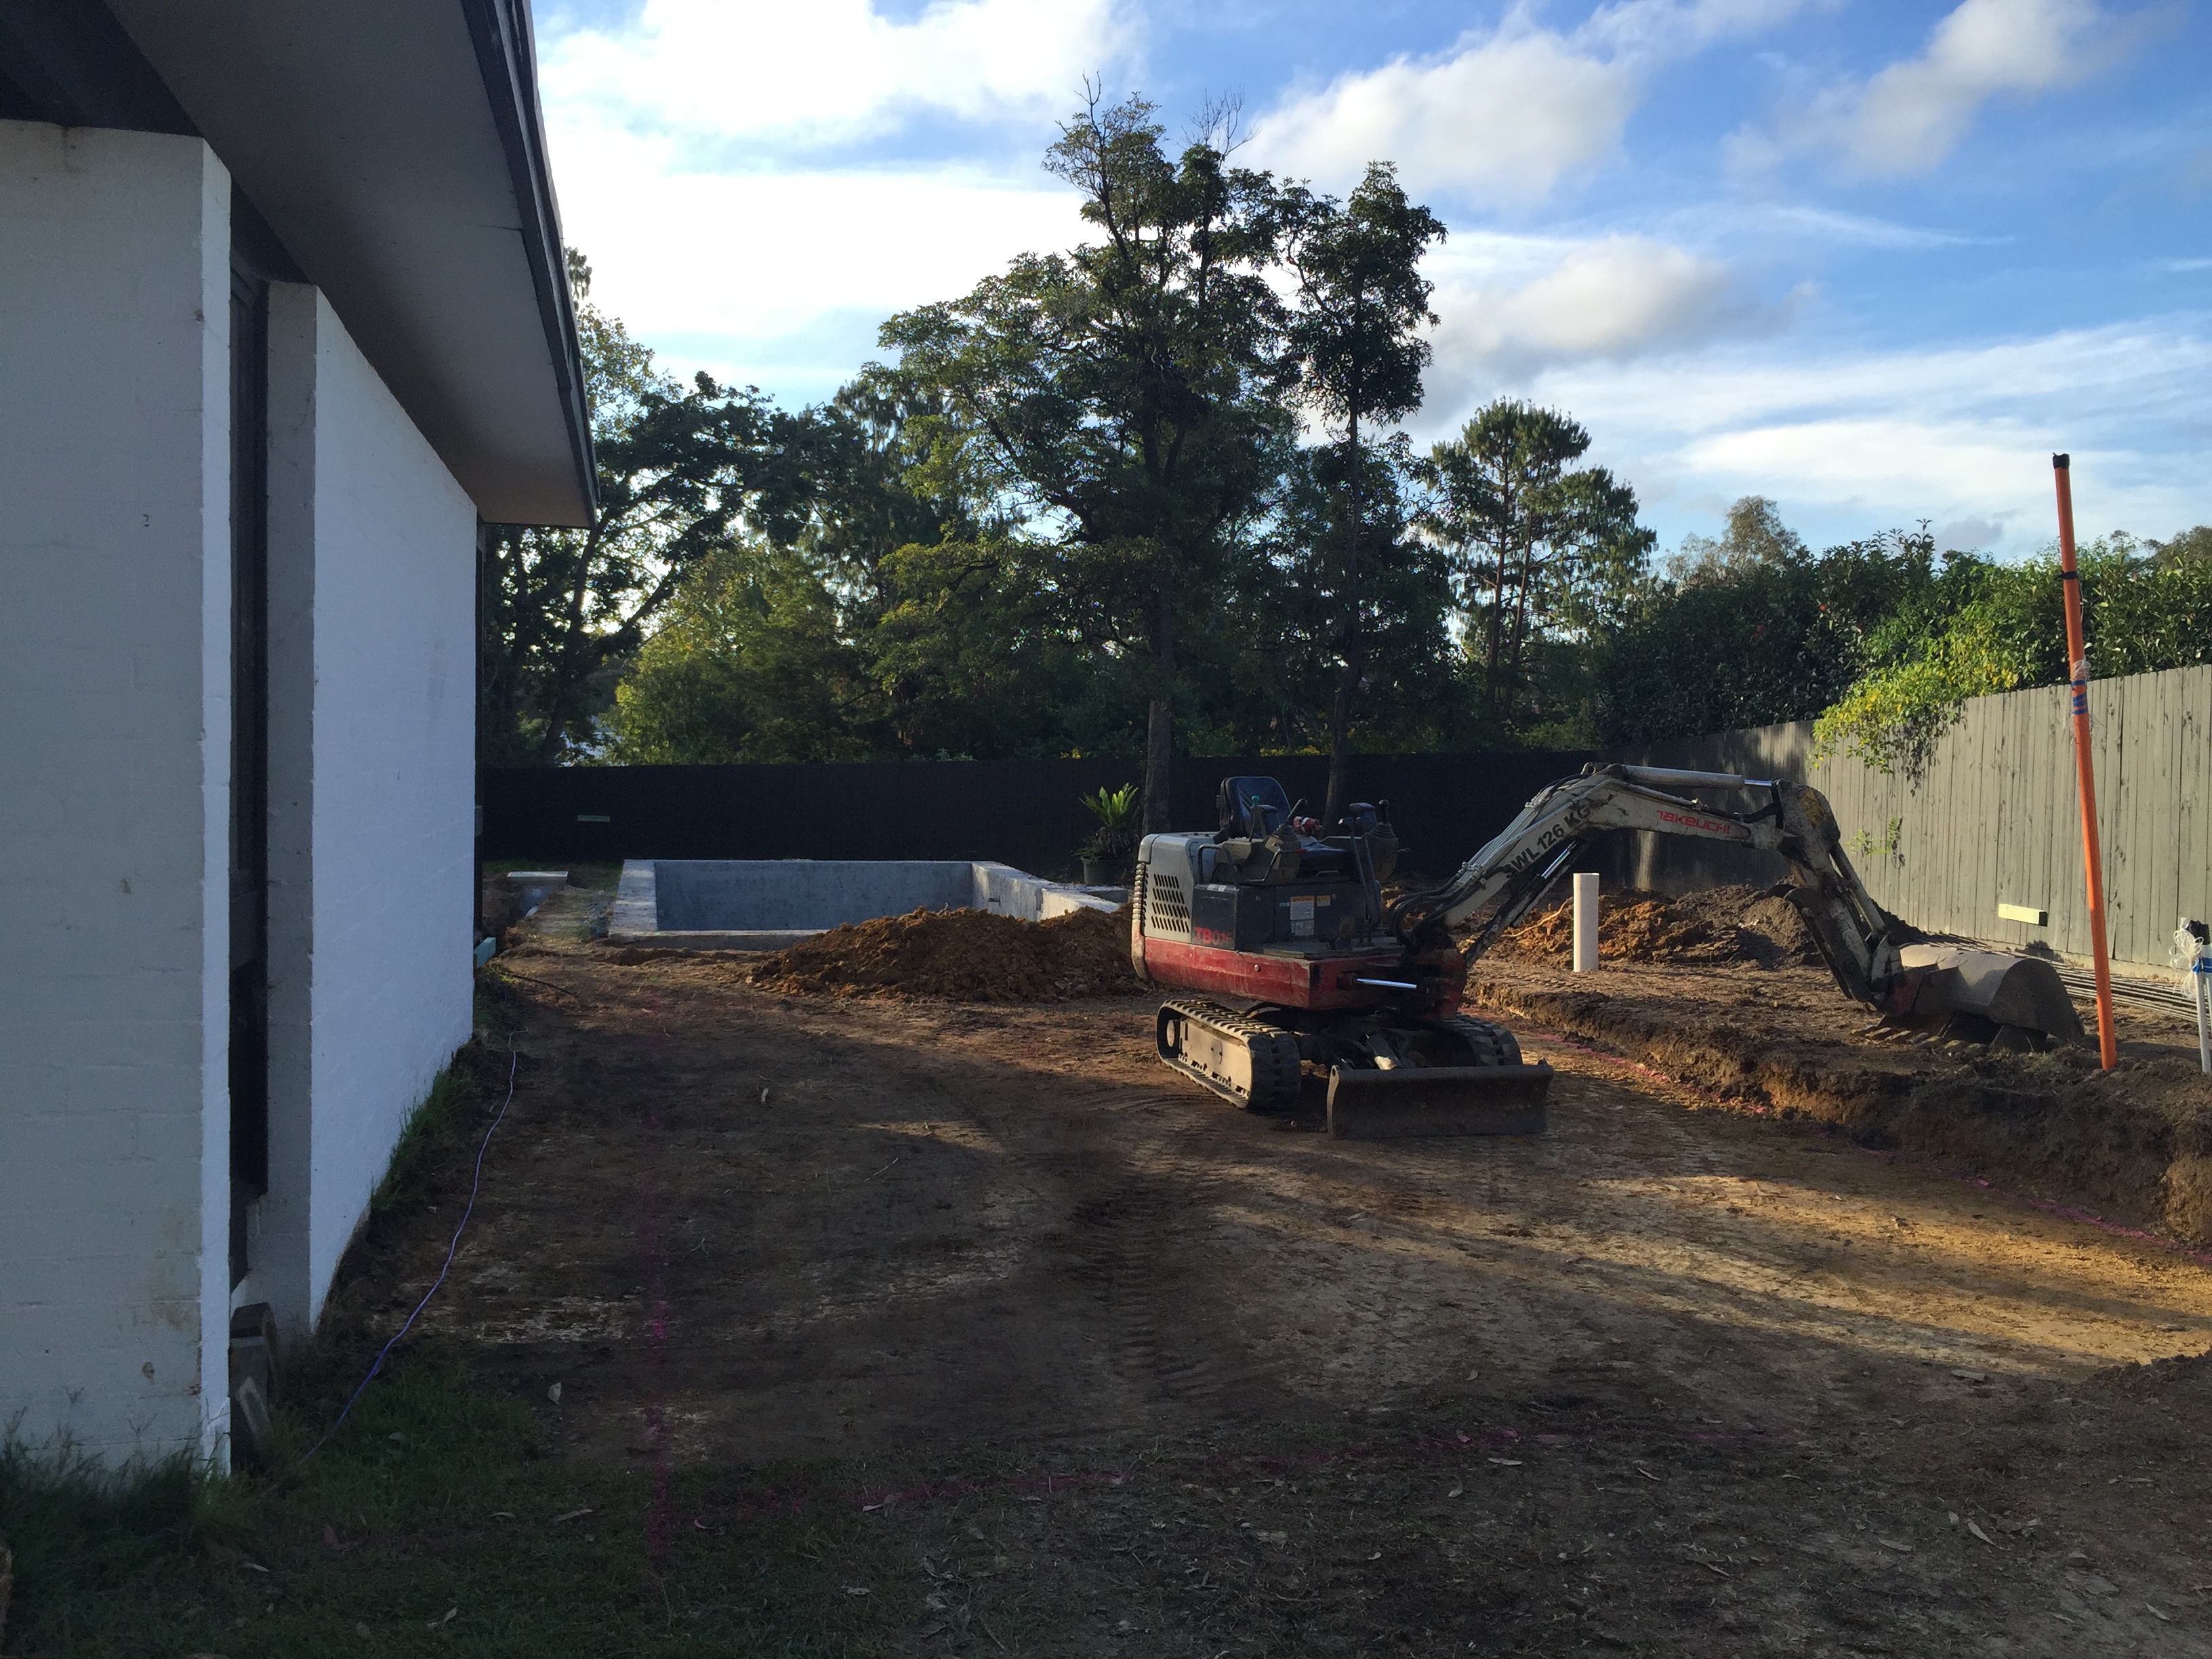 May 2016: With the pool setting, the excavation and preparation of footings for the extension (Part 1) begins. The house was built with brick piers and cypress pine boards. In order to keep the same levels and construction approach, a small amount has to be dug out to create the level foundations and same type of brick piers.
 May 2016: Trenches with reinforced steel ready for footings. Pool construction fencing to the rear as per legal requirements. We decided to buy our own as renting fencing can be expensive if your build stretches beyond a set time.
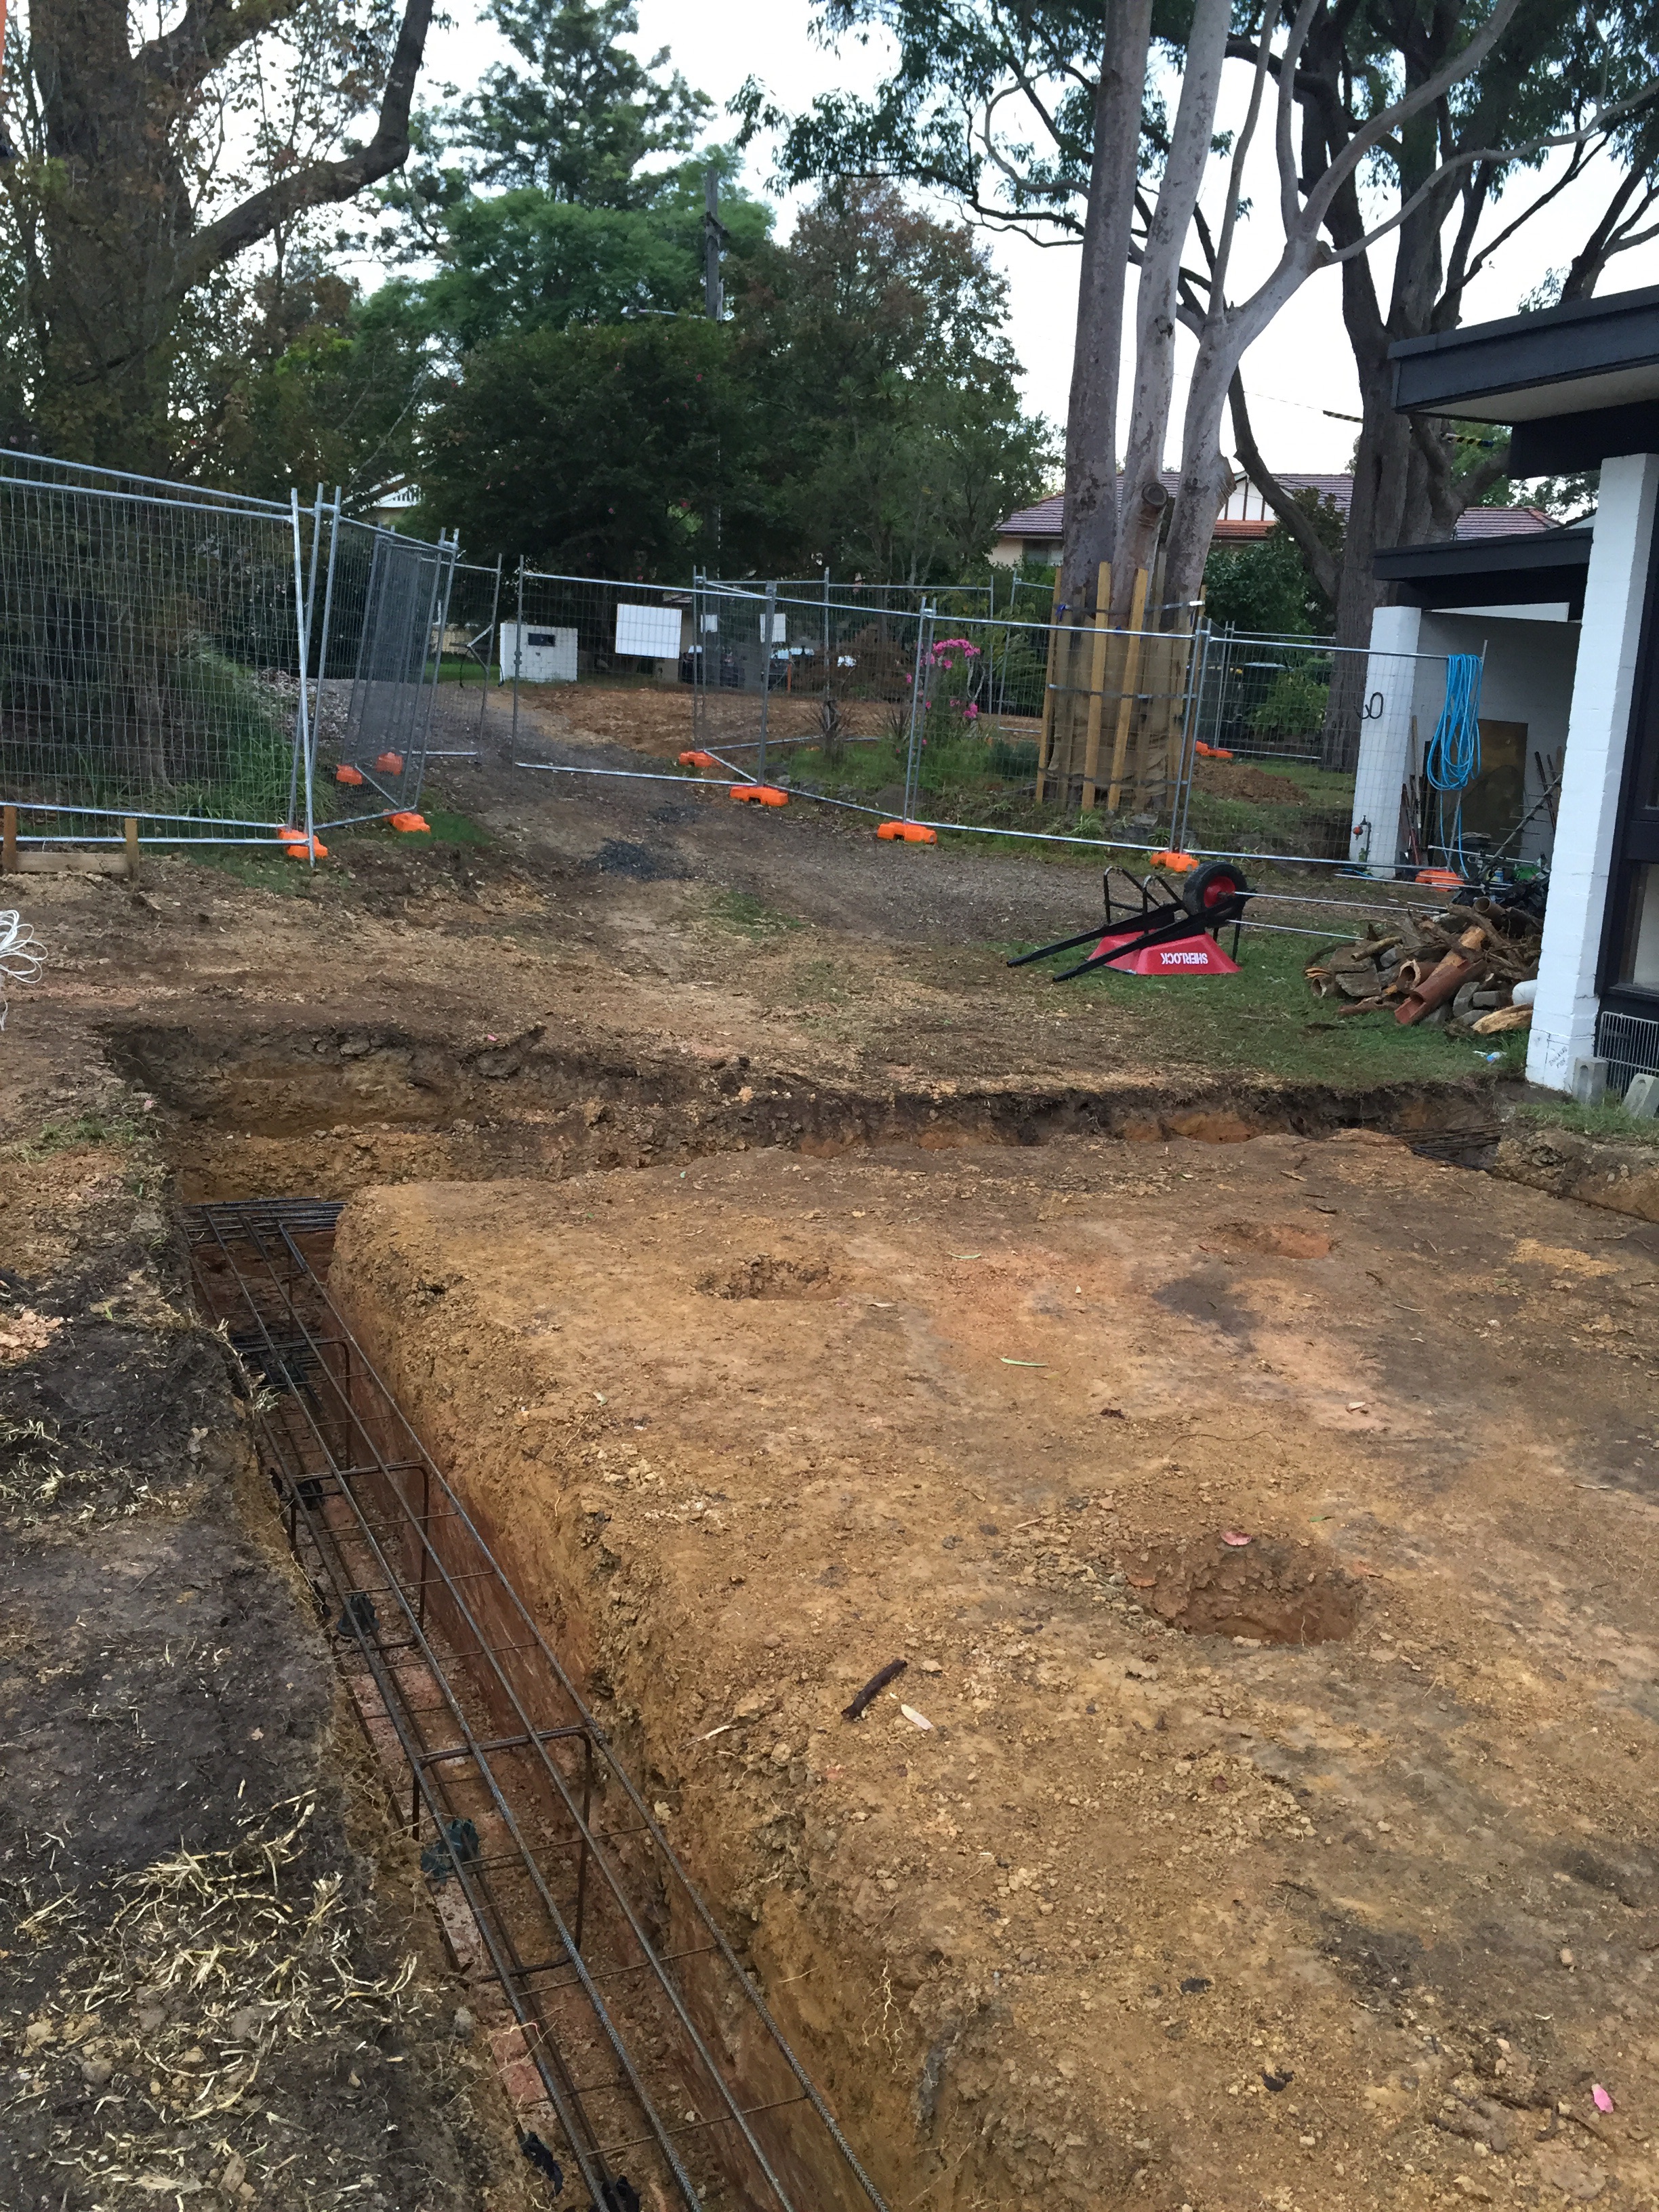 May 2016: Close up of footings looking toward front yard.
 June 2016: With footings set and brick piers built, framework begins to extend the small living space across the block.
 June 2016: Space is marked out with the framework for the stairs to the new upper floor (left in photo)
 June 2016: Framework for extended living room view from the back of the house. Deck framing not yet built, but will be in this spot.
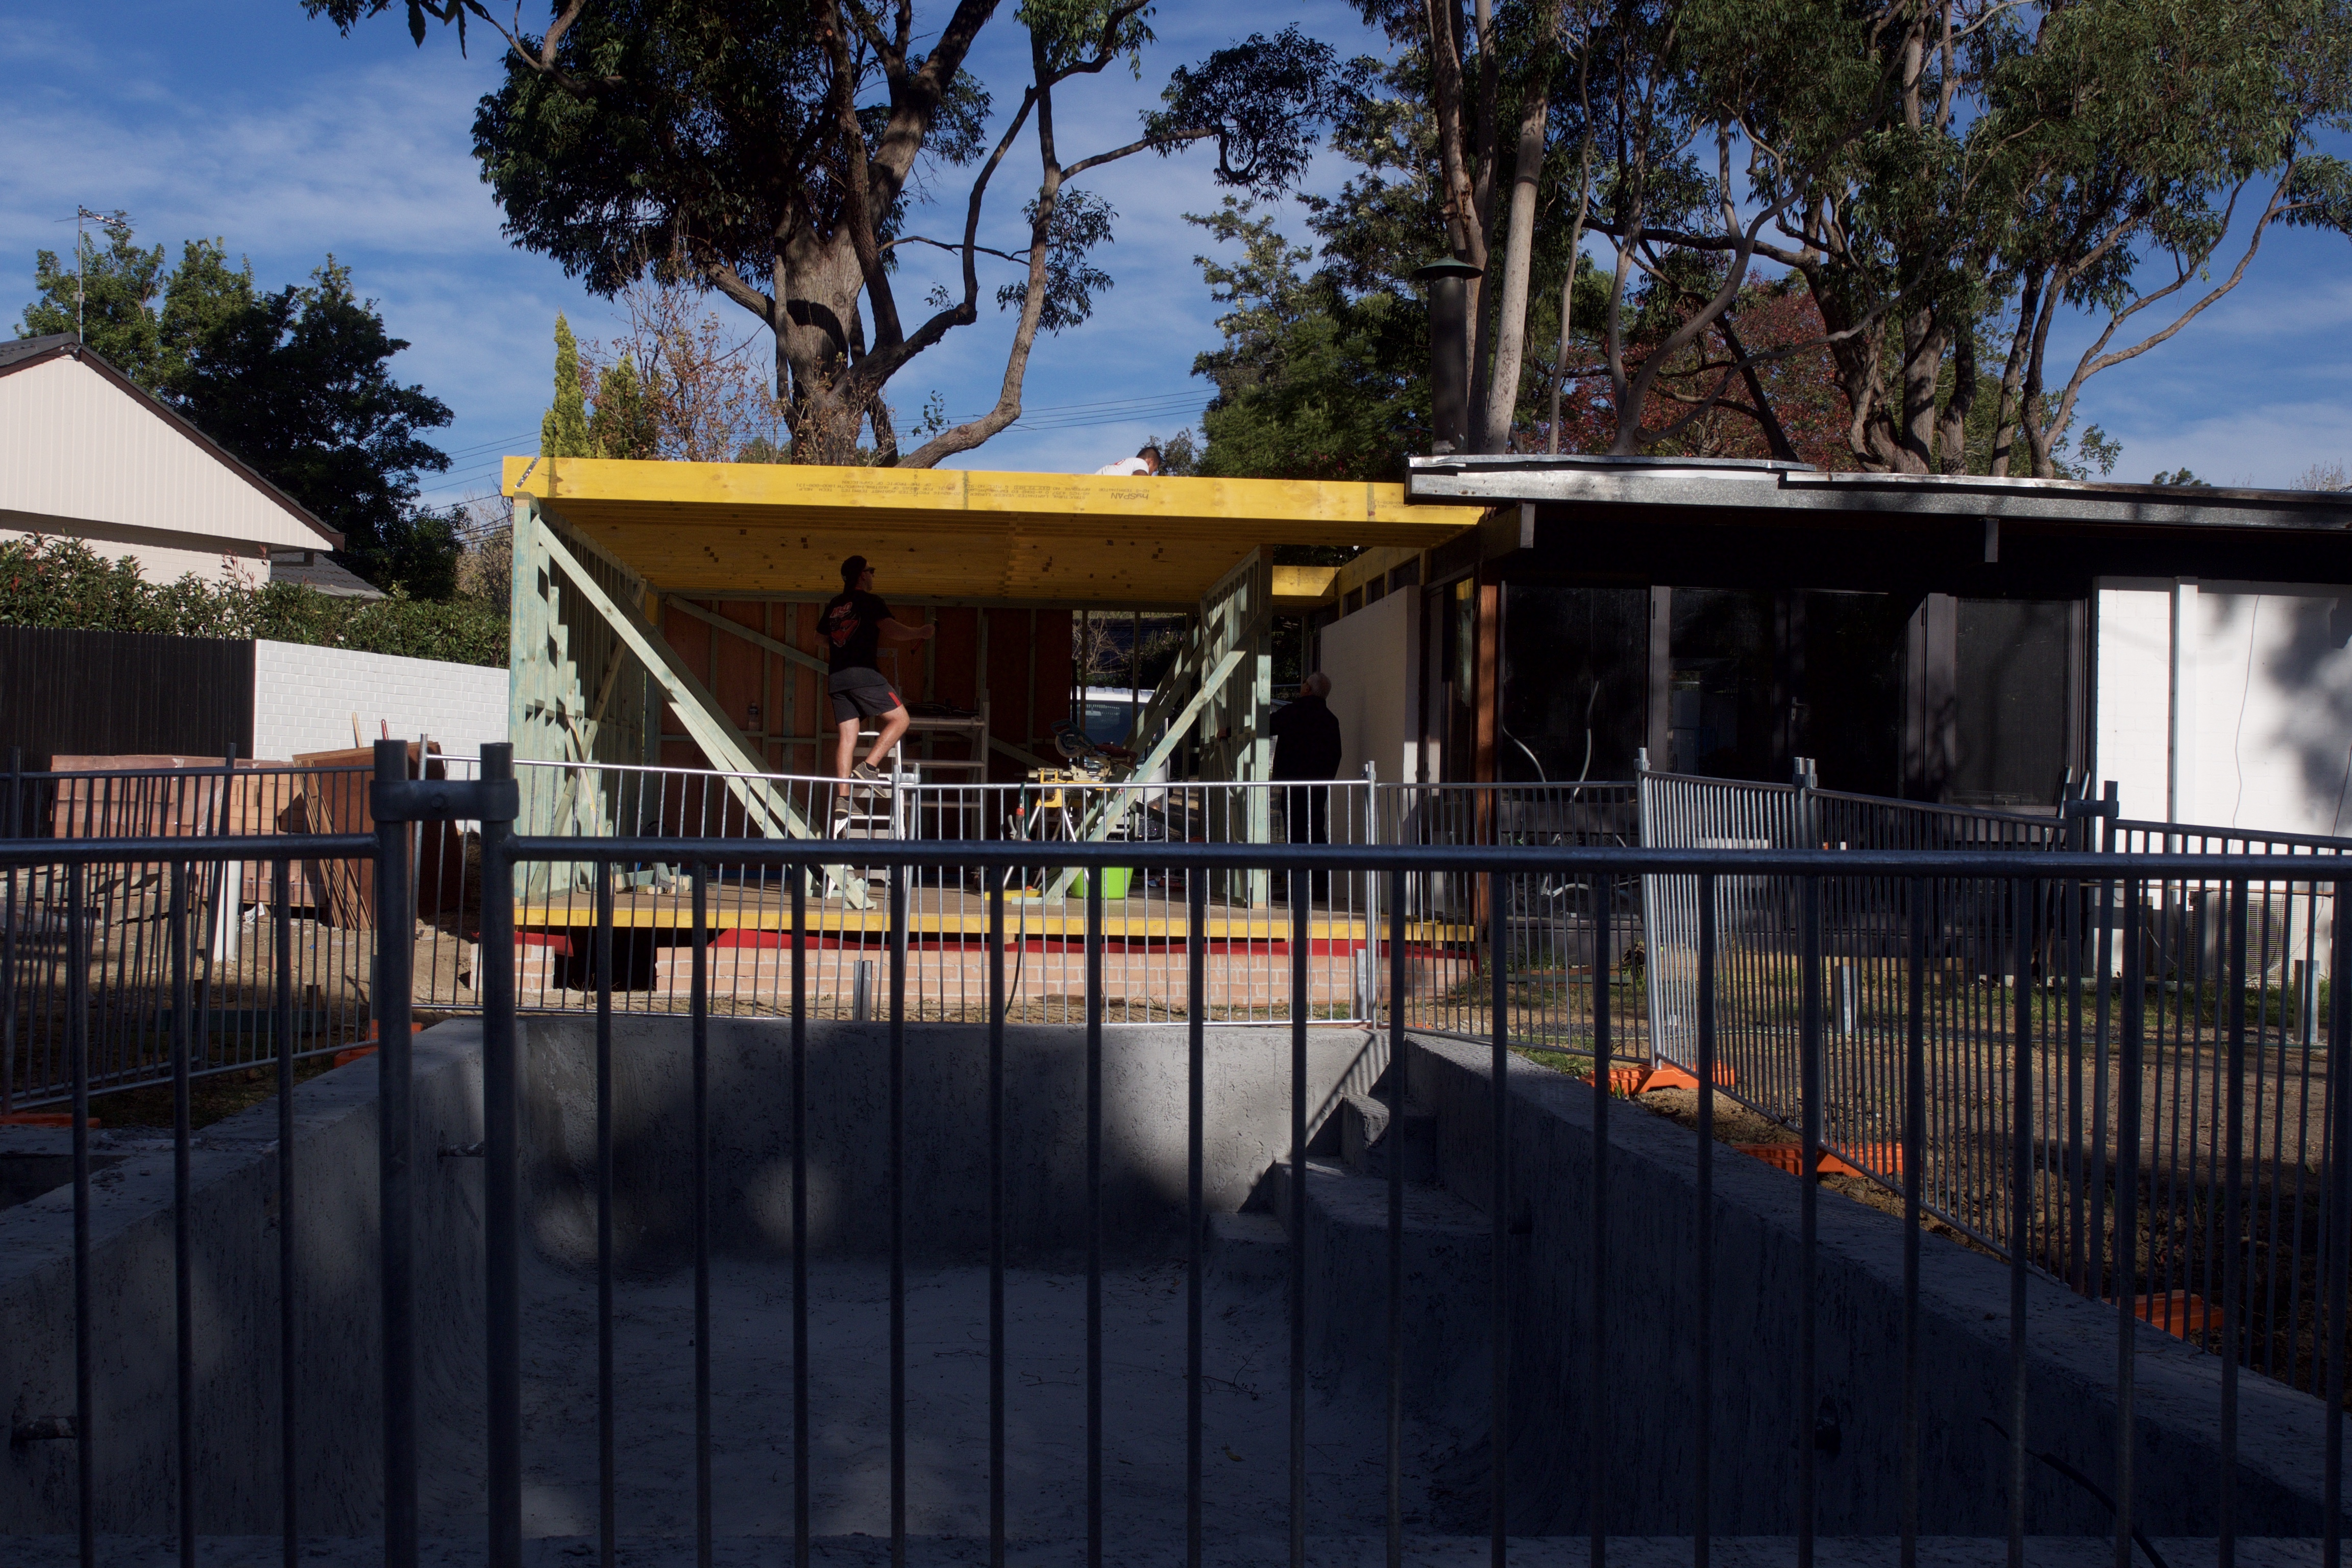 June 2016: Framework for extended living room view from the backyard/pool. Old fascia for the existing house doesn’t need removing as yet.
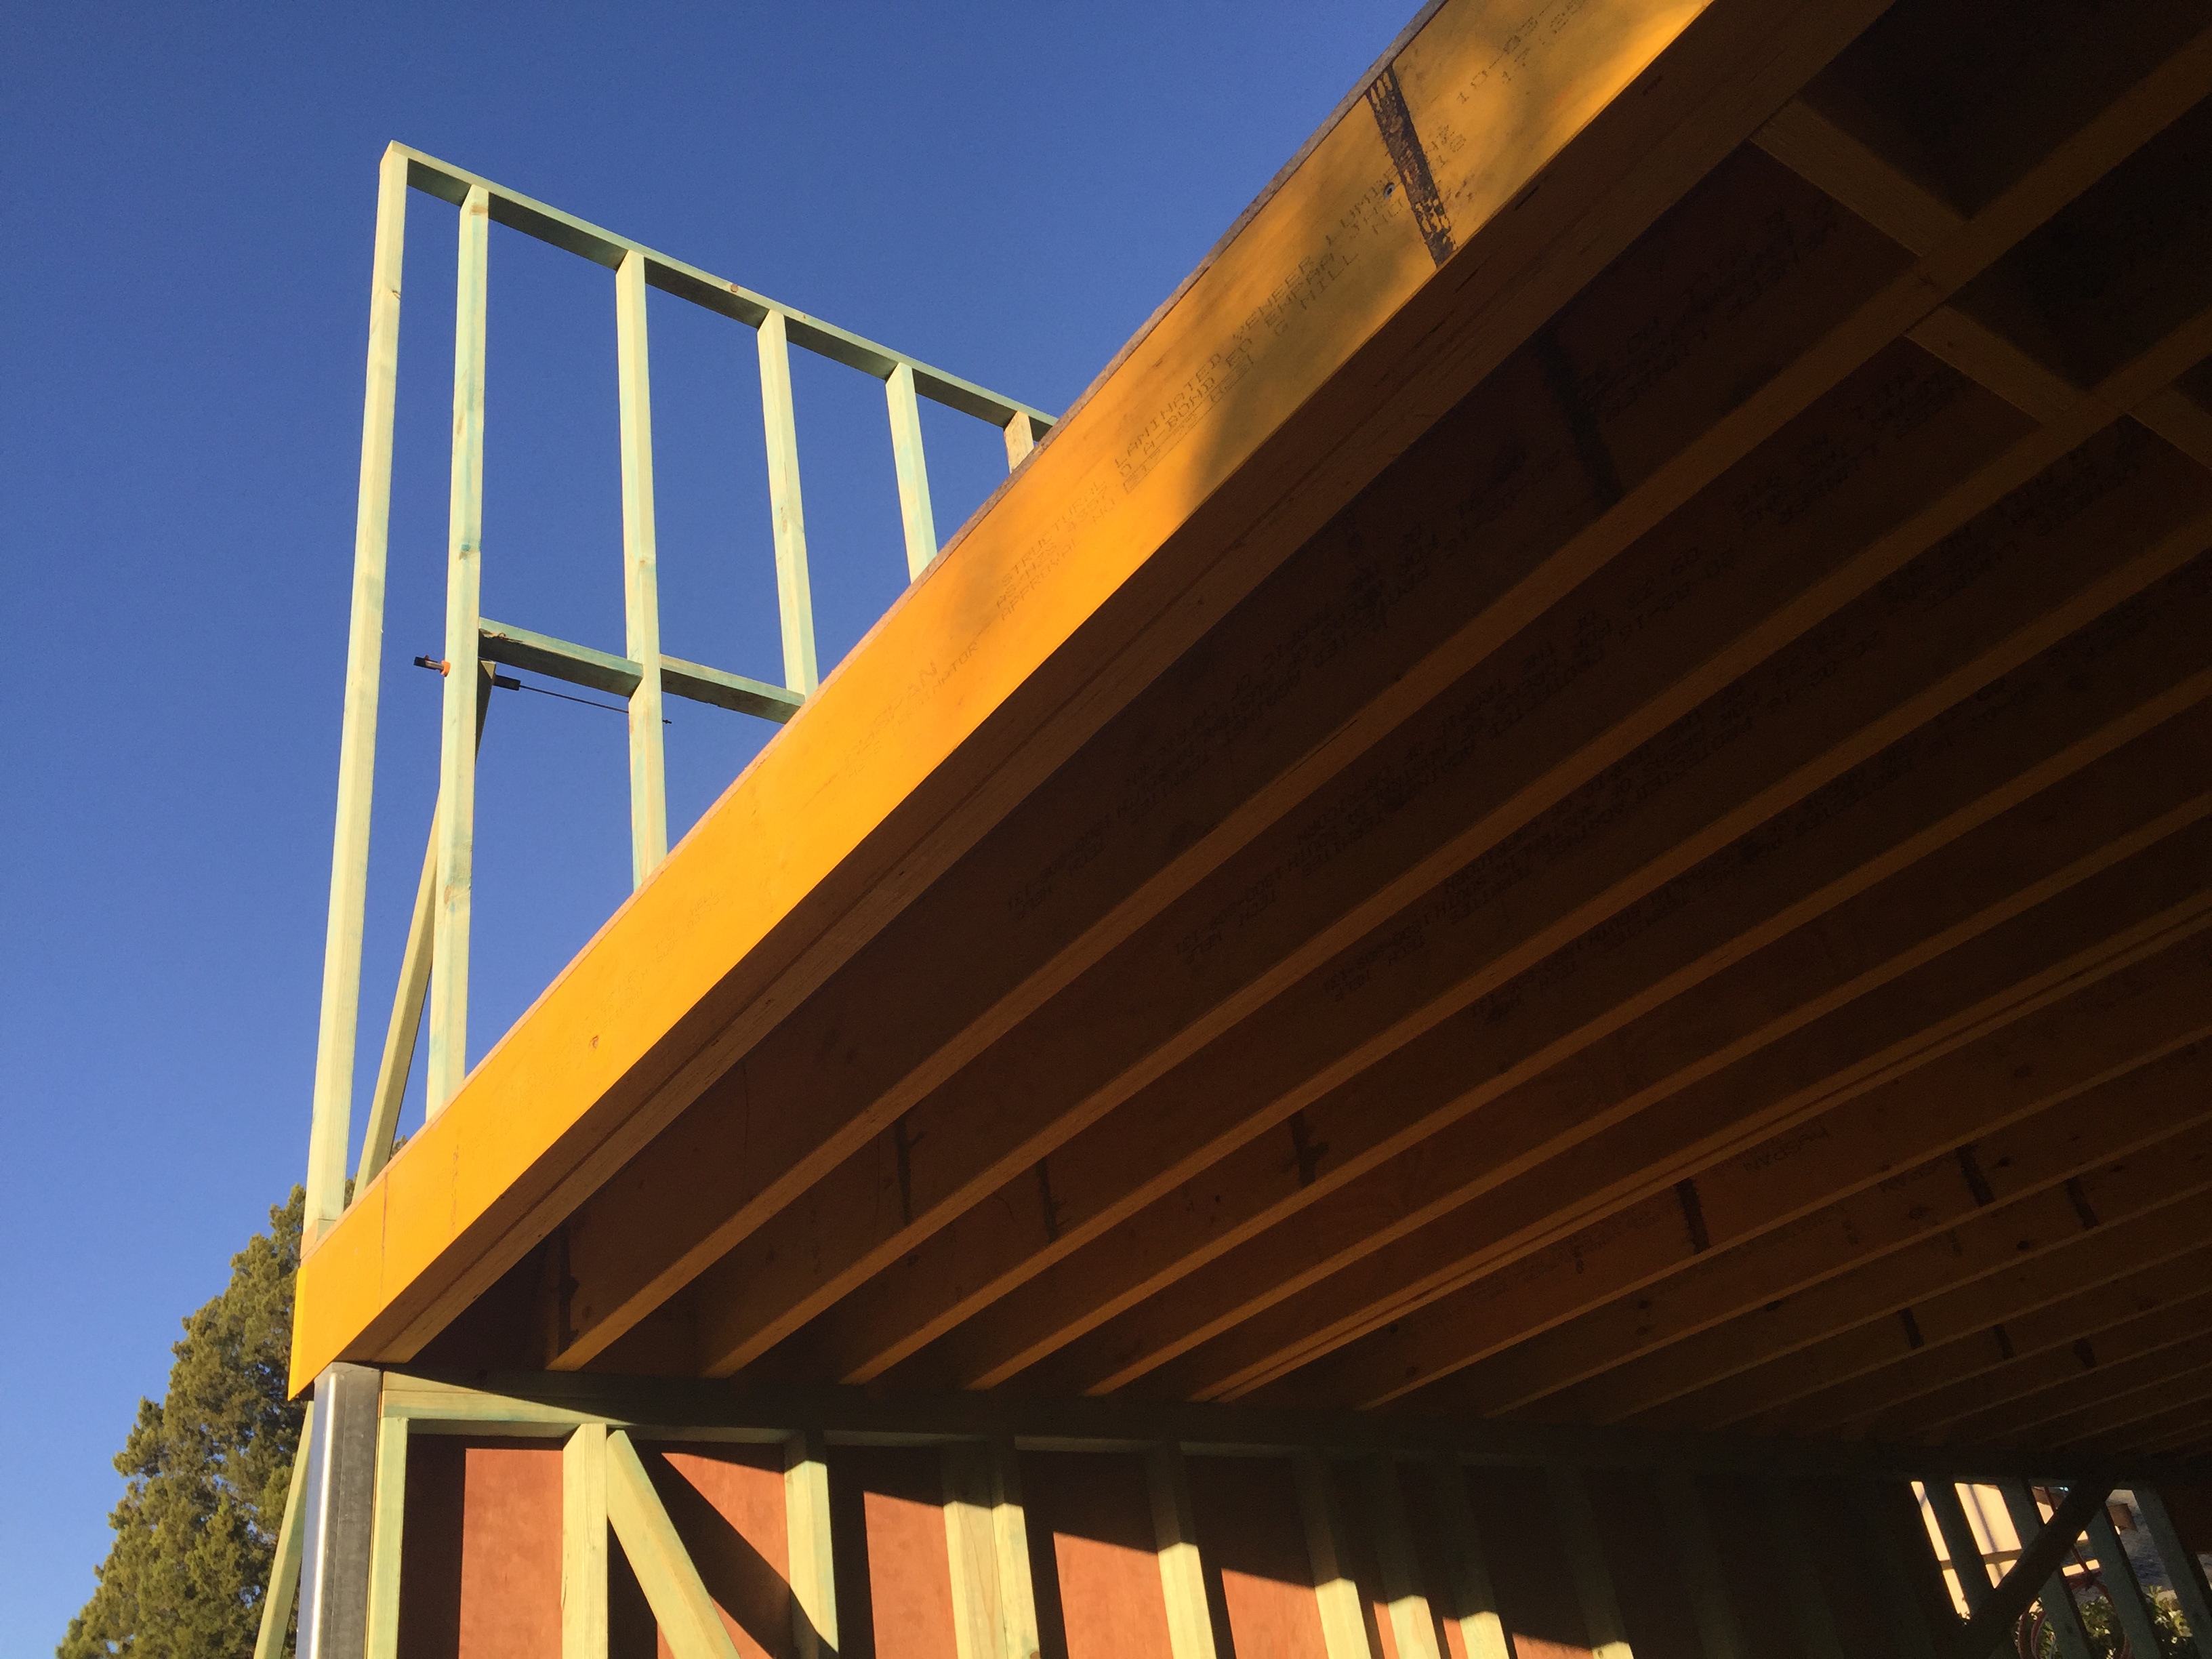
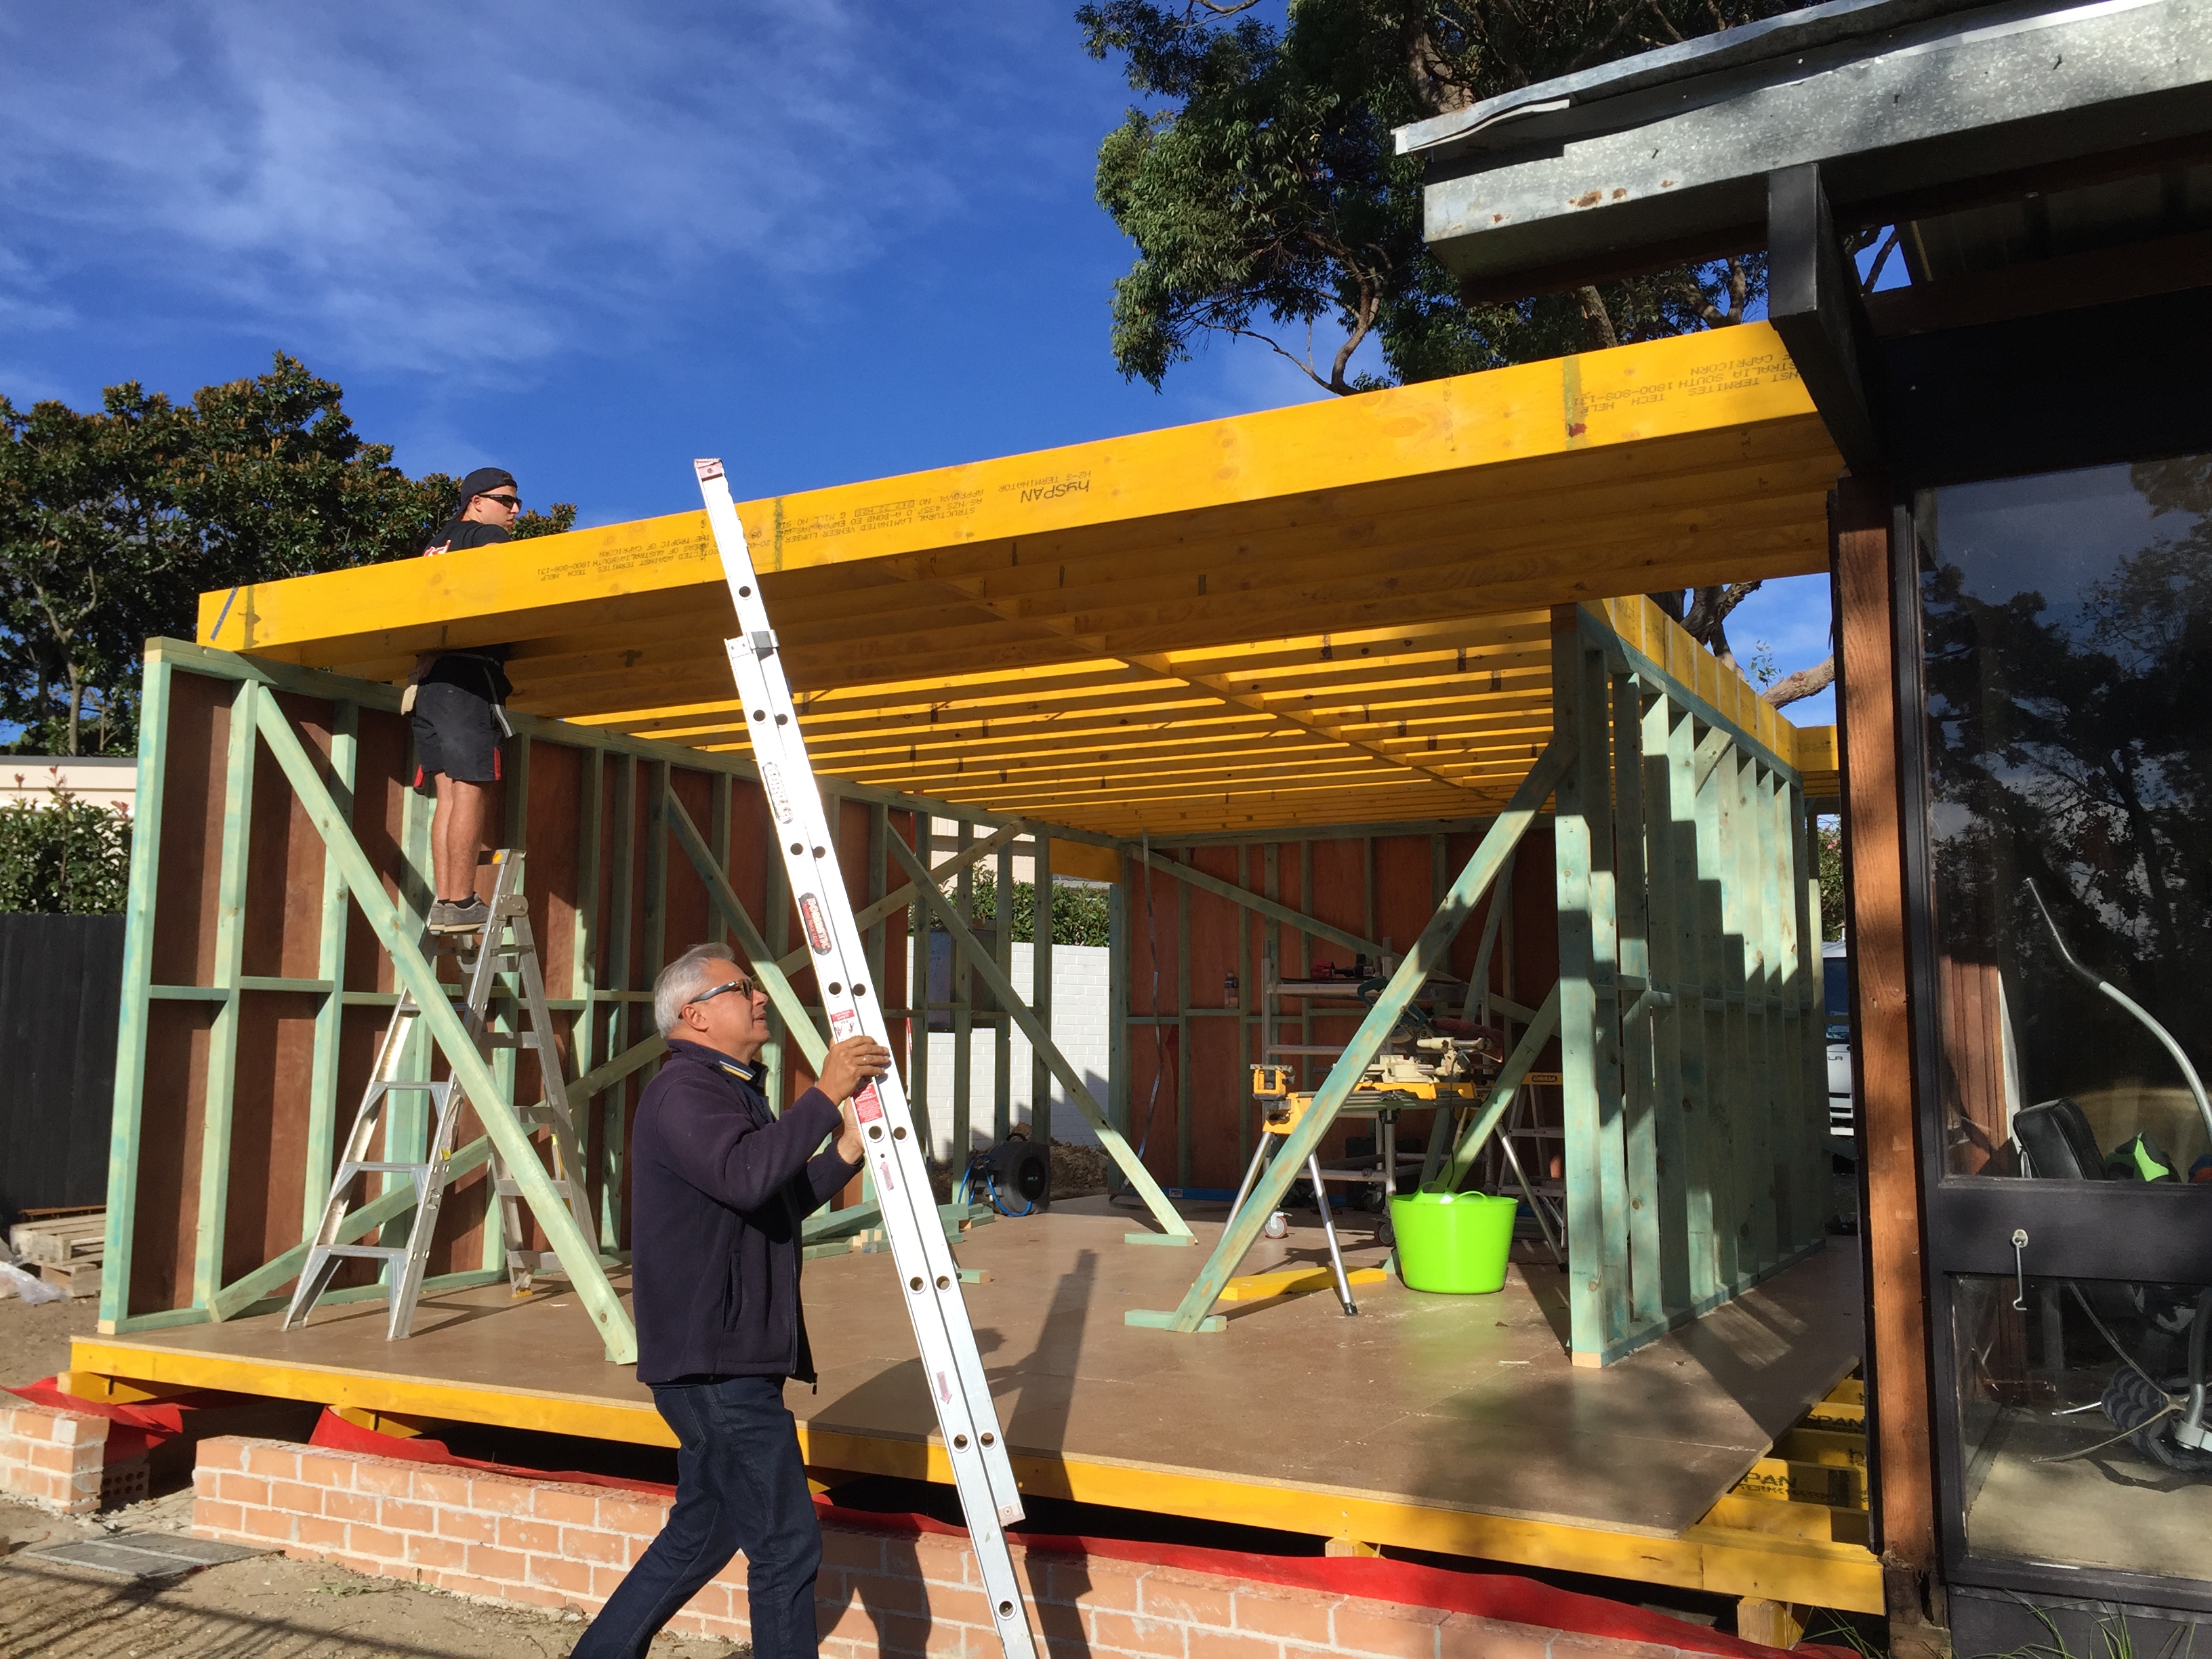 June 2016: Framework for extended living room – checking out the LVL structural beams
June 2016: Framework for extended living room – checking out the LVL structural beams
 June 2016: Framework for the stairs to the upper level is built on what was the exterior brick wall of the existing house. This is pretty nice already.
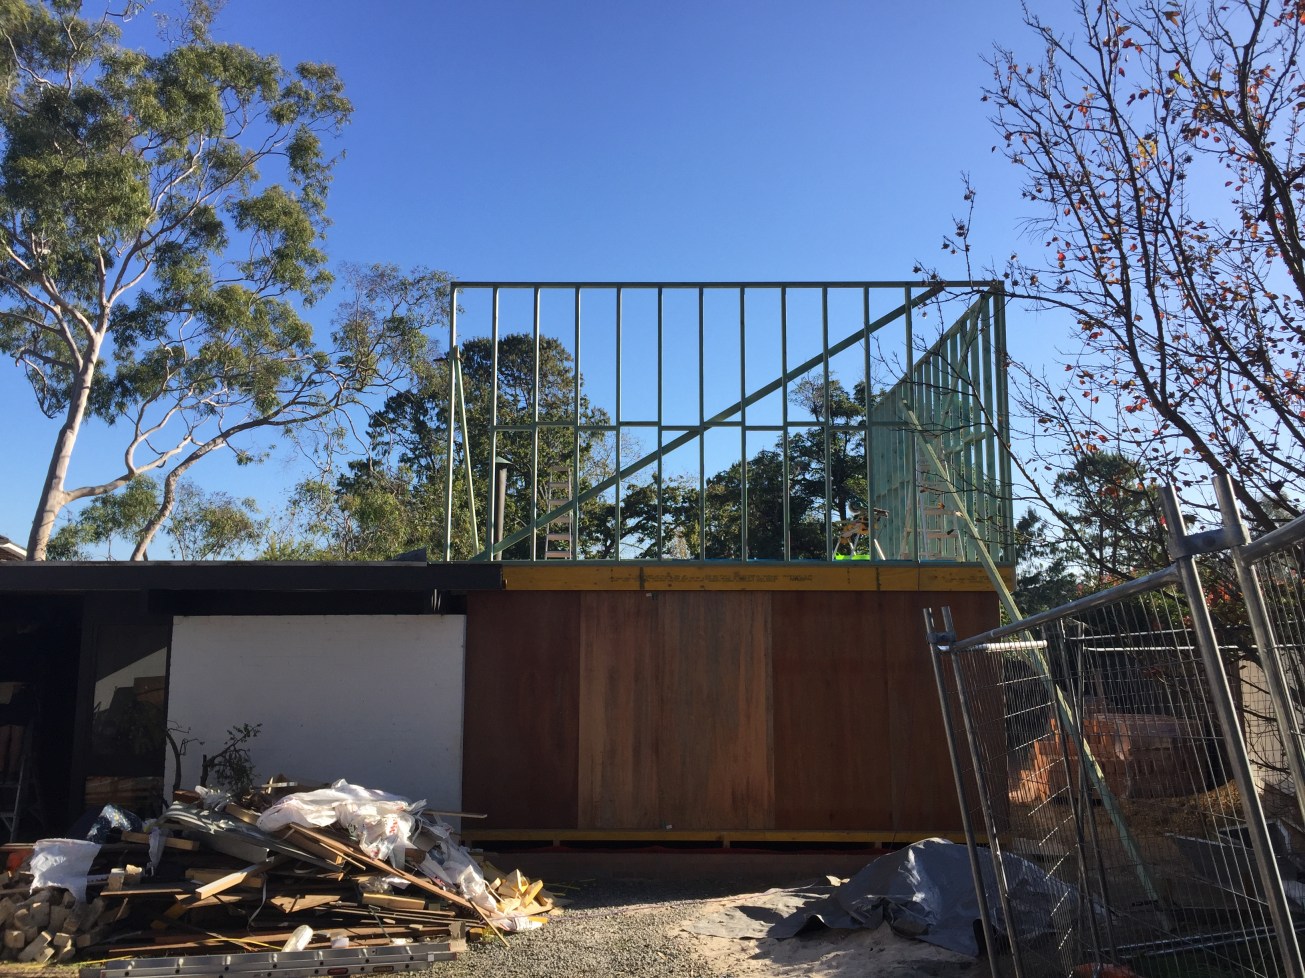
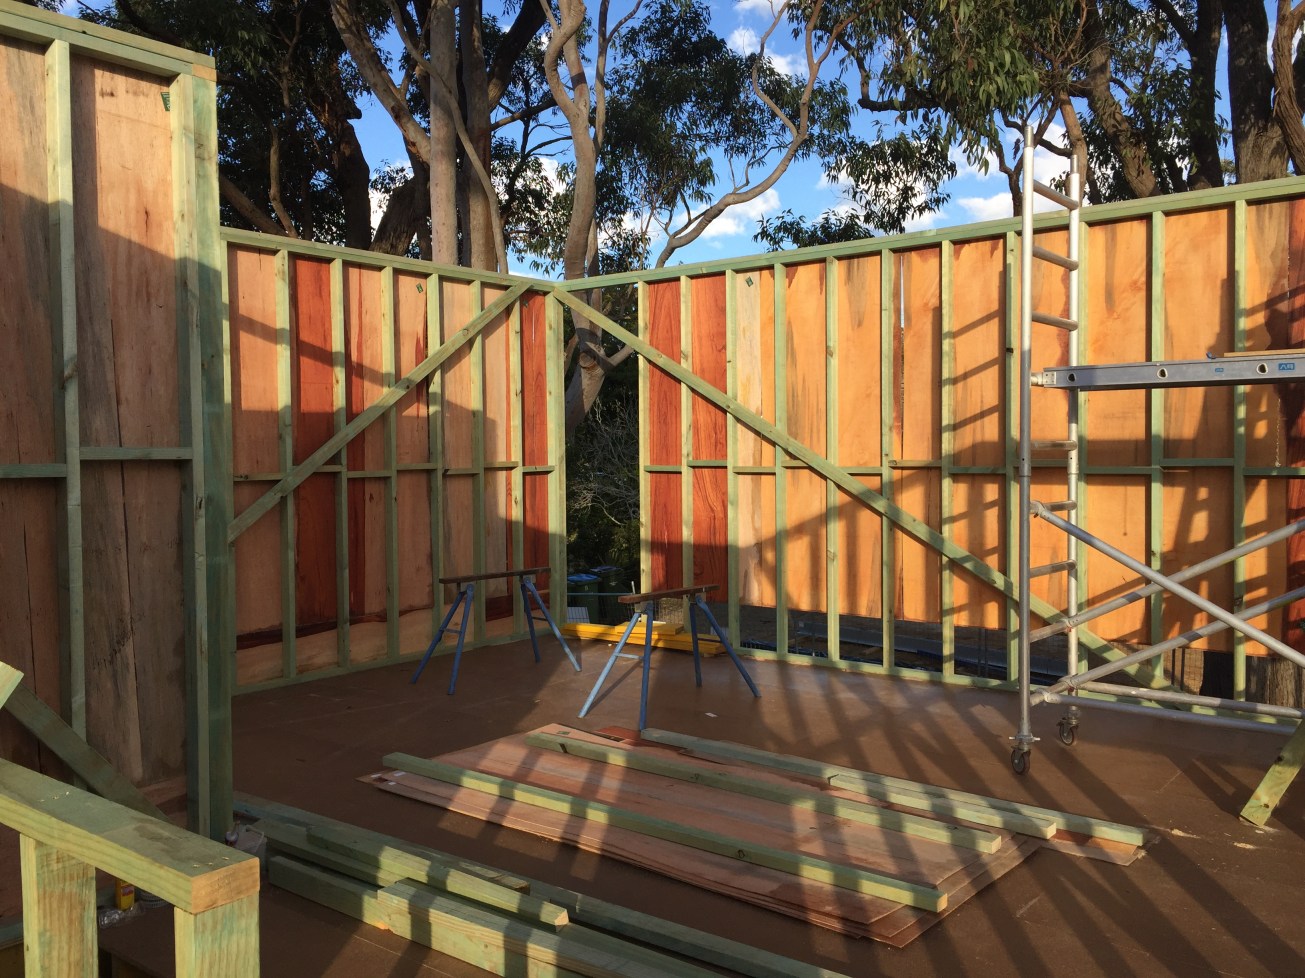
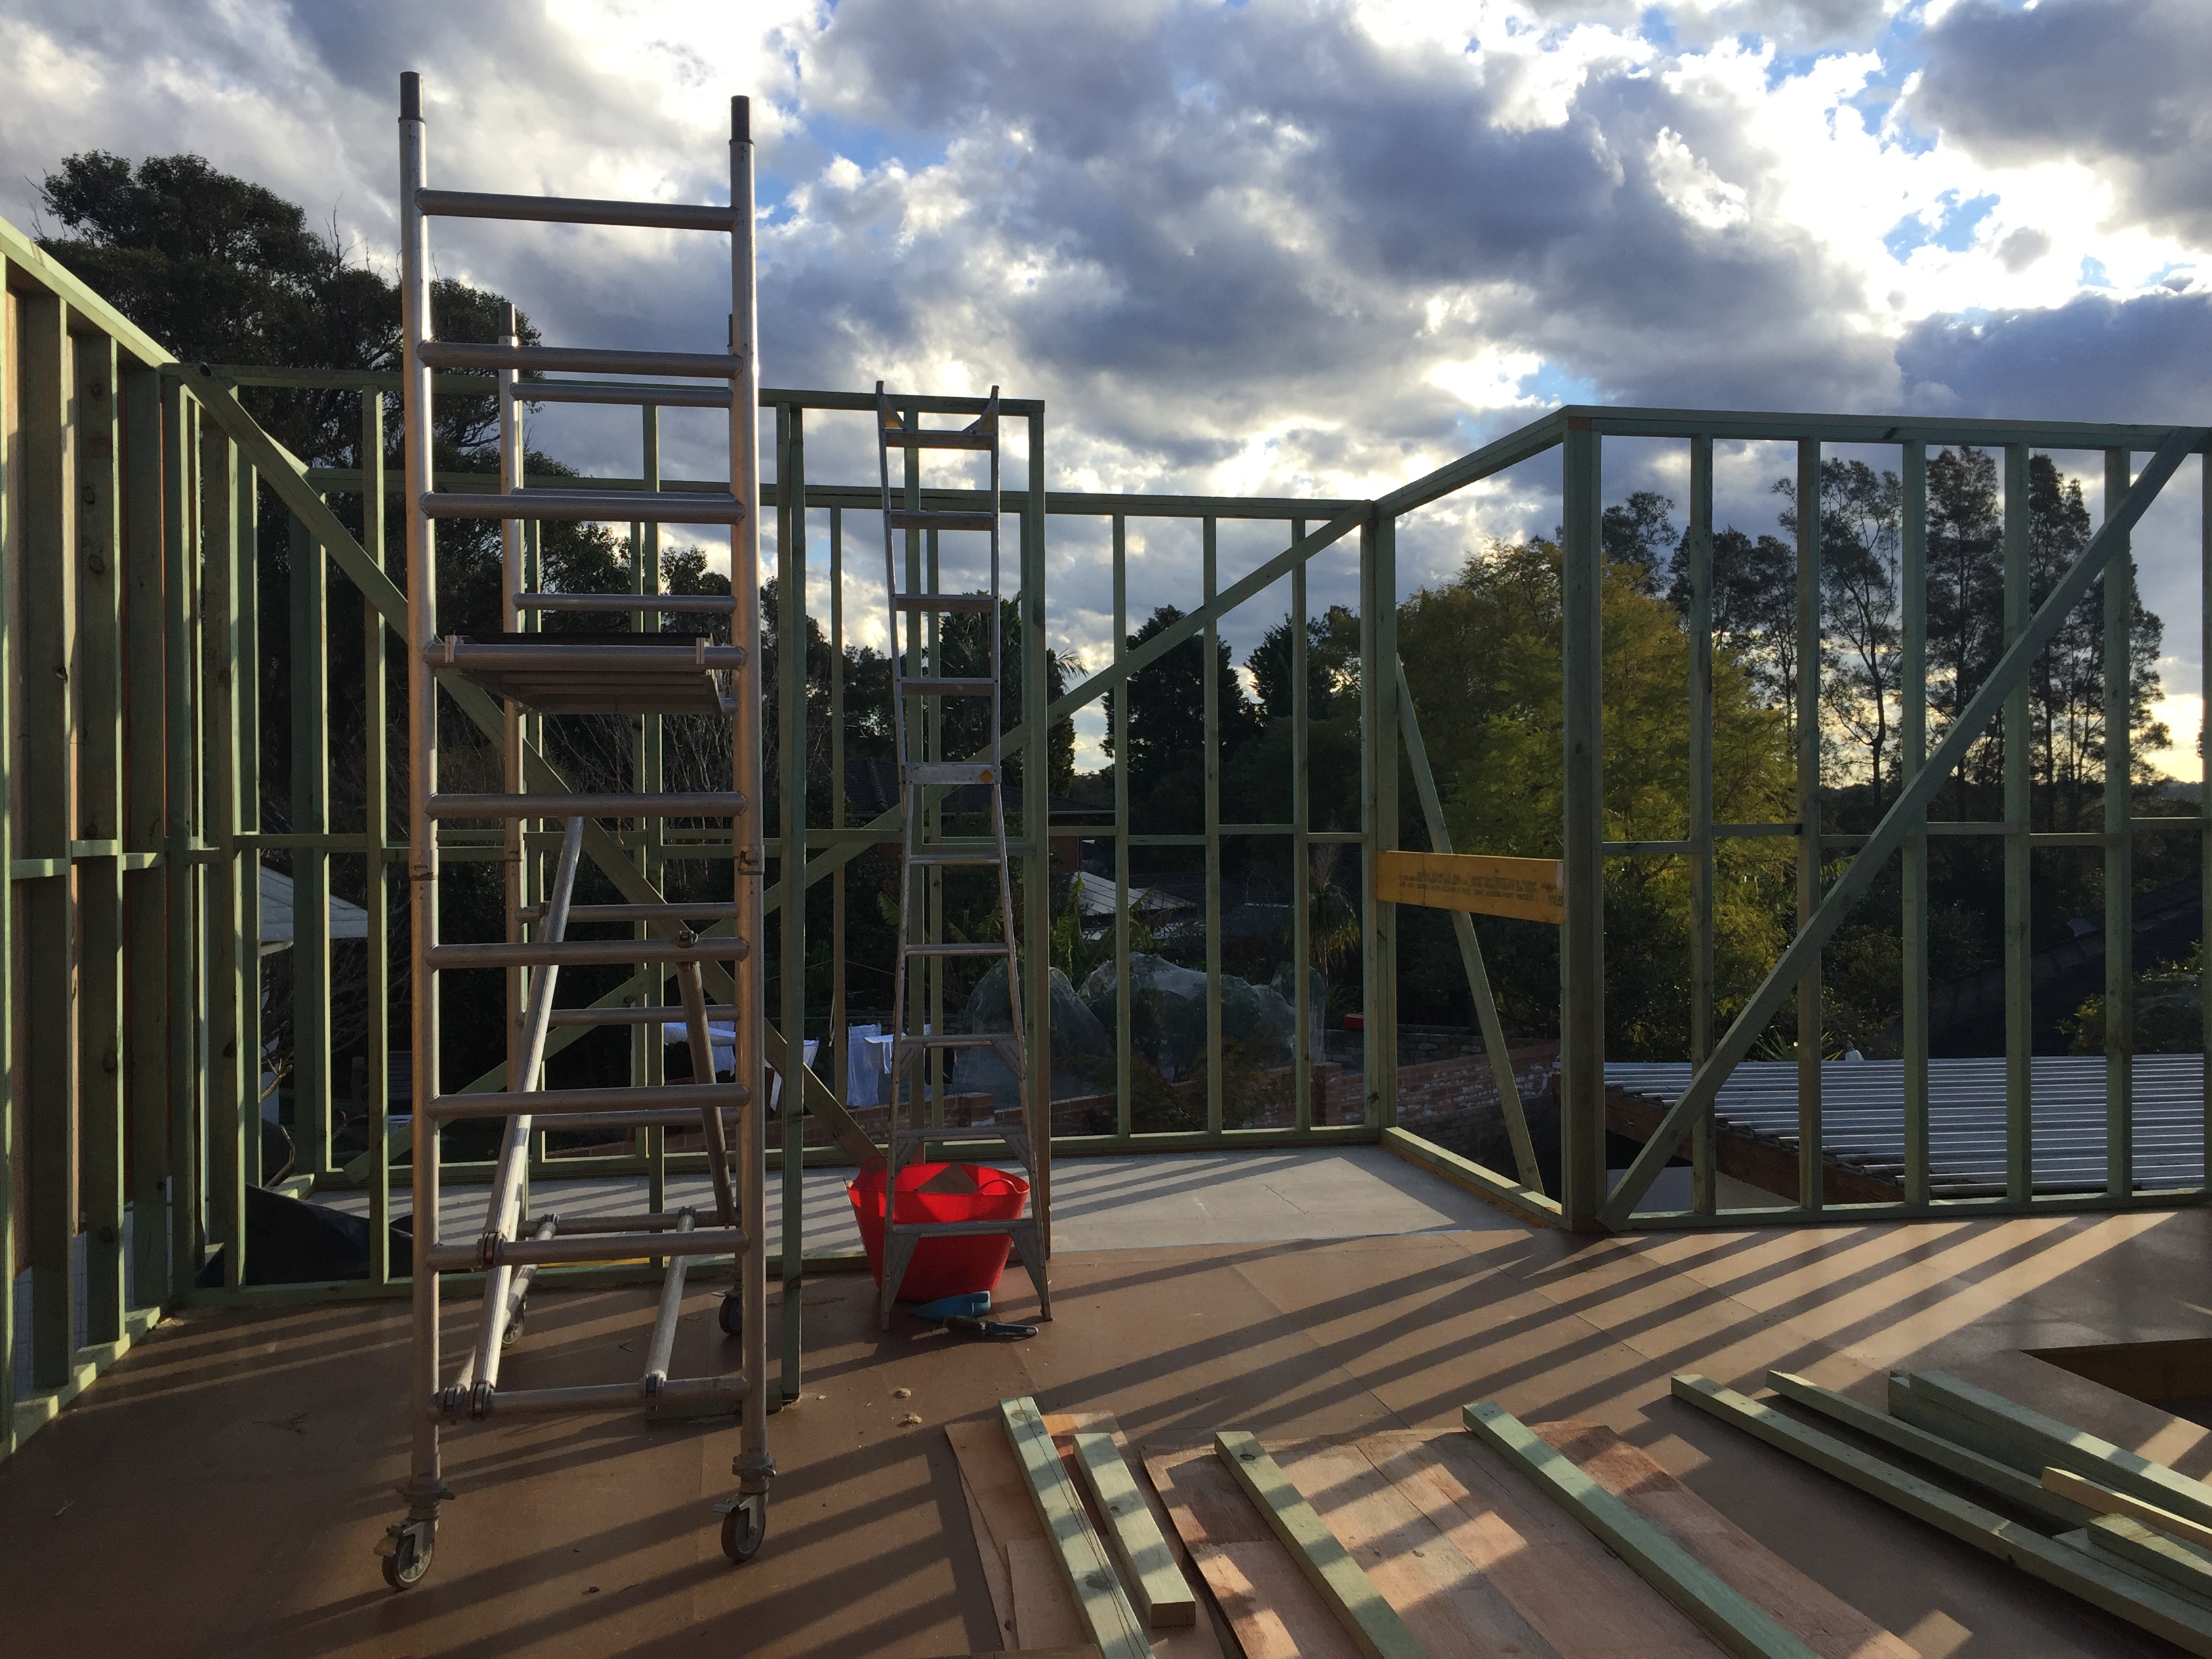
June 2016: Rapid progress showing the extended living room framework which will allow the P+S’s long Lowline styling to continue. Plywood structural bracing is added and we’re ready to erect the upper floor frame work and brick down below to match the existing house.
 June 2016: Close up of framework and LVLs
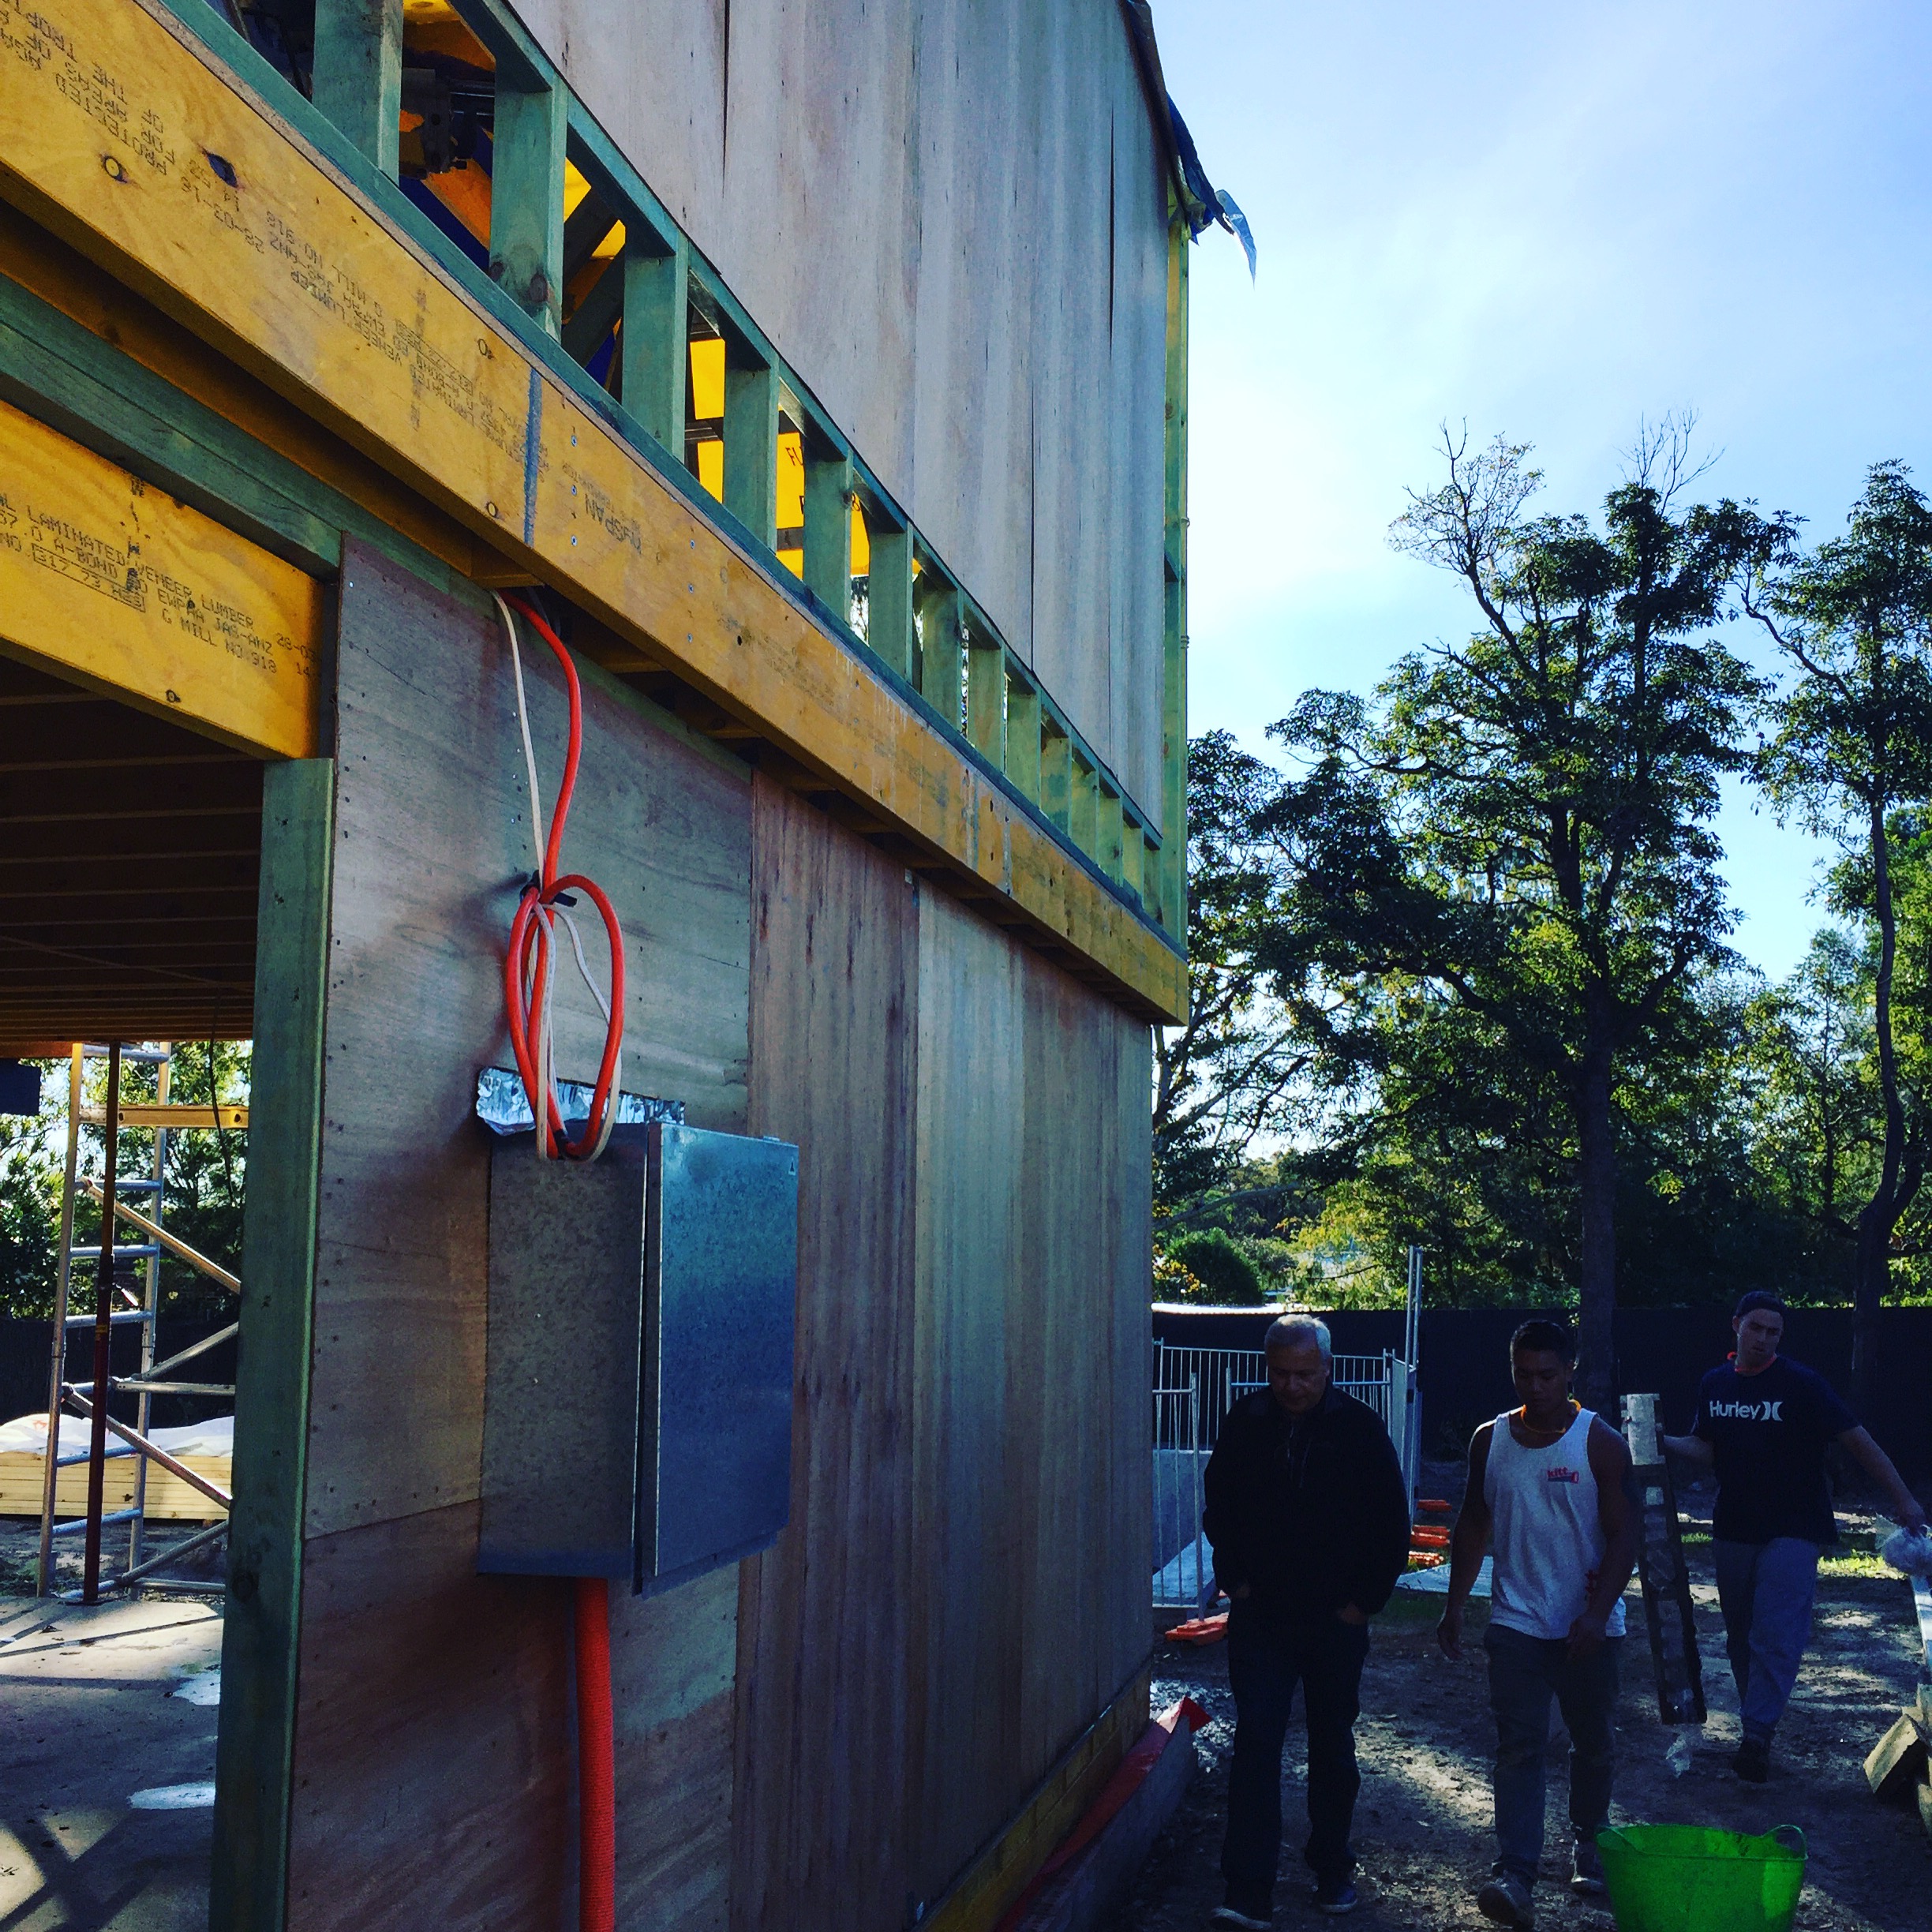 July 2016: The eastern side of the new extension with plywood structural bracing in progress. We also had to pay handsome sums of money approximately $7000 for an ASP Level 2 Electrician – for the power lines and electricity box to be moved. Only certain qualified electricians are allowed to work with power lines. Suburbs throughout Australia seem to have ugly overhead power cabling everywhere. In our case, the lines were joined to the front of the house and had to be removed for any building work to occur. We’ve placed it underground. Yes, more digging! But worth it. By July the weather is getting wetter.
 July 2016: Winter setting in, view to the rear showing the pool and deck framing has begun. The deck will bring the house out by 3 metres and run the length of the home – approximately 20 metres long. A massive improvement to our tiny 100+ sqm Lowline which only had bricks as outside steps for the first 52 years. It will also allow us to bring the eaves out for a long and lean, and more energy efficient rear aspect.
 The same shot as above but on a sunny day. We are so lucky to have beautiful trees in our neighbourhood.
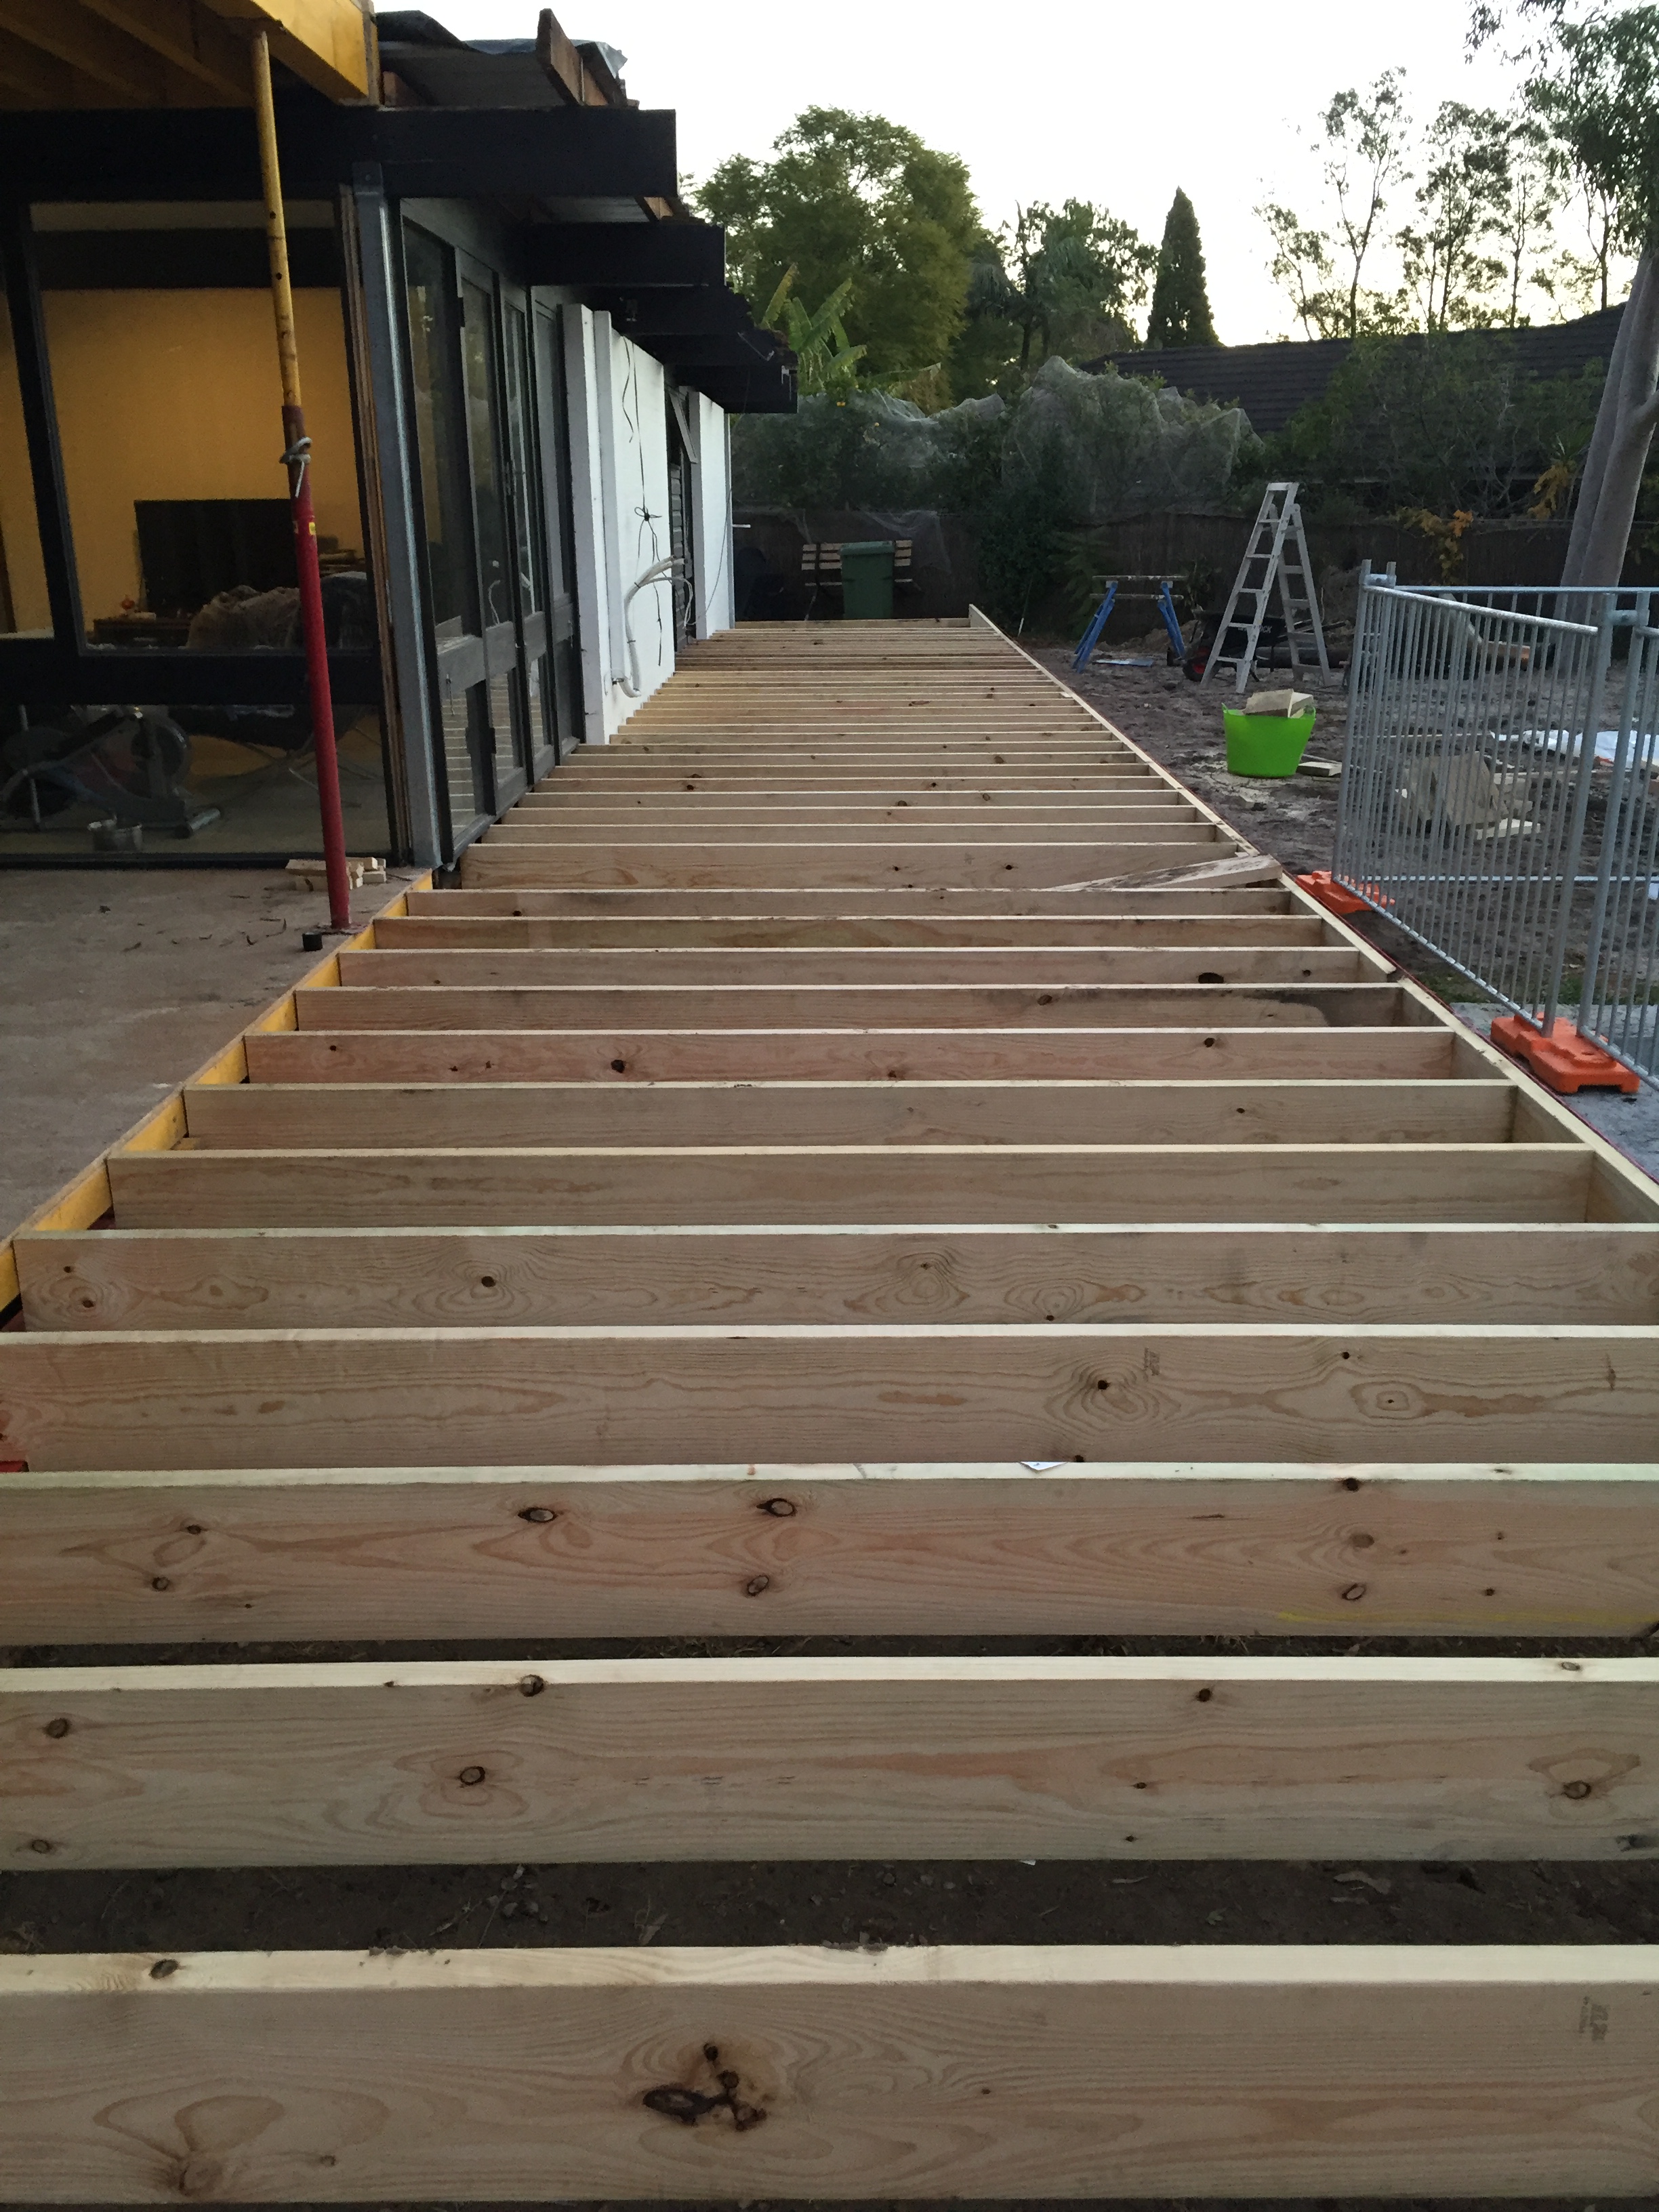 A long view of the deck running down across the old house.
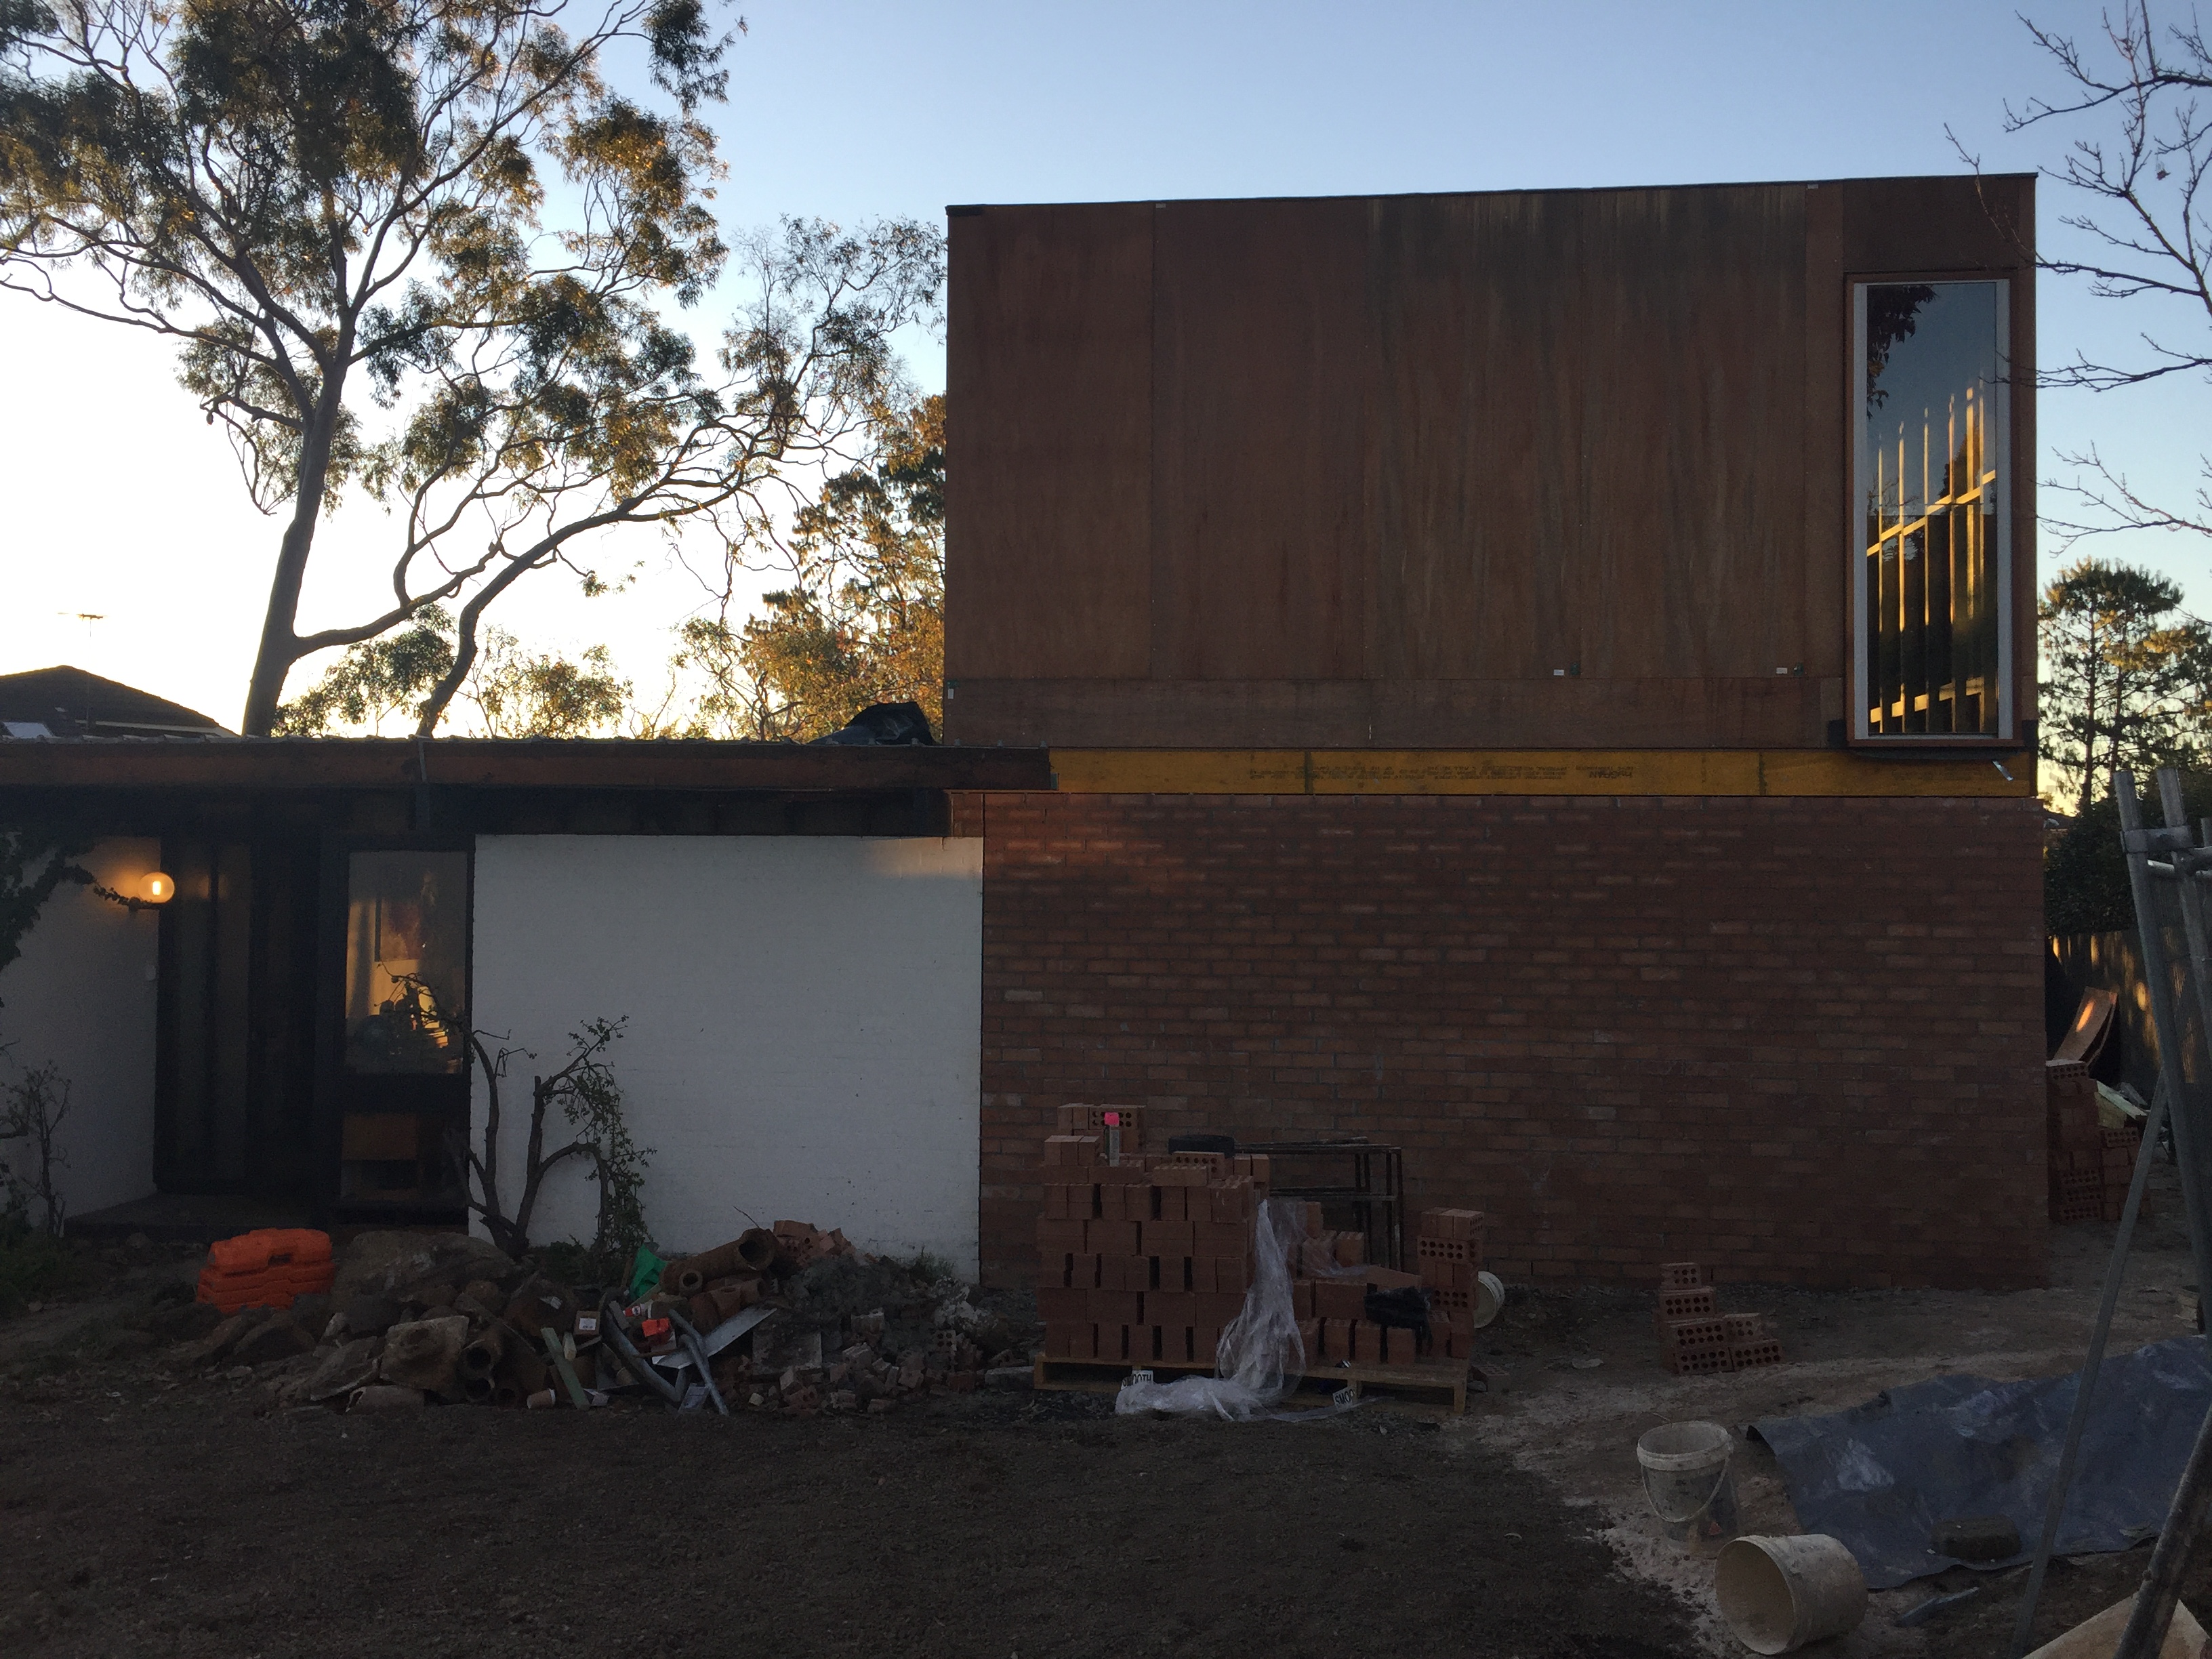 August 2016: Well that seemed fast! And it was. During July the brick wall at the front of the Lowline extension was built. This will ultimately be painted white continuing the lines of the original Pettit & Sevitt. And the upper storey frame work was completed. The first batch of windows arrive and here is one of our ‘glimpse’ windows to the front. It’s a sashless double hung cedar window 900mm wide by 2600mm high.
 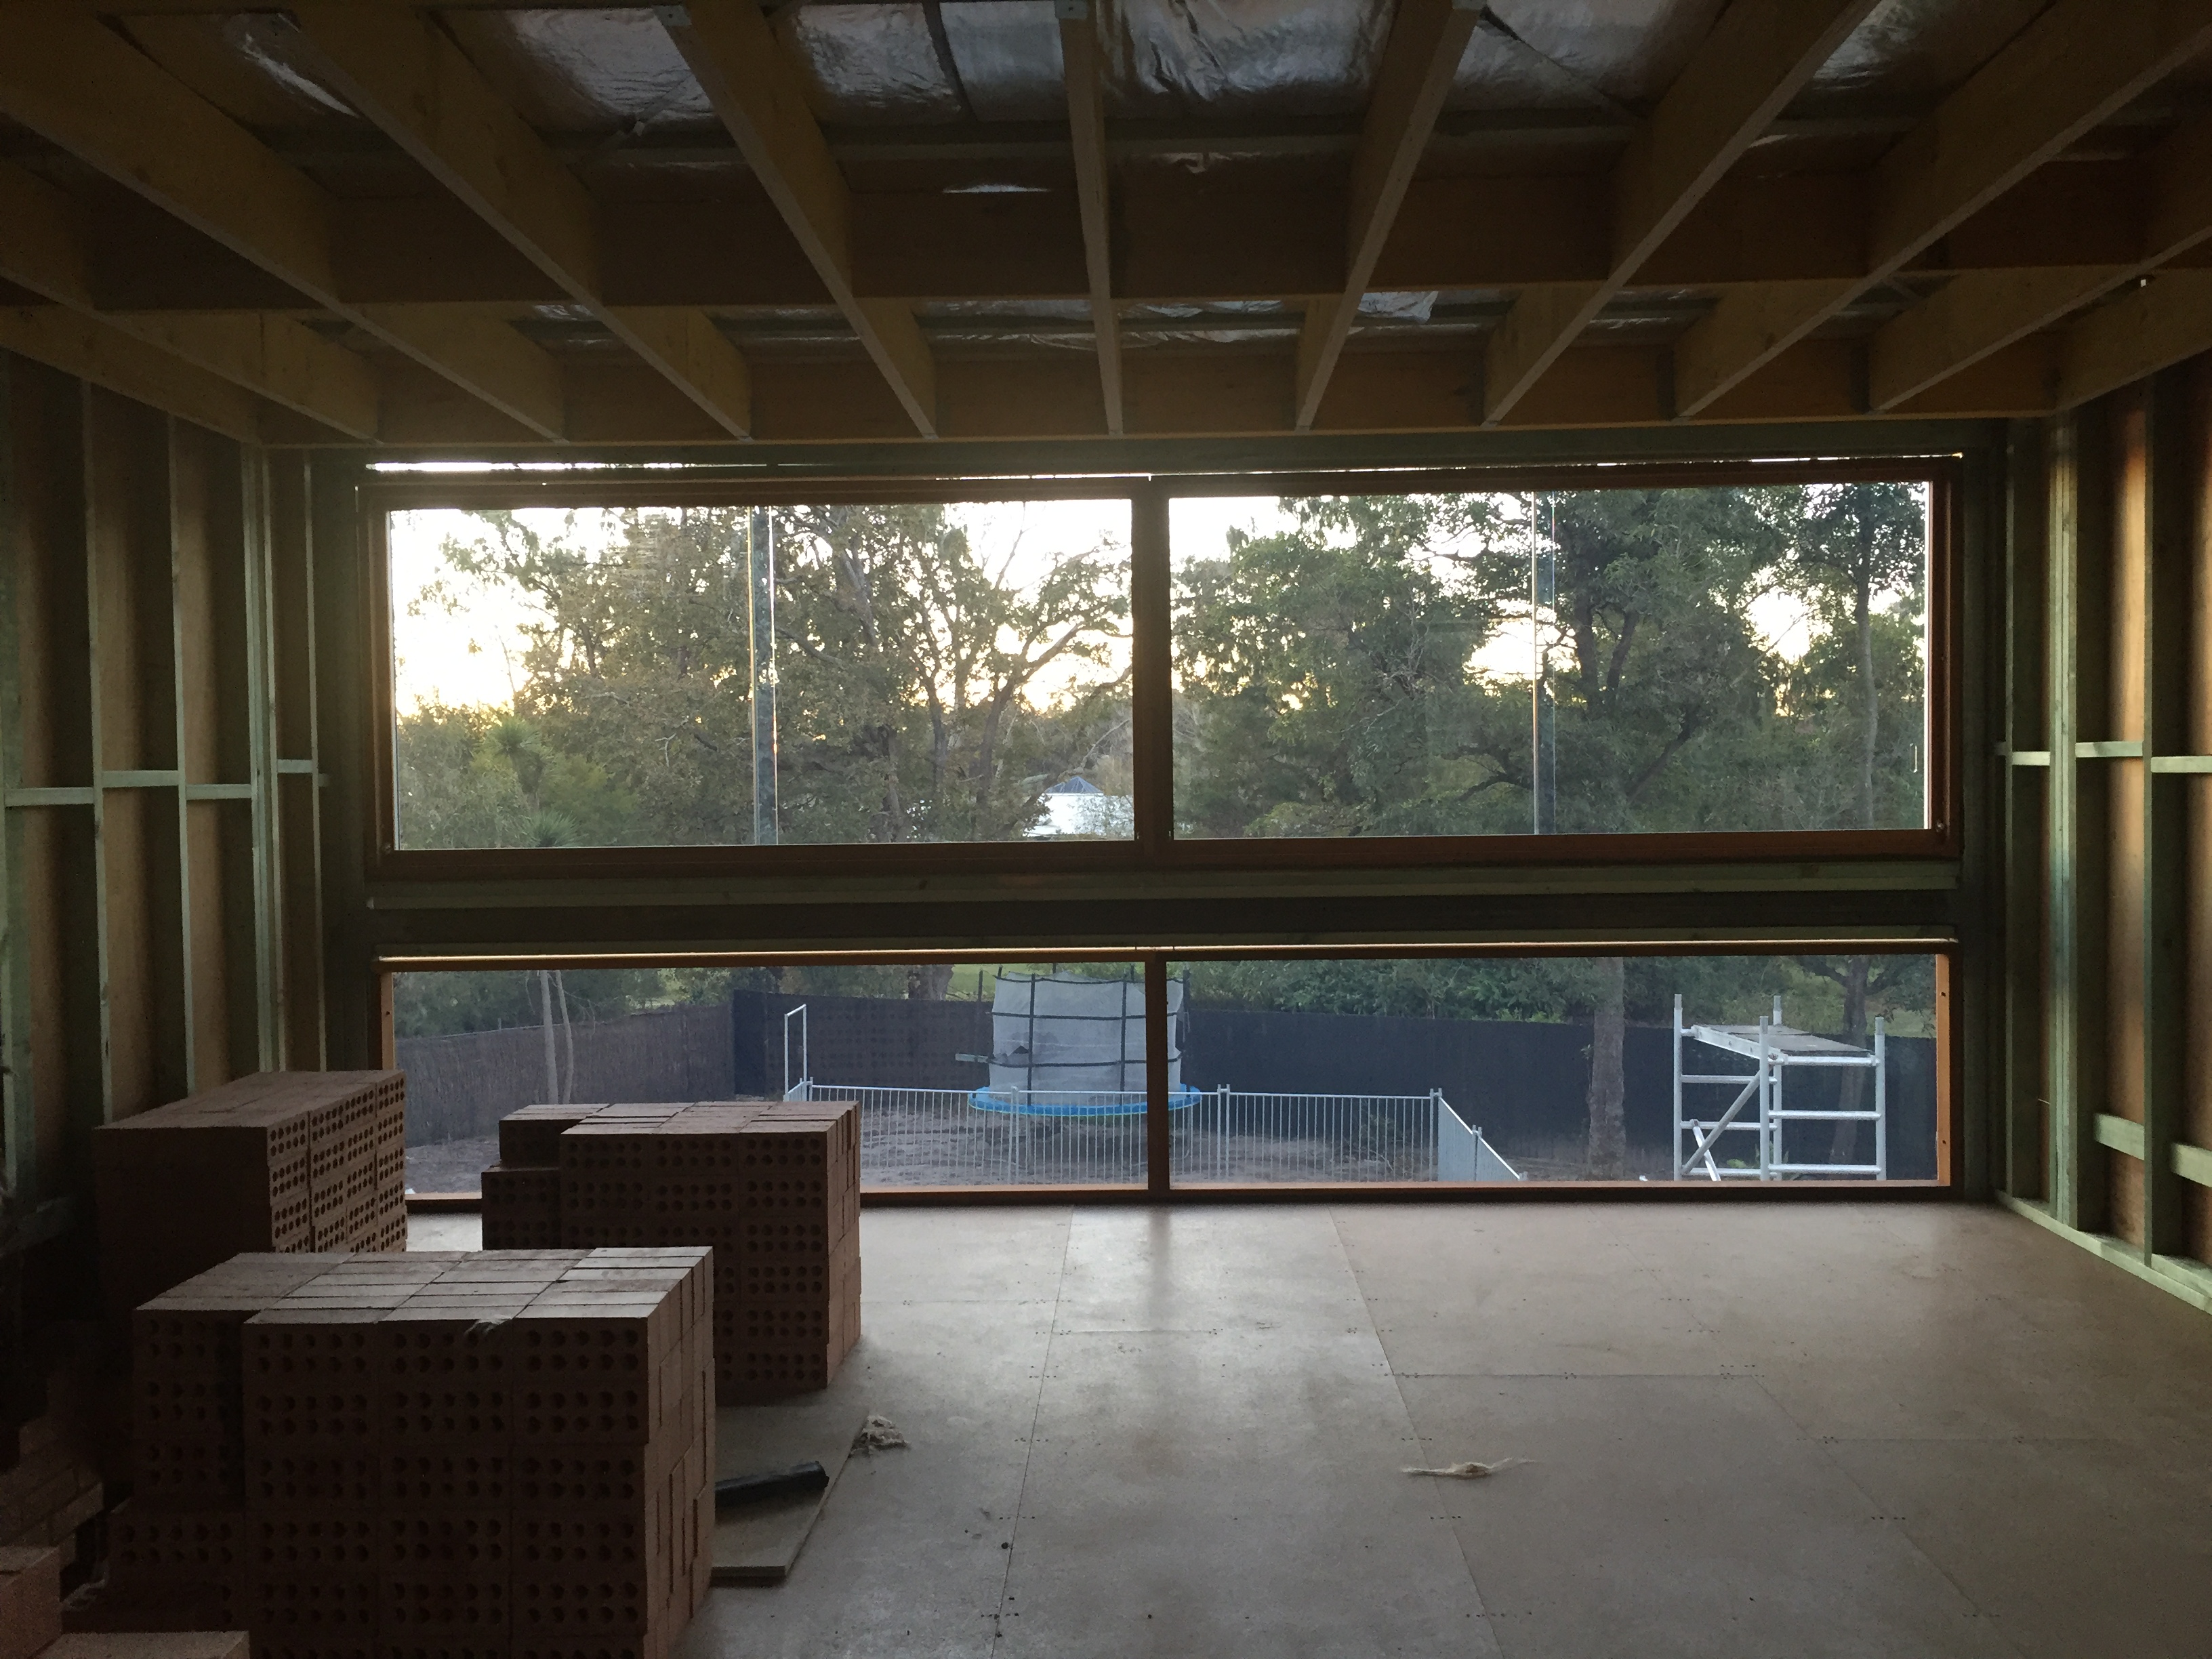 August 2016: The view from the inside of the new upper storey. The beautiful windows again are sashless horizontal windows in cedar frames. The first part of the extension will now need building wrap, roofing, flashing, cladding, painting and capping in order to be properly sealed. Inside the right of the photo, the once-external brick wall is now an internal staircase wall. The bricks will be continued up the wall and painted white in reference to the original P&S style.
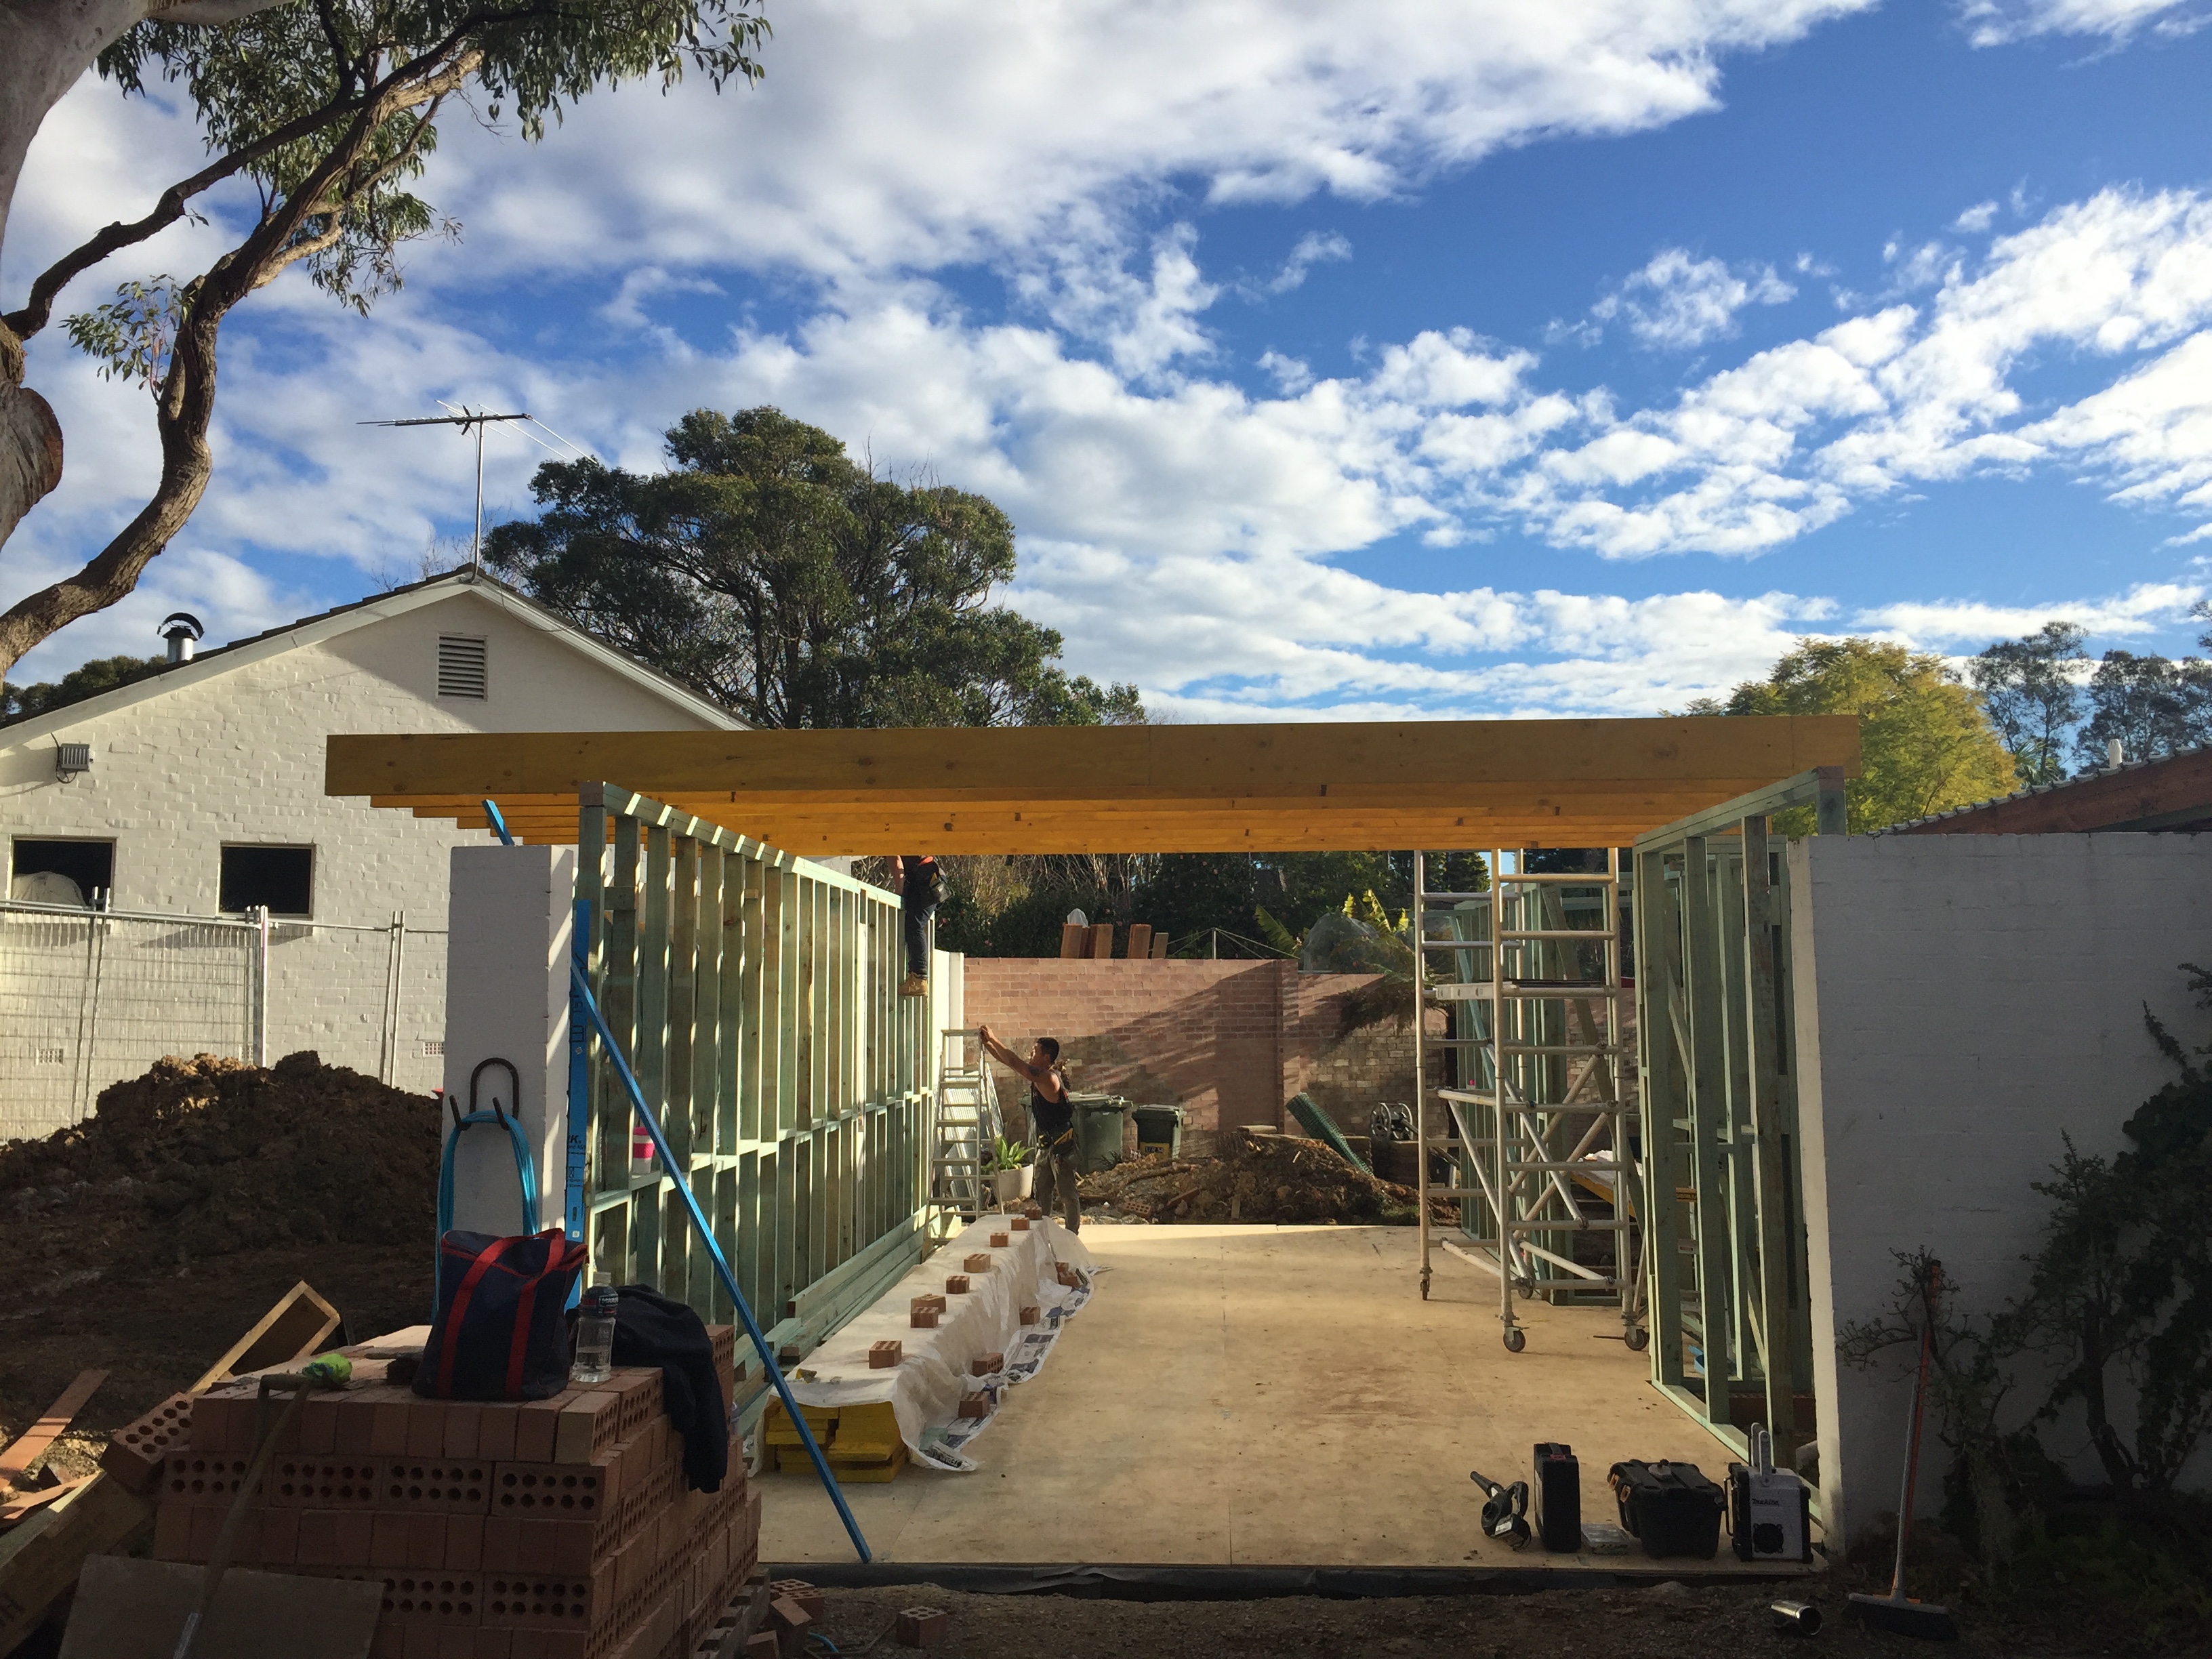 August 2016: With the first part of the extension all framed up and windows in, the team begins construction of the new master bedroom over the old carport. This shows the slab has been laid and the original brick wall has been reinforced ready for framework. 9 metres of concrete was quite something. As the carports in most P&S homes were at the side or front of the property, you can see ours here at the front and adjacent to the neighbour’s garage. Luckily we are not looking down on their home.
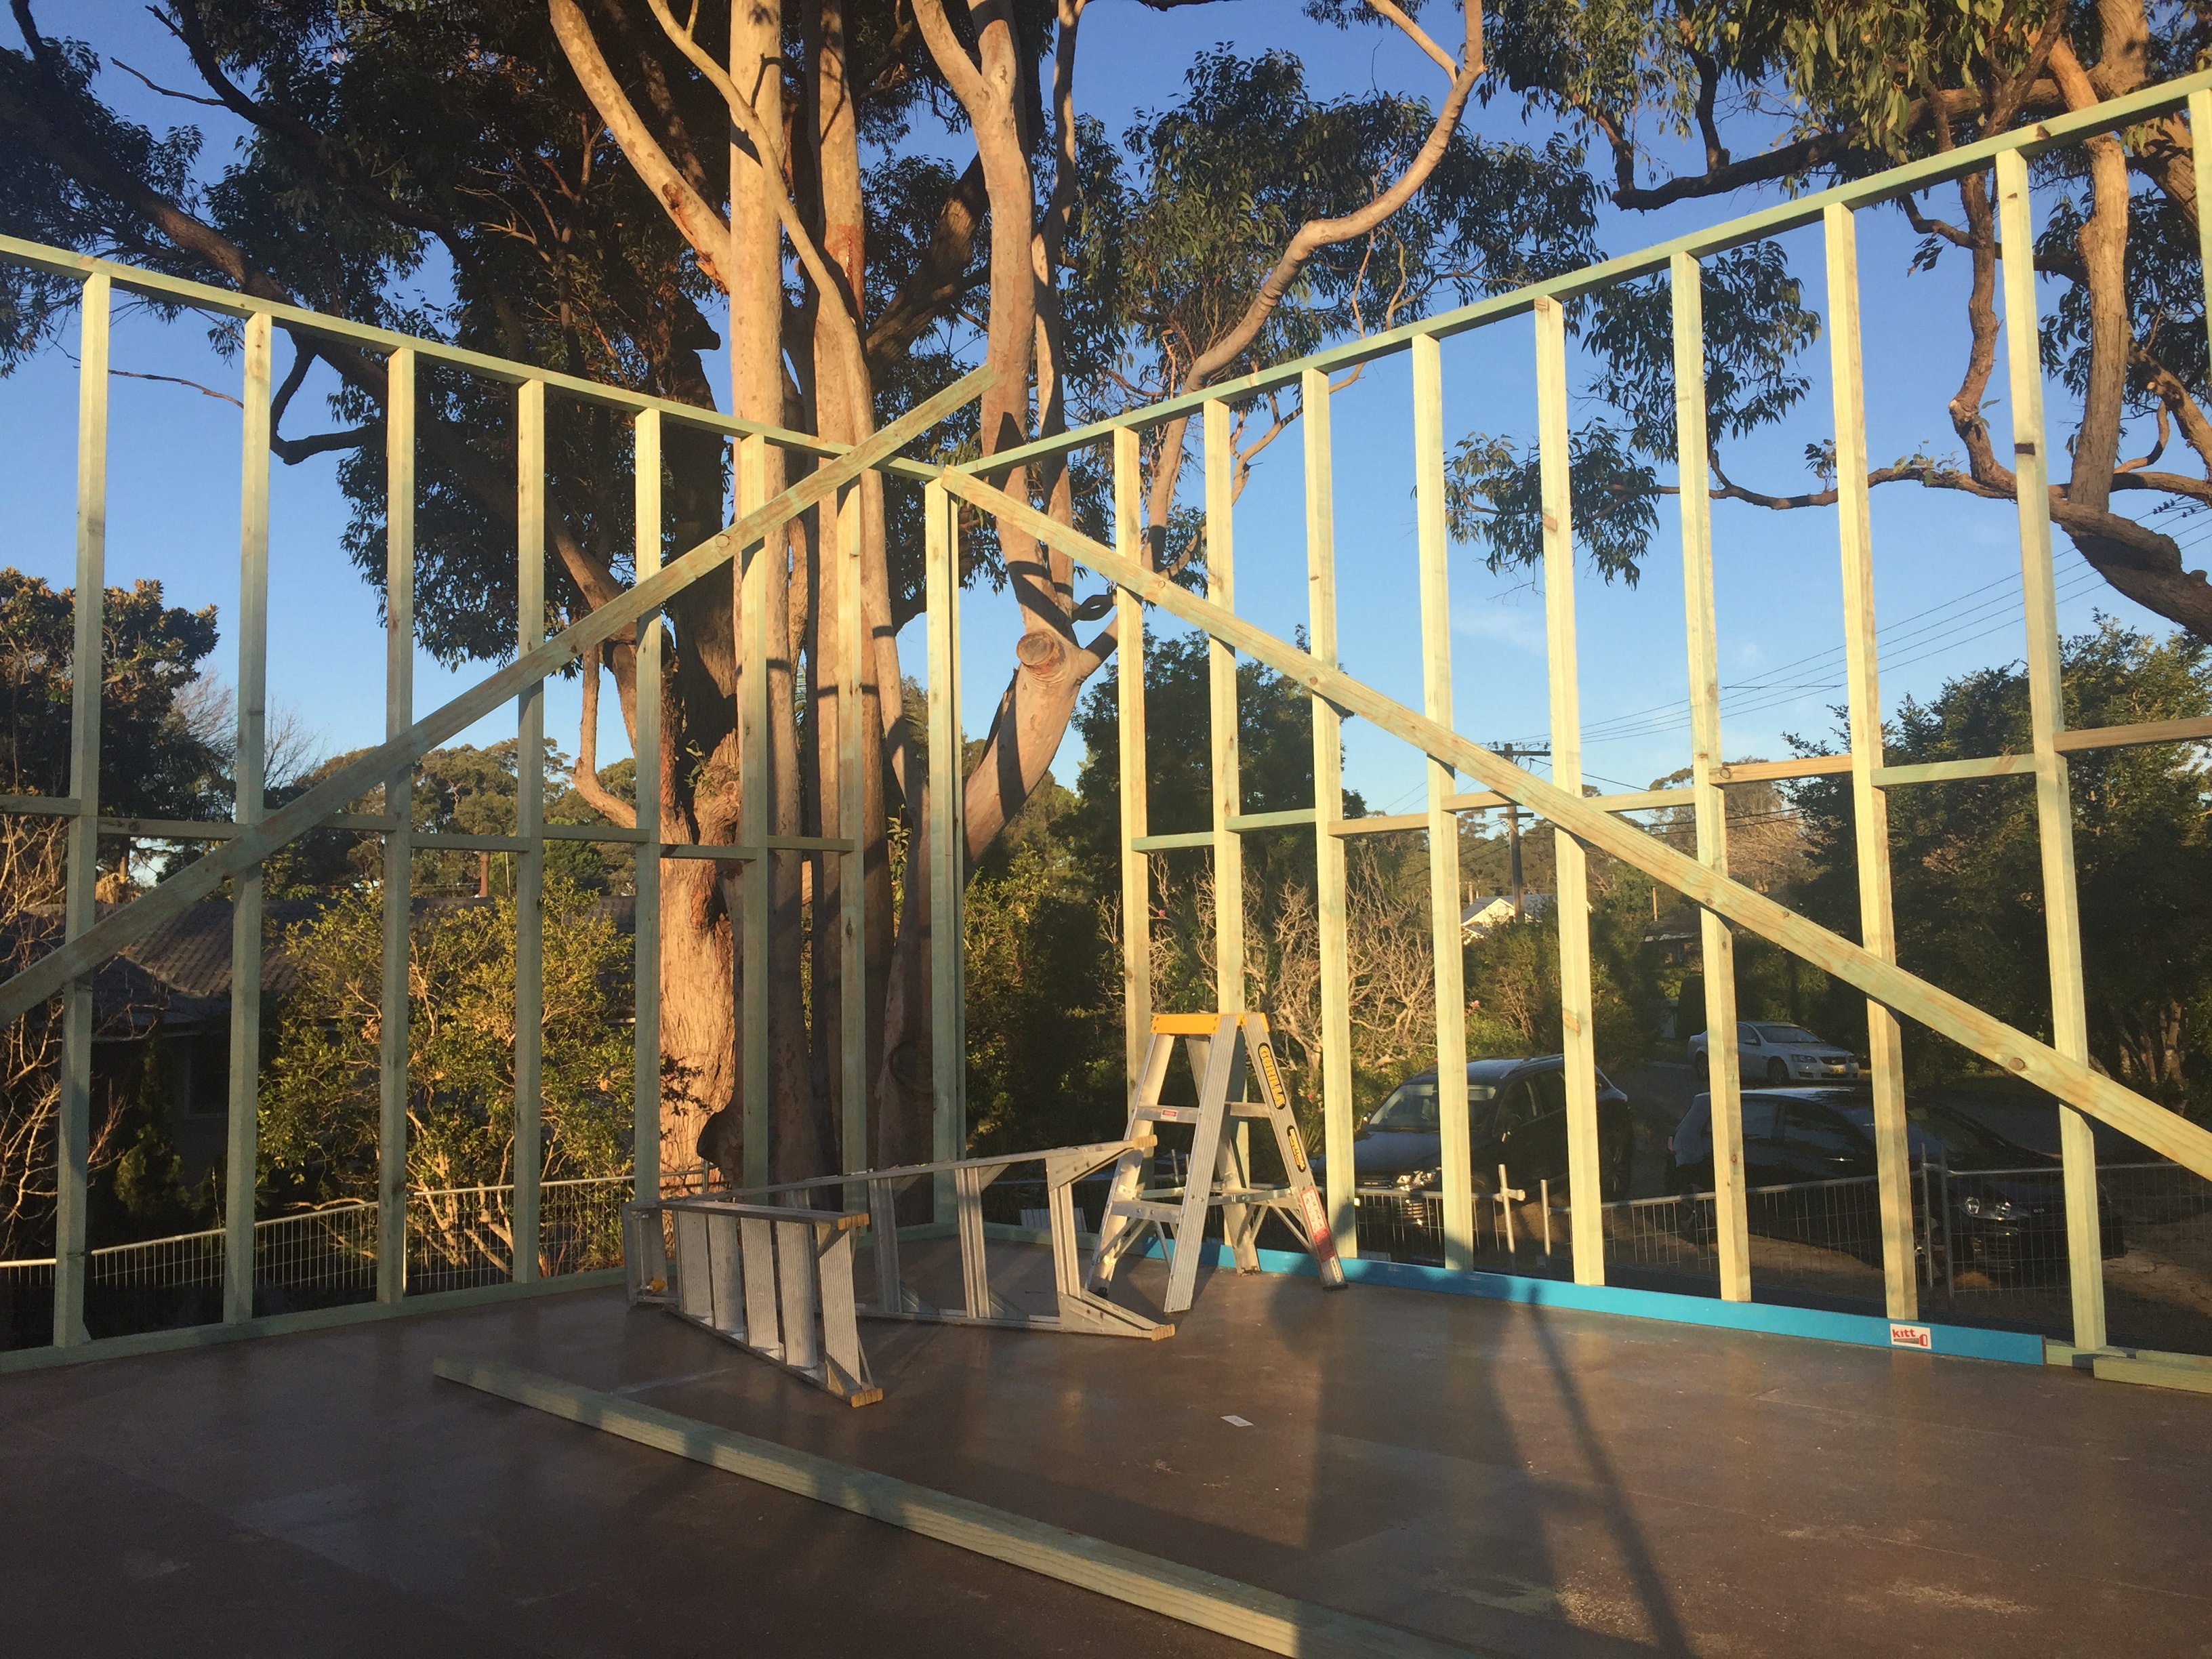 Late August 2016: Up to the trees we go. The carport is now a garage and the framework for the upper-storey master bedroom begins. The design enables us to enter the master bedroom from an opening created in the existing house which will take us up the new stairs.
 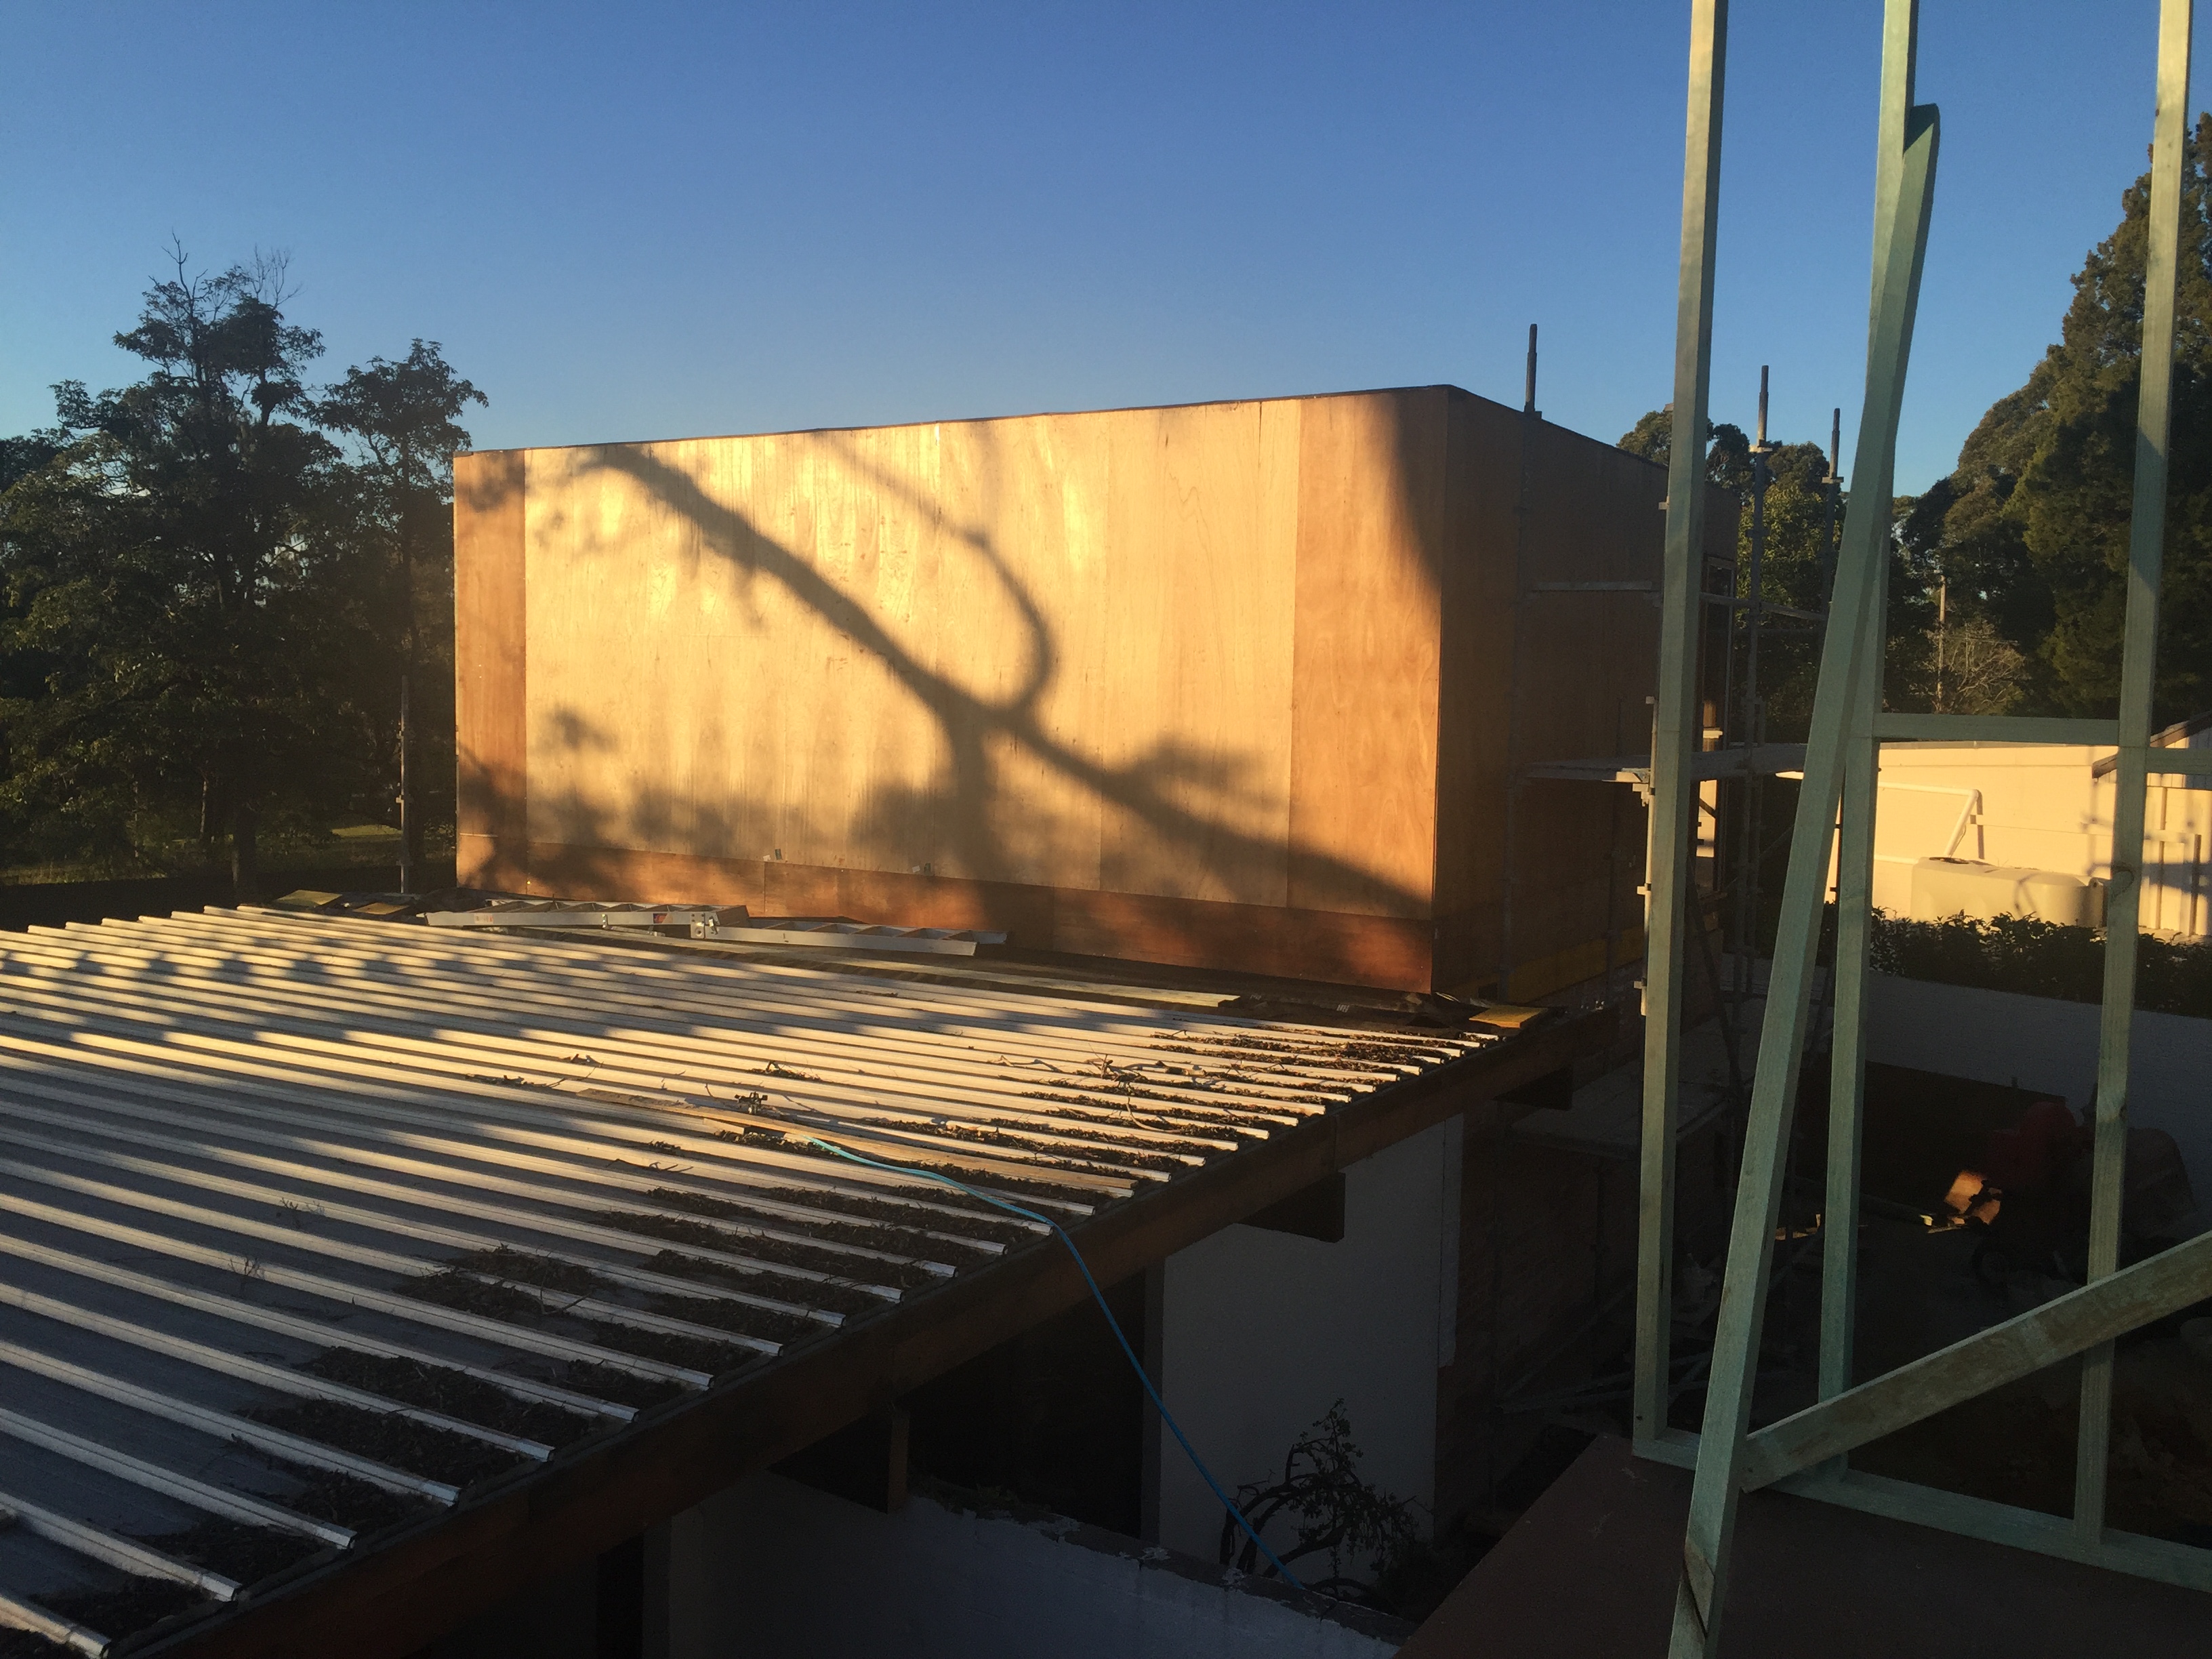 Late August 2016: From the as yet unbuilt master bedroom you can see the new living extension across the way, awaiting new roofing for the old house and cladding on the new section. We are still living in the exisiting house.
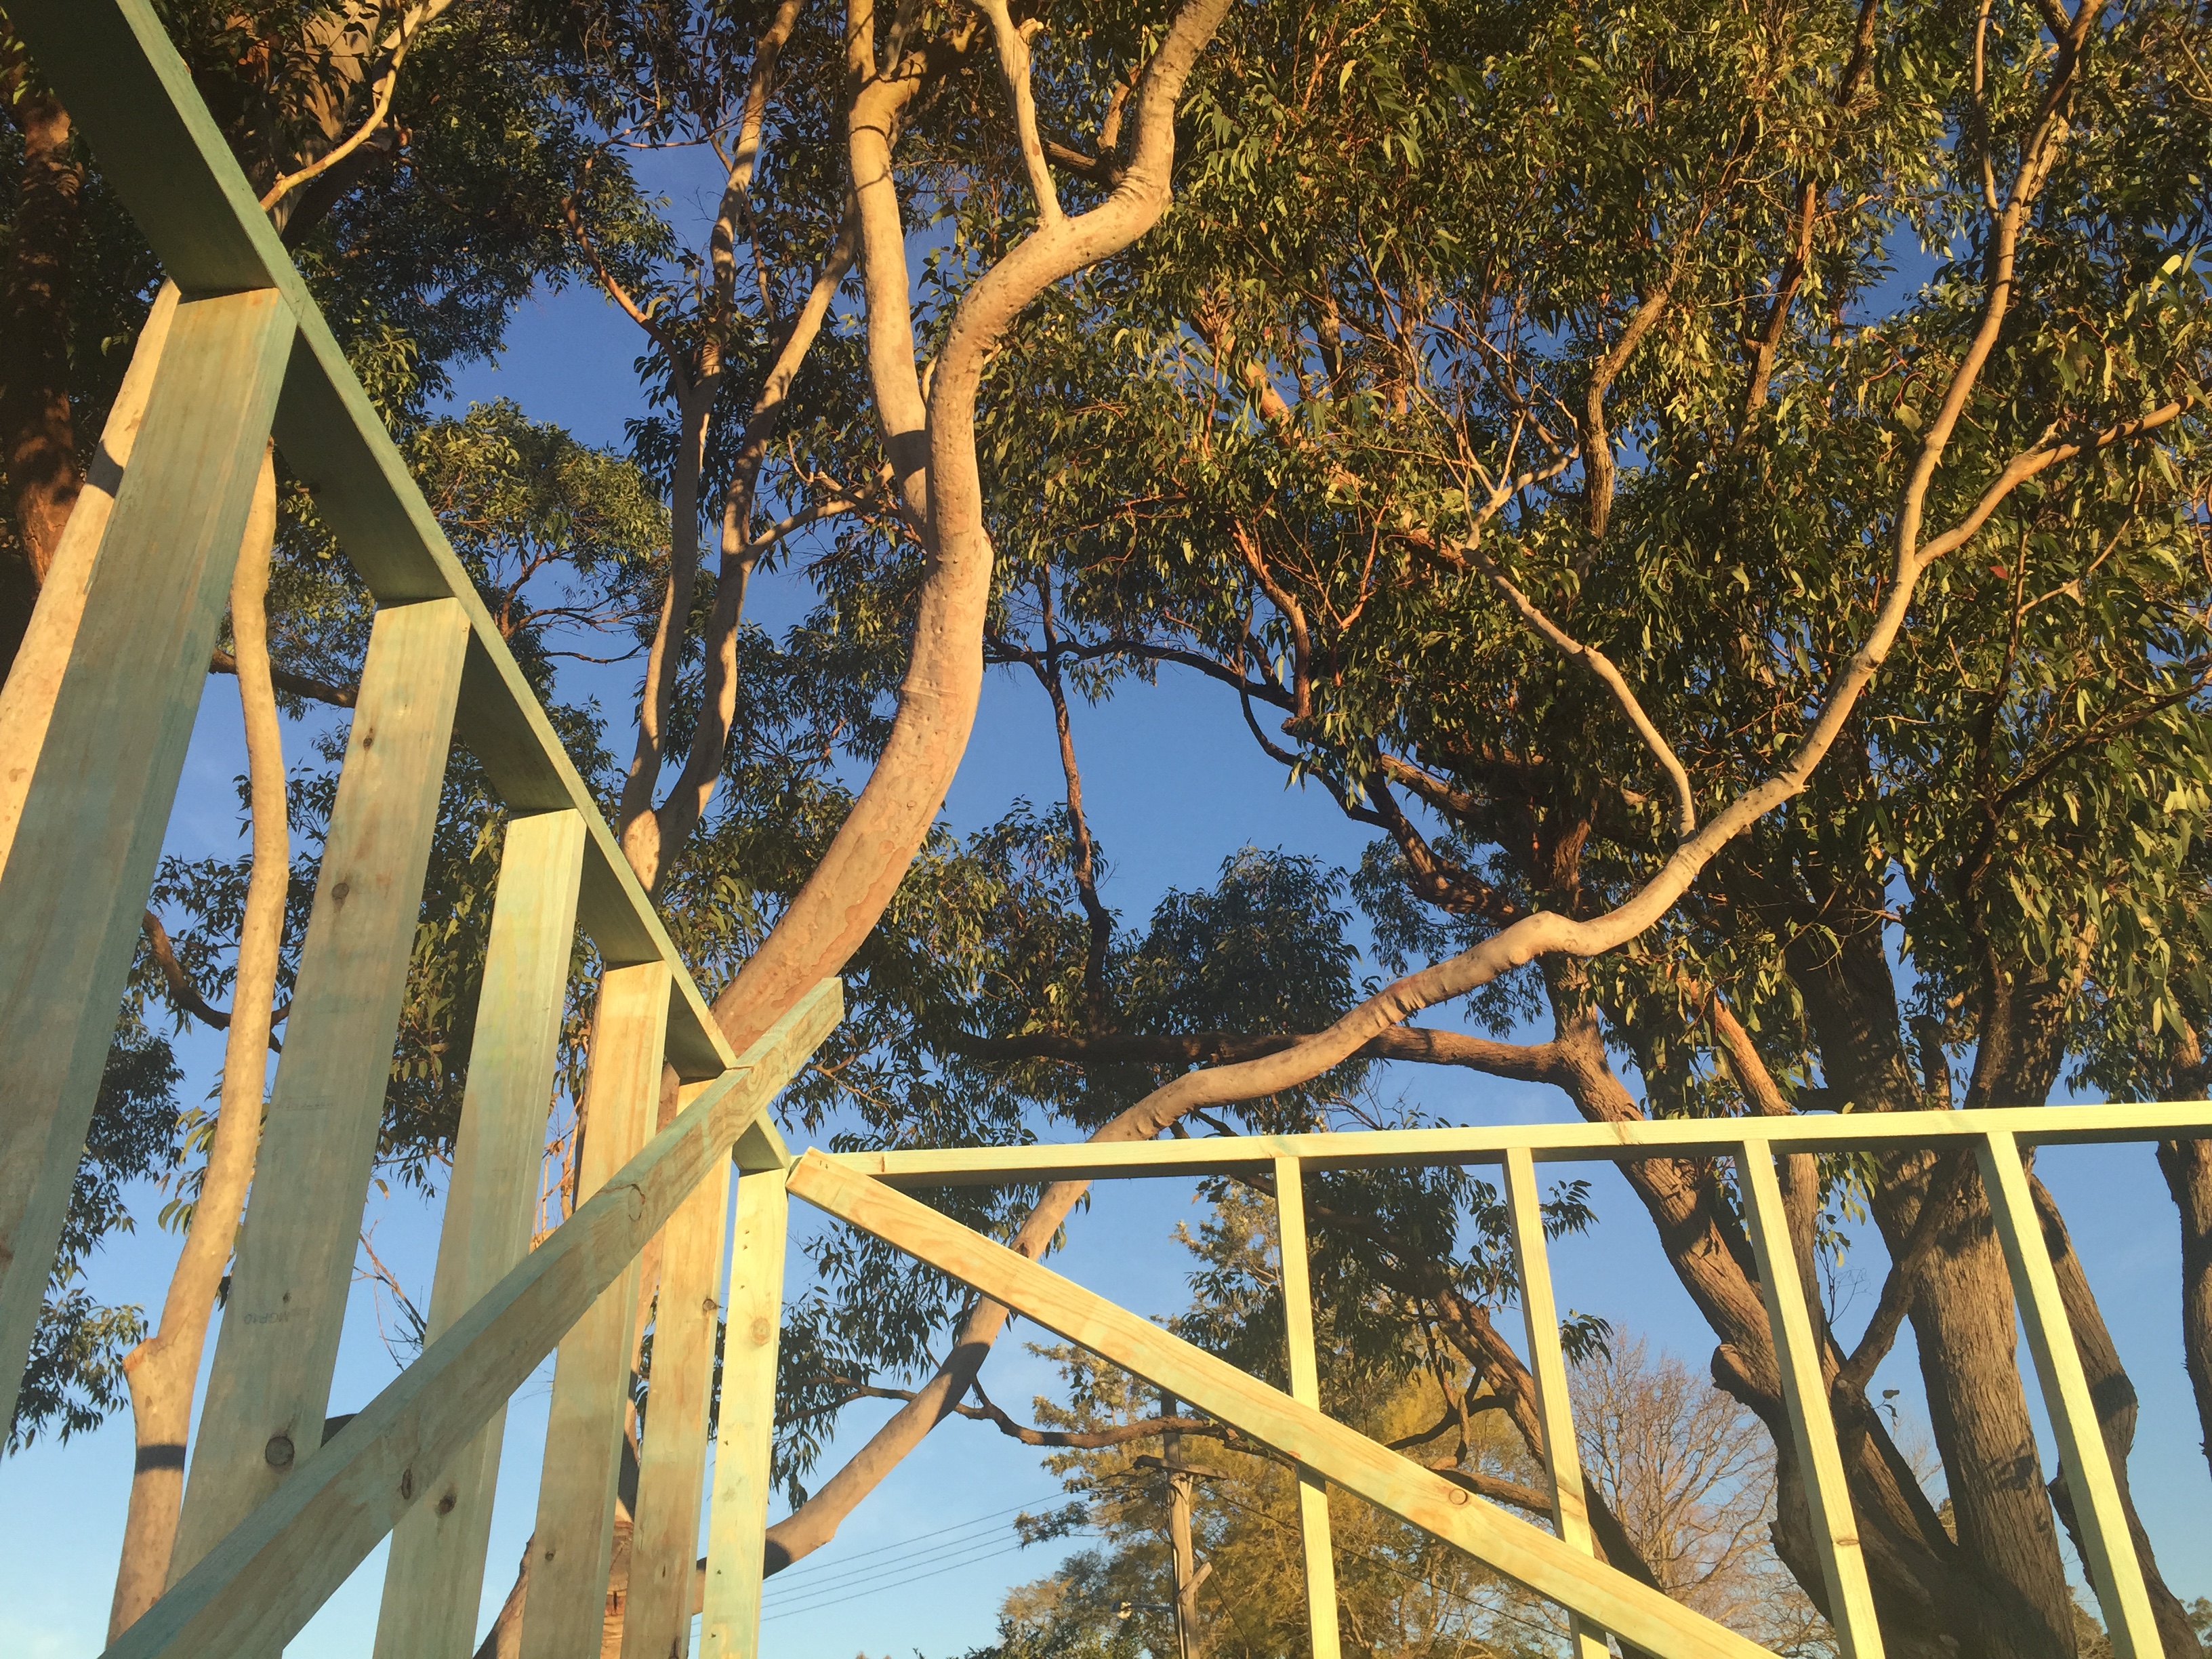 Our beautiful Angophora tree will frame the master bedroom extension. And to think Council was paranoid we’d chop it down – that would be a crime in my view. Most Pettit and Sevitt homes had the benefit of landscape design which was carried out by Landscape Architect Bruce MacKenzie to ensure the houses sat within and ‘communed’ with the landscape. As more of the P&S project homes were built, you can see how they have situated the houses to make the most of the natural aspect, slope or trees of the area. Eucalypts like the Angophora are common across Sydney and the two Iron Bark trees on our property are thought to be rare and old examples of the forrest beyond our area which is part of Kur ring gai. We’re glad they weren’t lost.
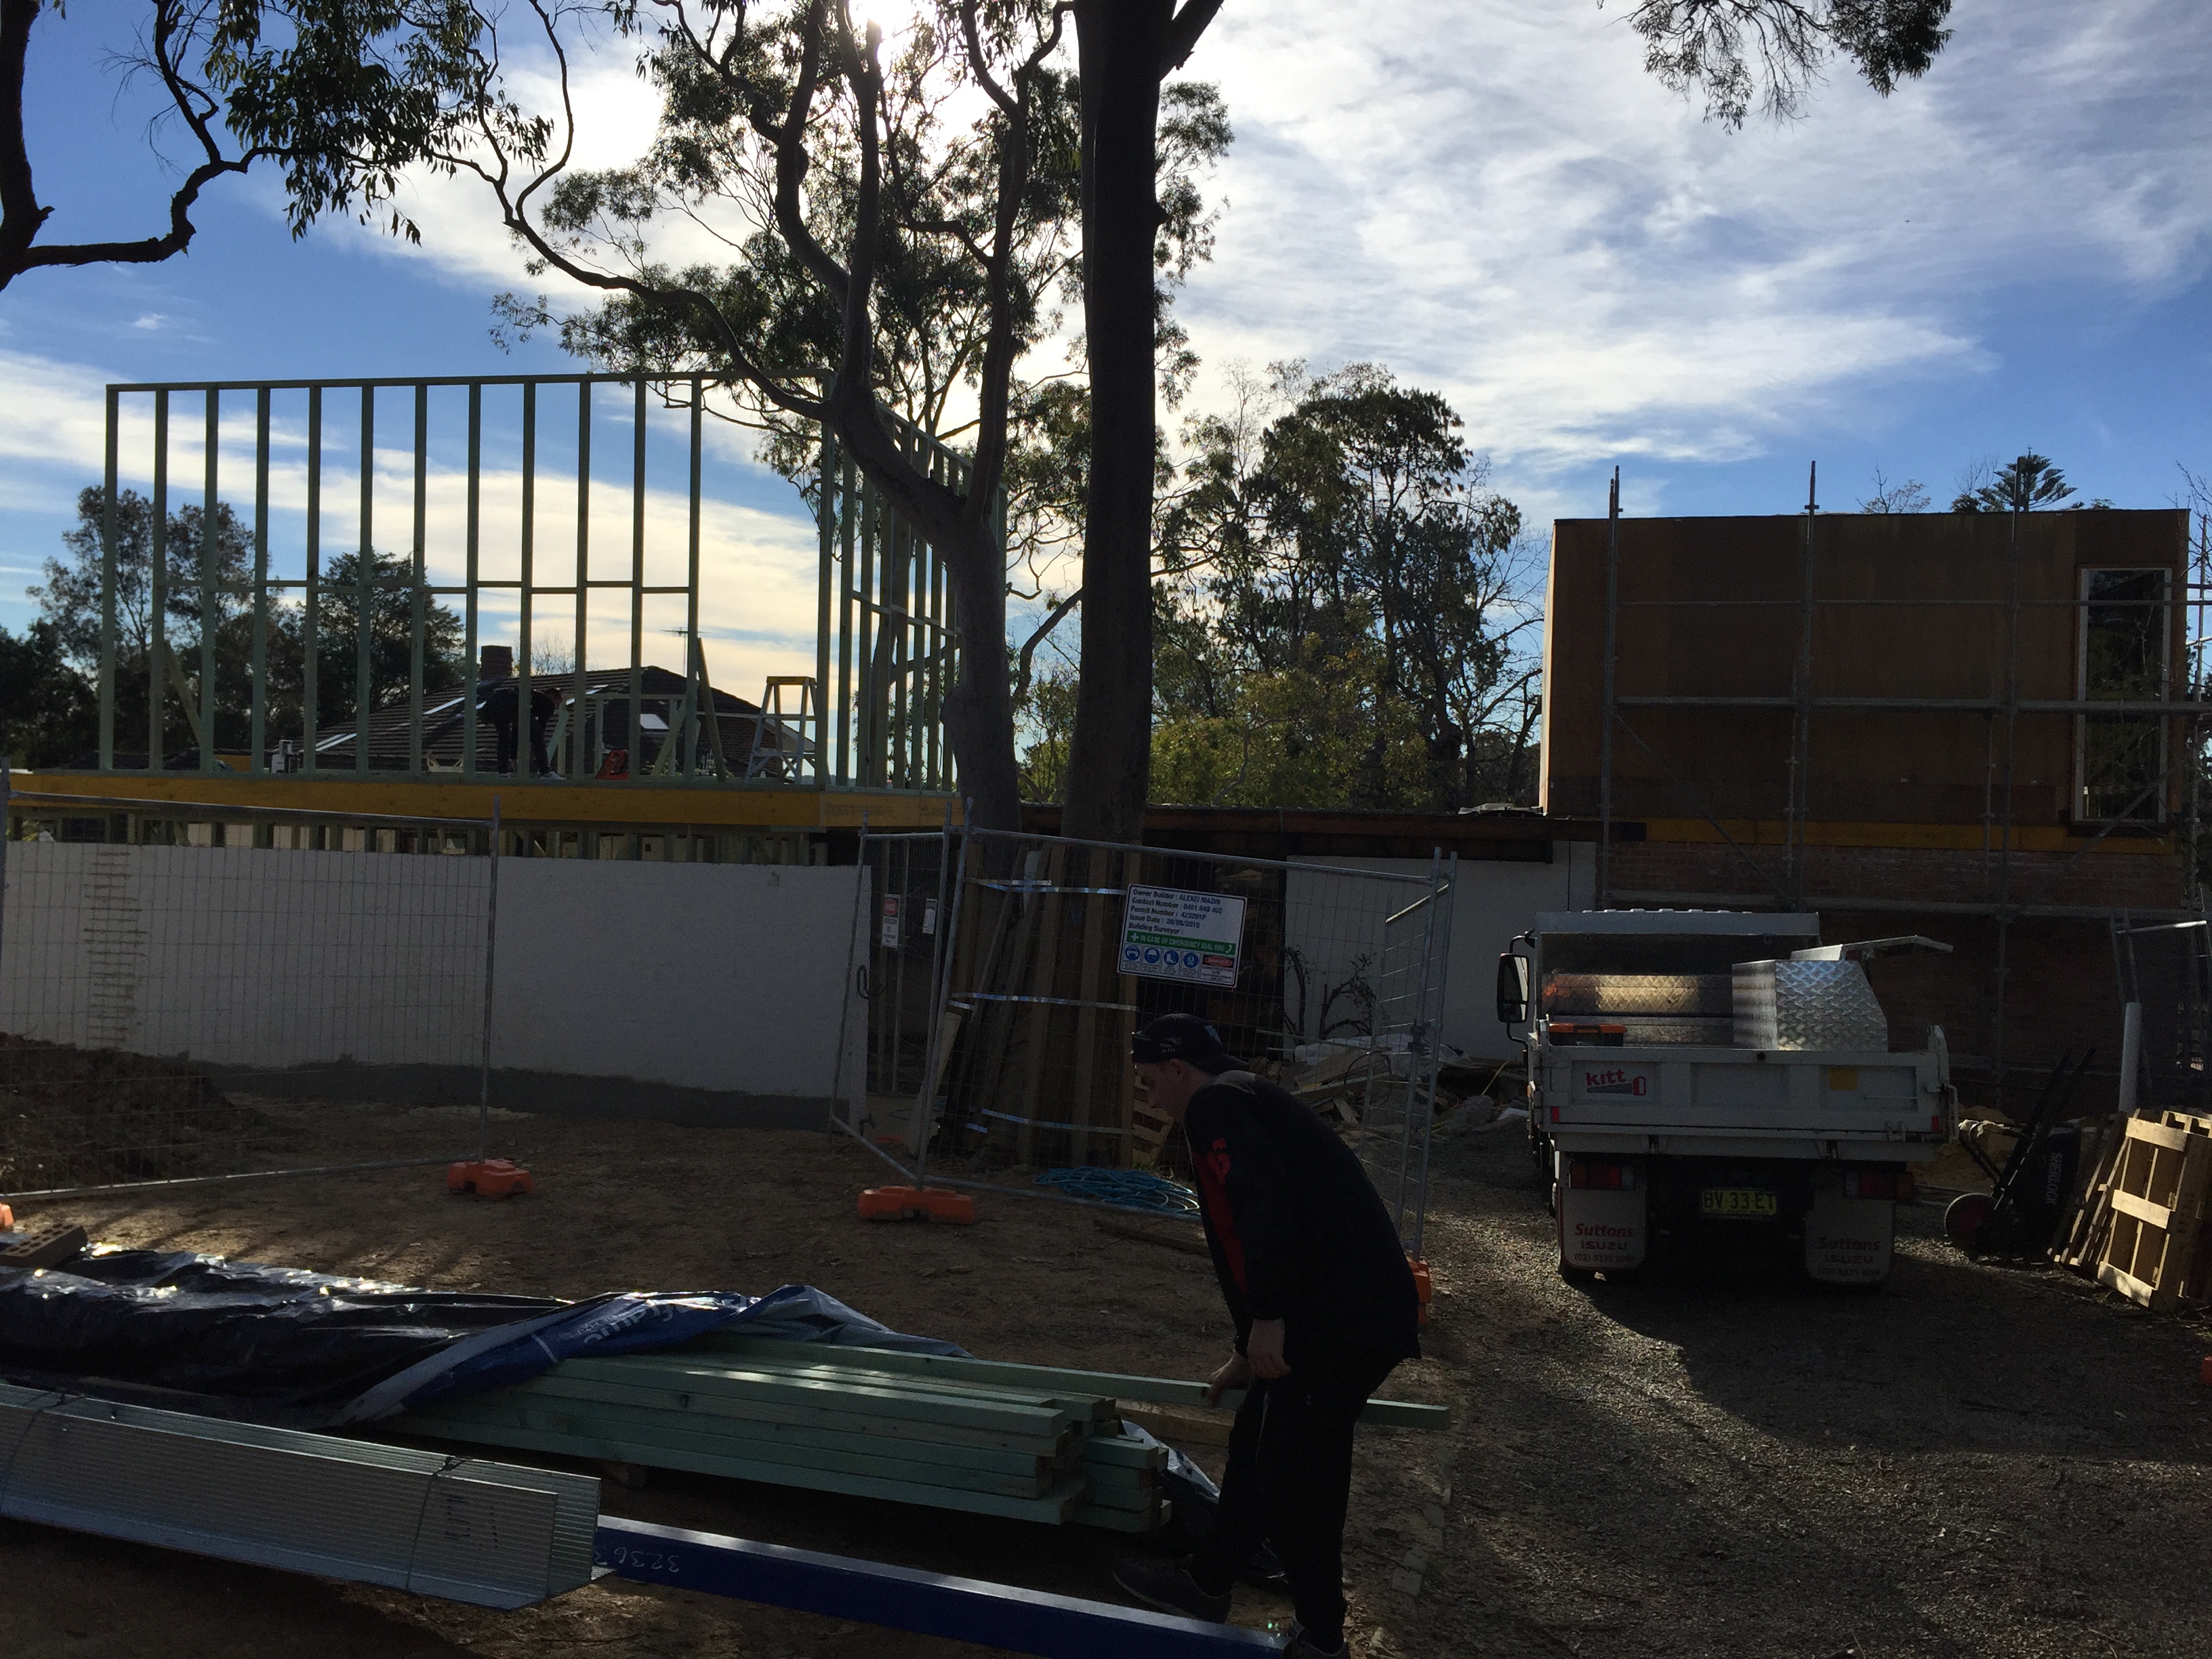
Late August 2016: Looking south east to the front, Master bedroom framework going up, as our next batch of windows will arrive in a month.
 Late August 2016: Looking south west the Master bedroom will have a bathroom
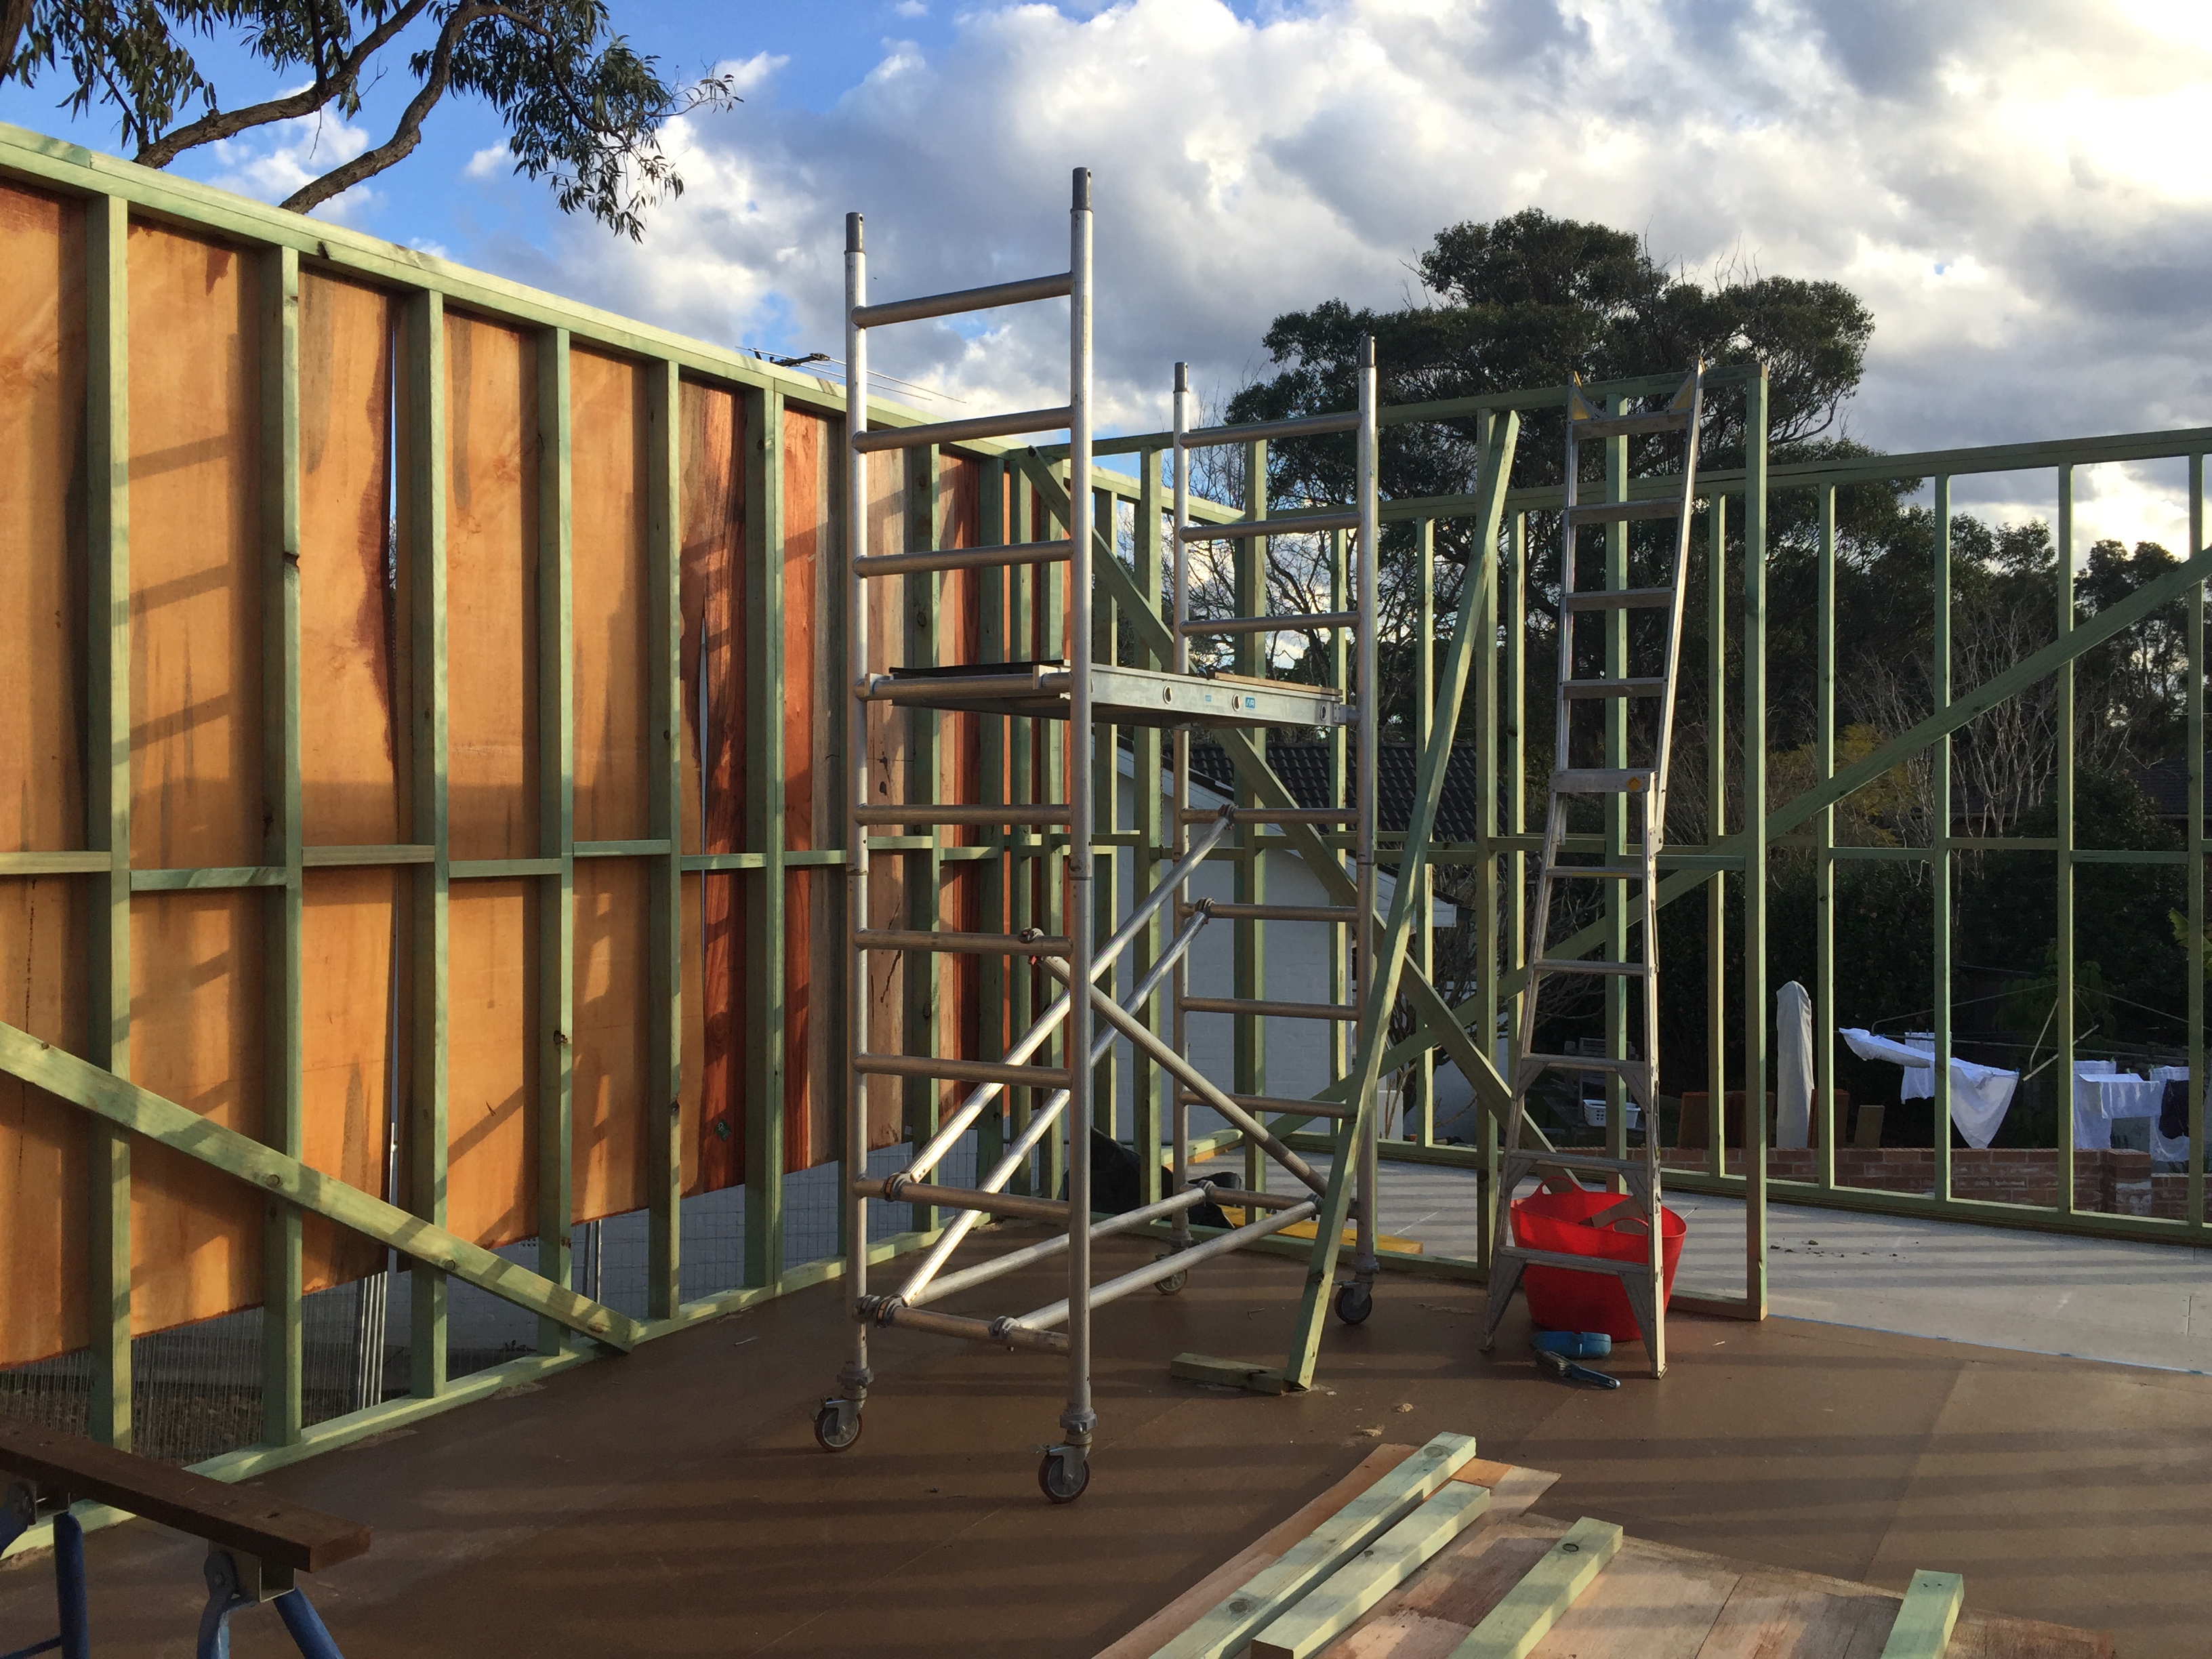 Late August 2016: Framework and plywood reinforcement continues on the upper level Master bedroom and bathroom
 Son: “Mum this garage would be SO great for a pool table / basketball / pin pong” ….! Me: “I’m parking my car away from the Huntsmans!”Late August: 2016: The view from the driveway now showing the 2 parts of the extension. Apologies for crooked photo
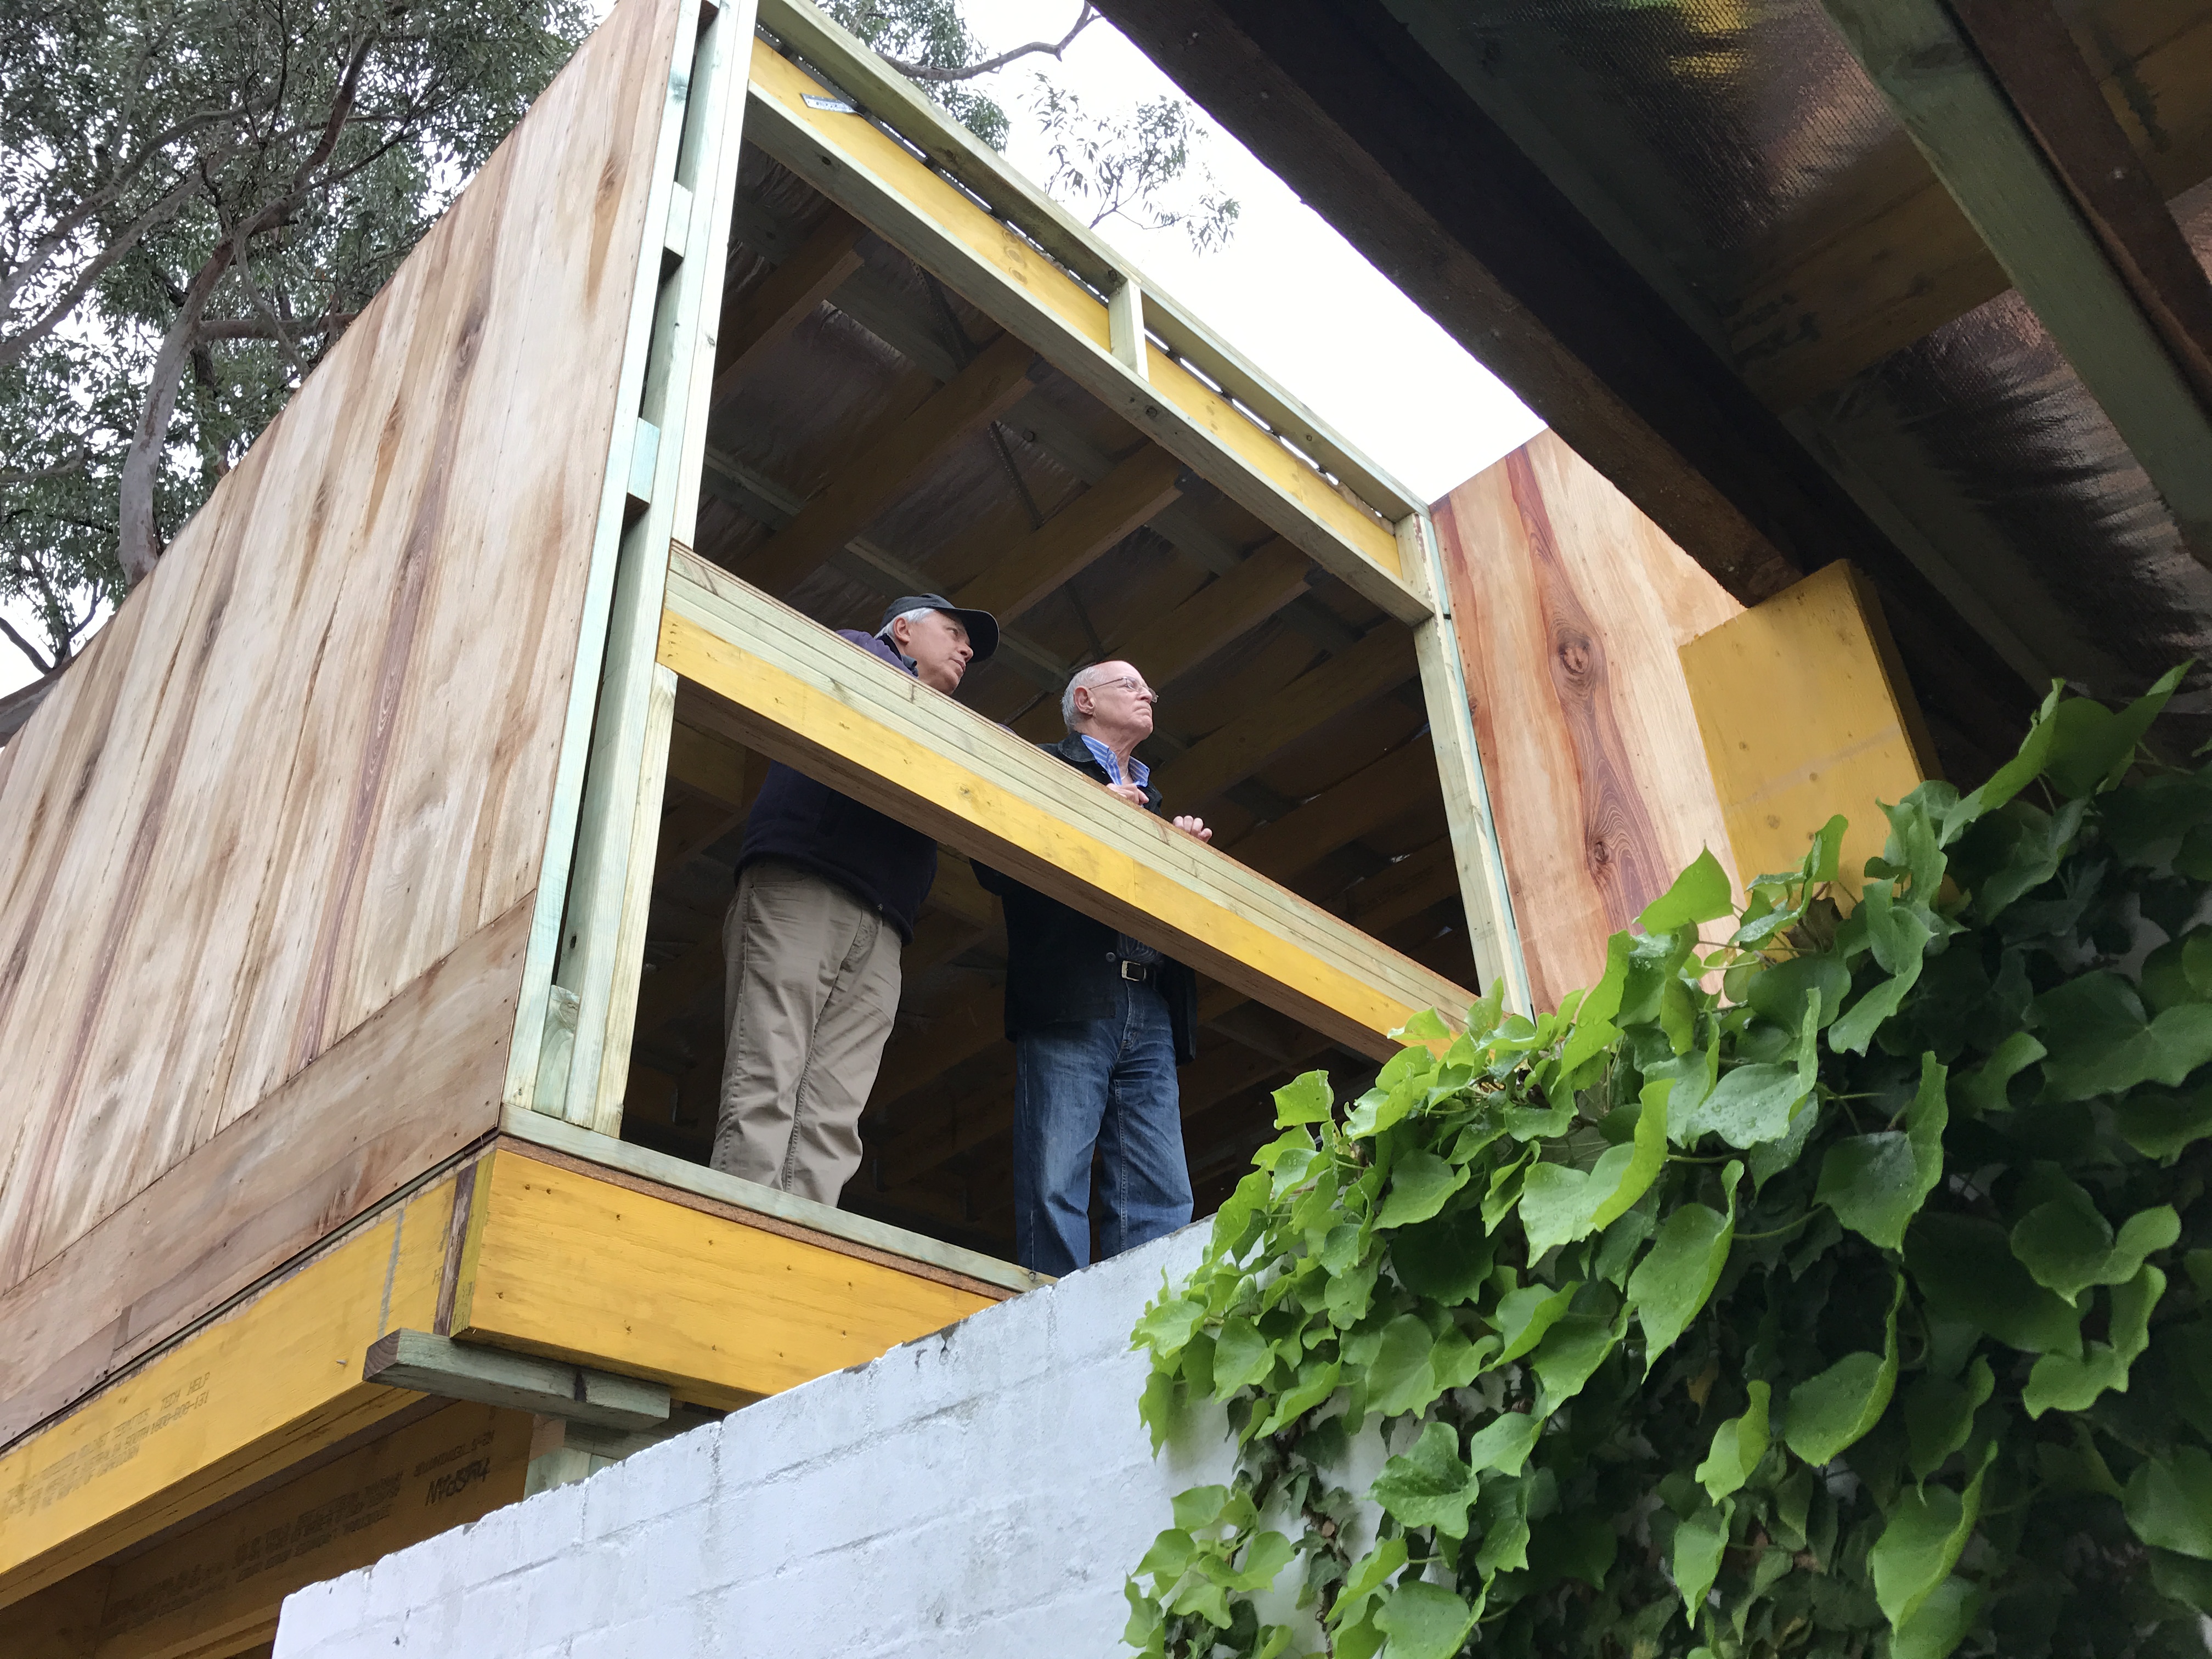 Late August 2016: A visit from Dad
Late August 2016: It was a happy day when my Dad came over for a peak at the progress. My parents tried not to visit the building site, as it was full of hazards.
So, when he came around and had a look, he said “It’s getting there, you’re doing a great job.” It made me feel unbelievably happy.
Our wish has never been to build a mansion. We wanted a home that provided enough space for our family to grow over time, and become the hub for our kids as they became teenagers. Rather than spend all their time at other people’s houses (because ours was like an apartment in size), we wanted them to be able to enjoy home with their friends, and with us. We like entertaining our extended family and good friends as we had pre-children.
That we found a house which was architecturally beautiful, even if old, was a stroke of luck. Many P+S homes are bulldozed without a second thought by people who are sometimes unaware of the comforts they offer.

November 2016: The rest of our windows and doors arrive thanks to Moar Window & Doors in Armidale NSW.
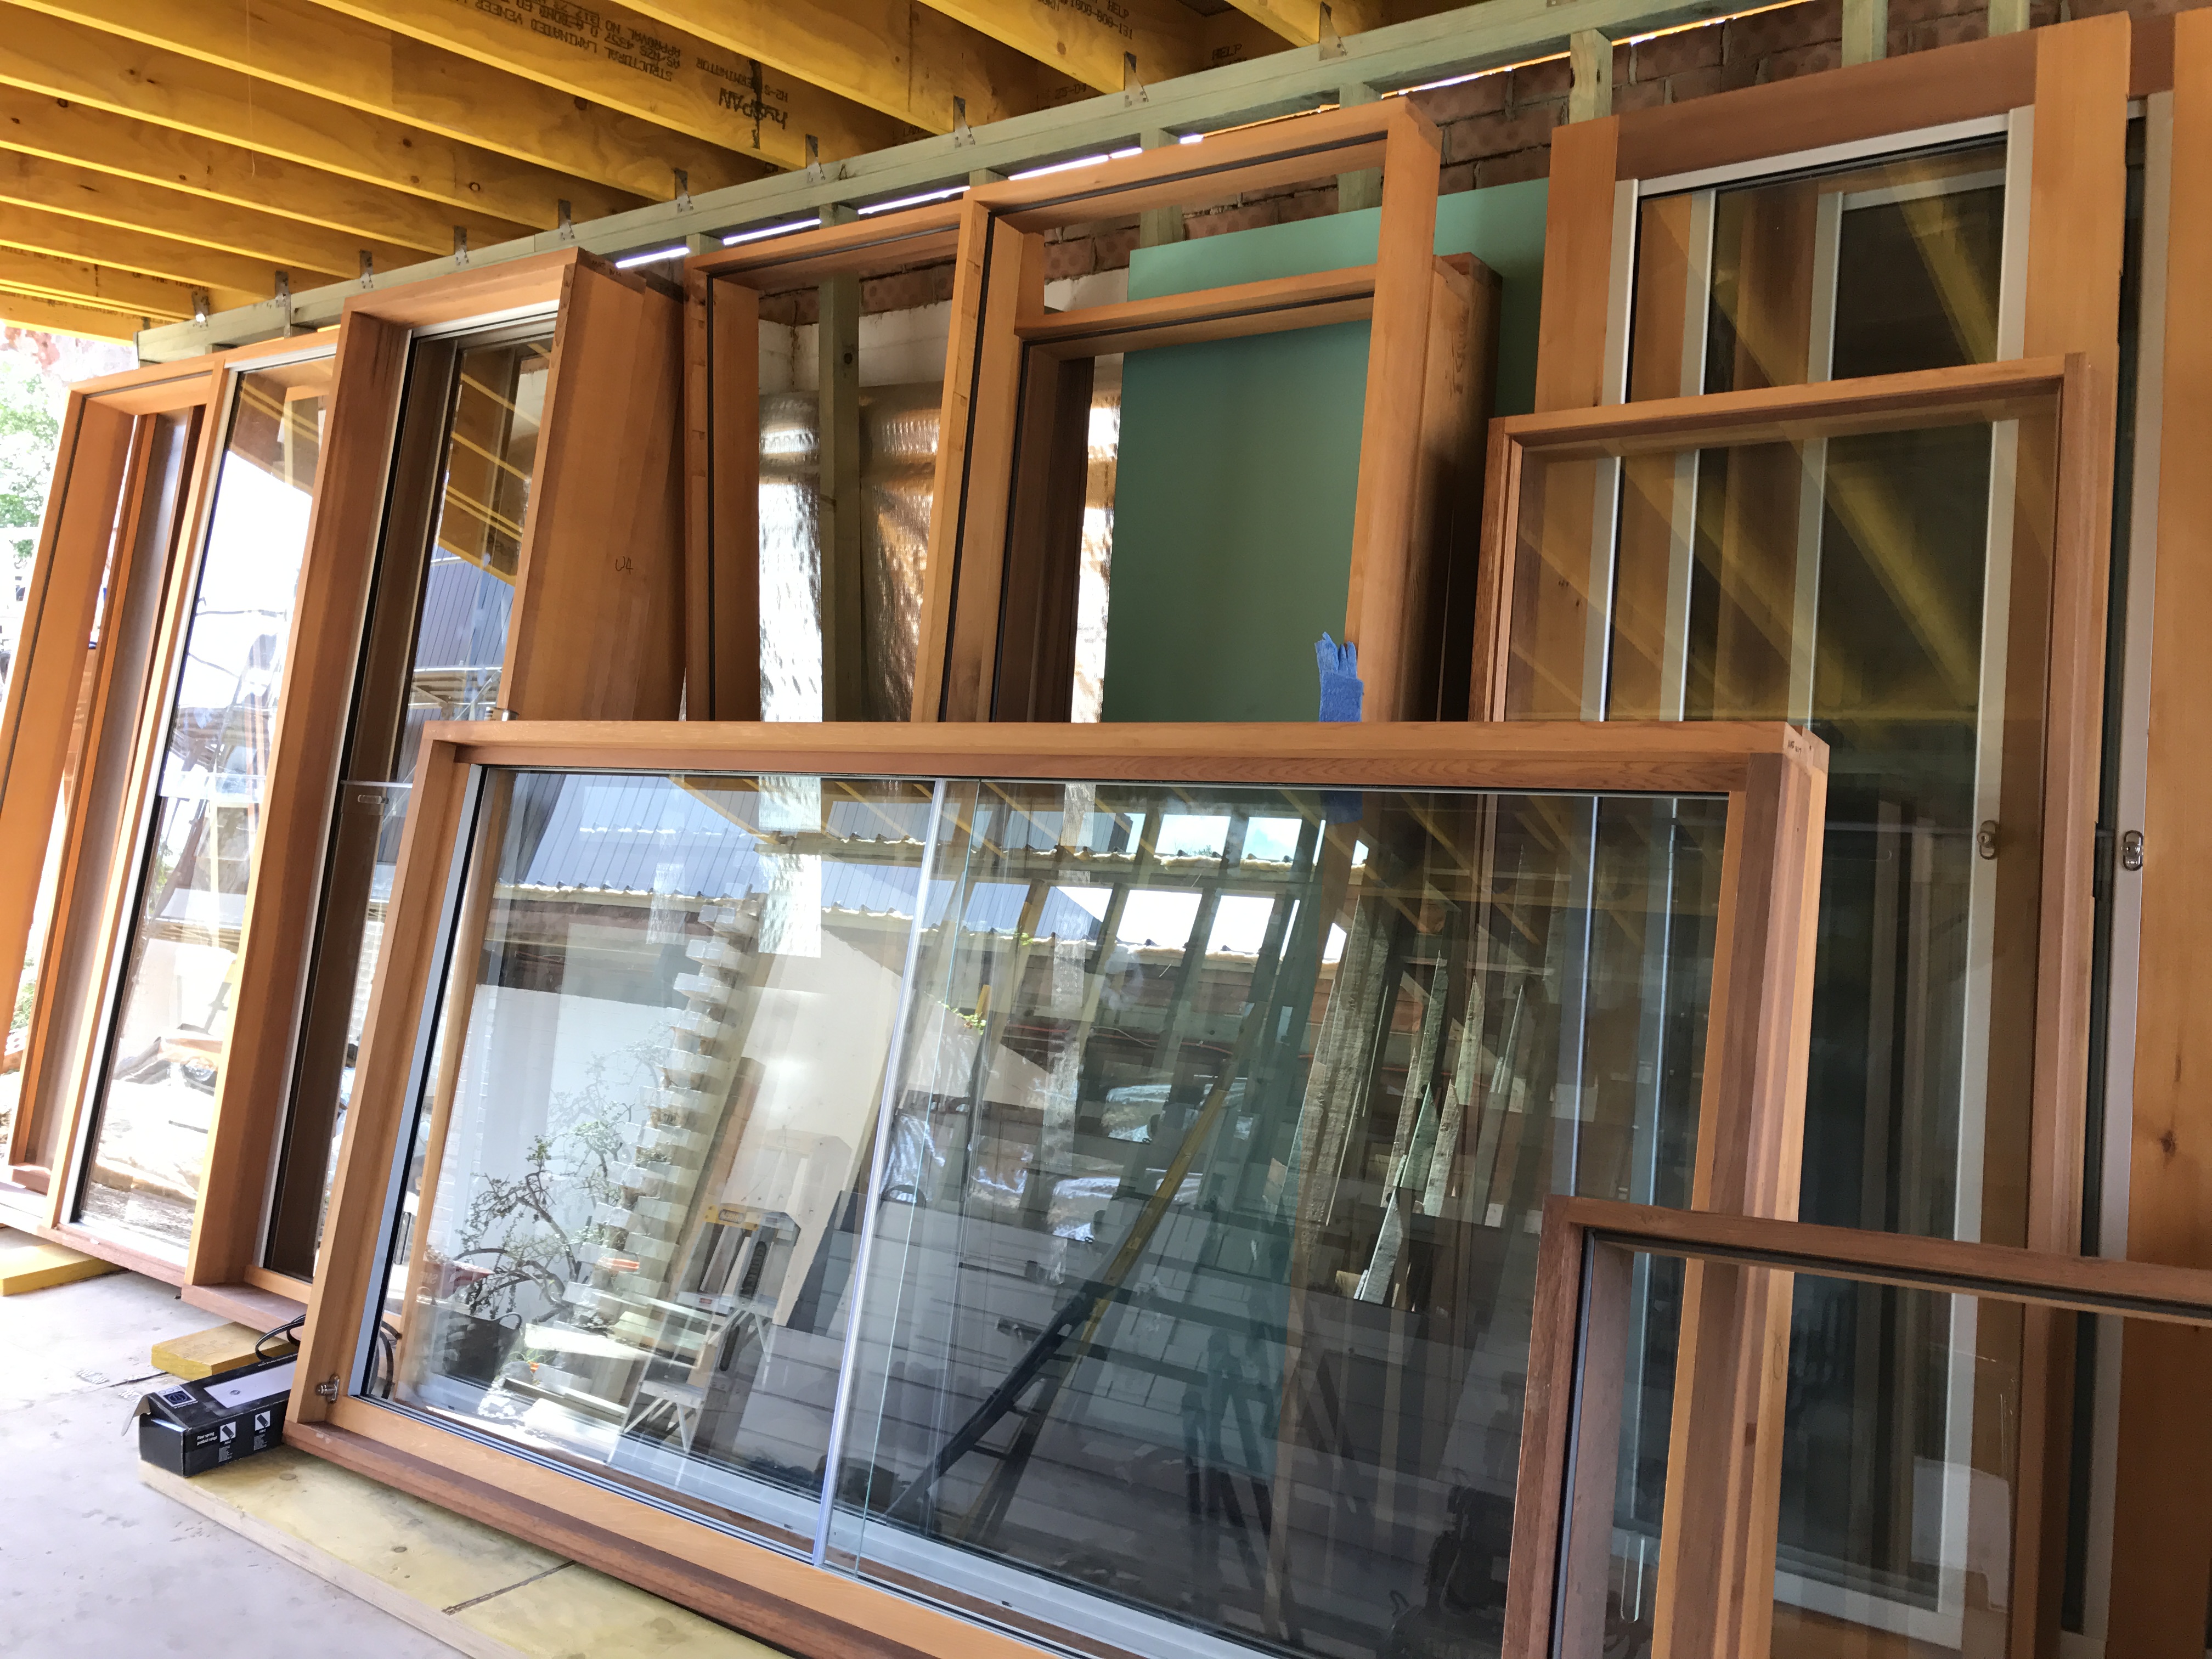 November 2016: Windows and doors offloaded and ready for installation
At the rear of the living extension, the mega Lift & Slide is 5.5m wide and 2.4m high. It is sensational. This photo is just before the old door adjacent is replaced with a matching sliding door. On the right: the stairwell to the top can be seen.
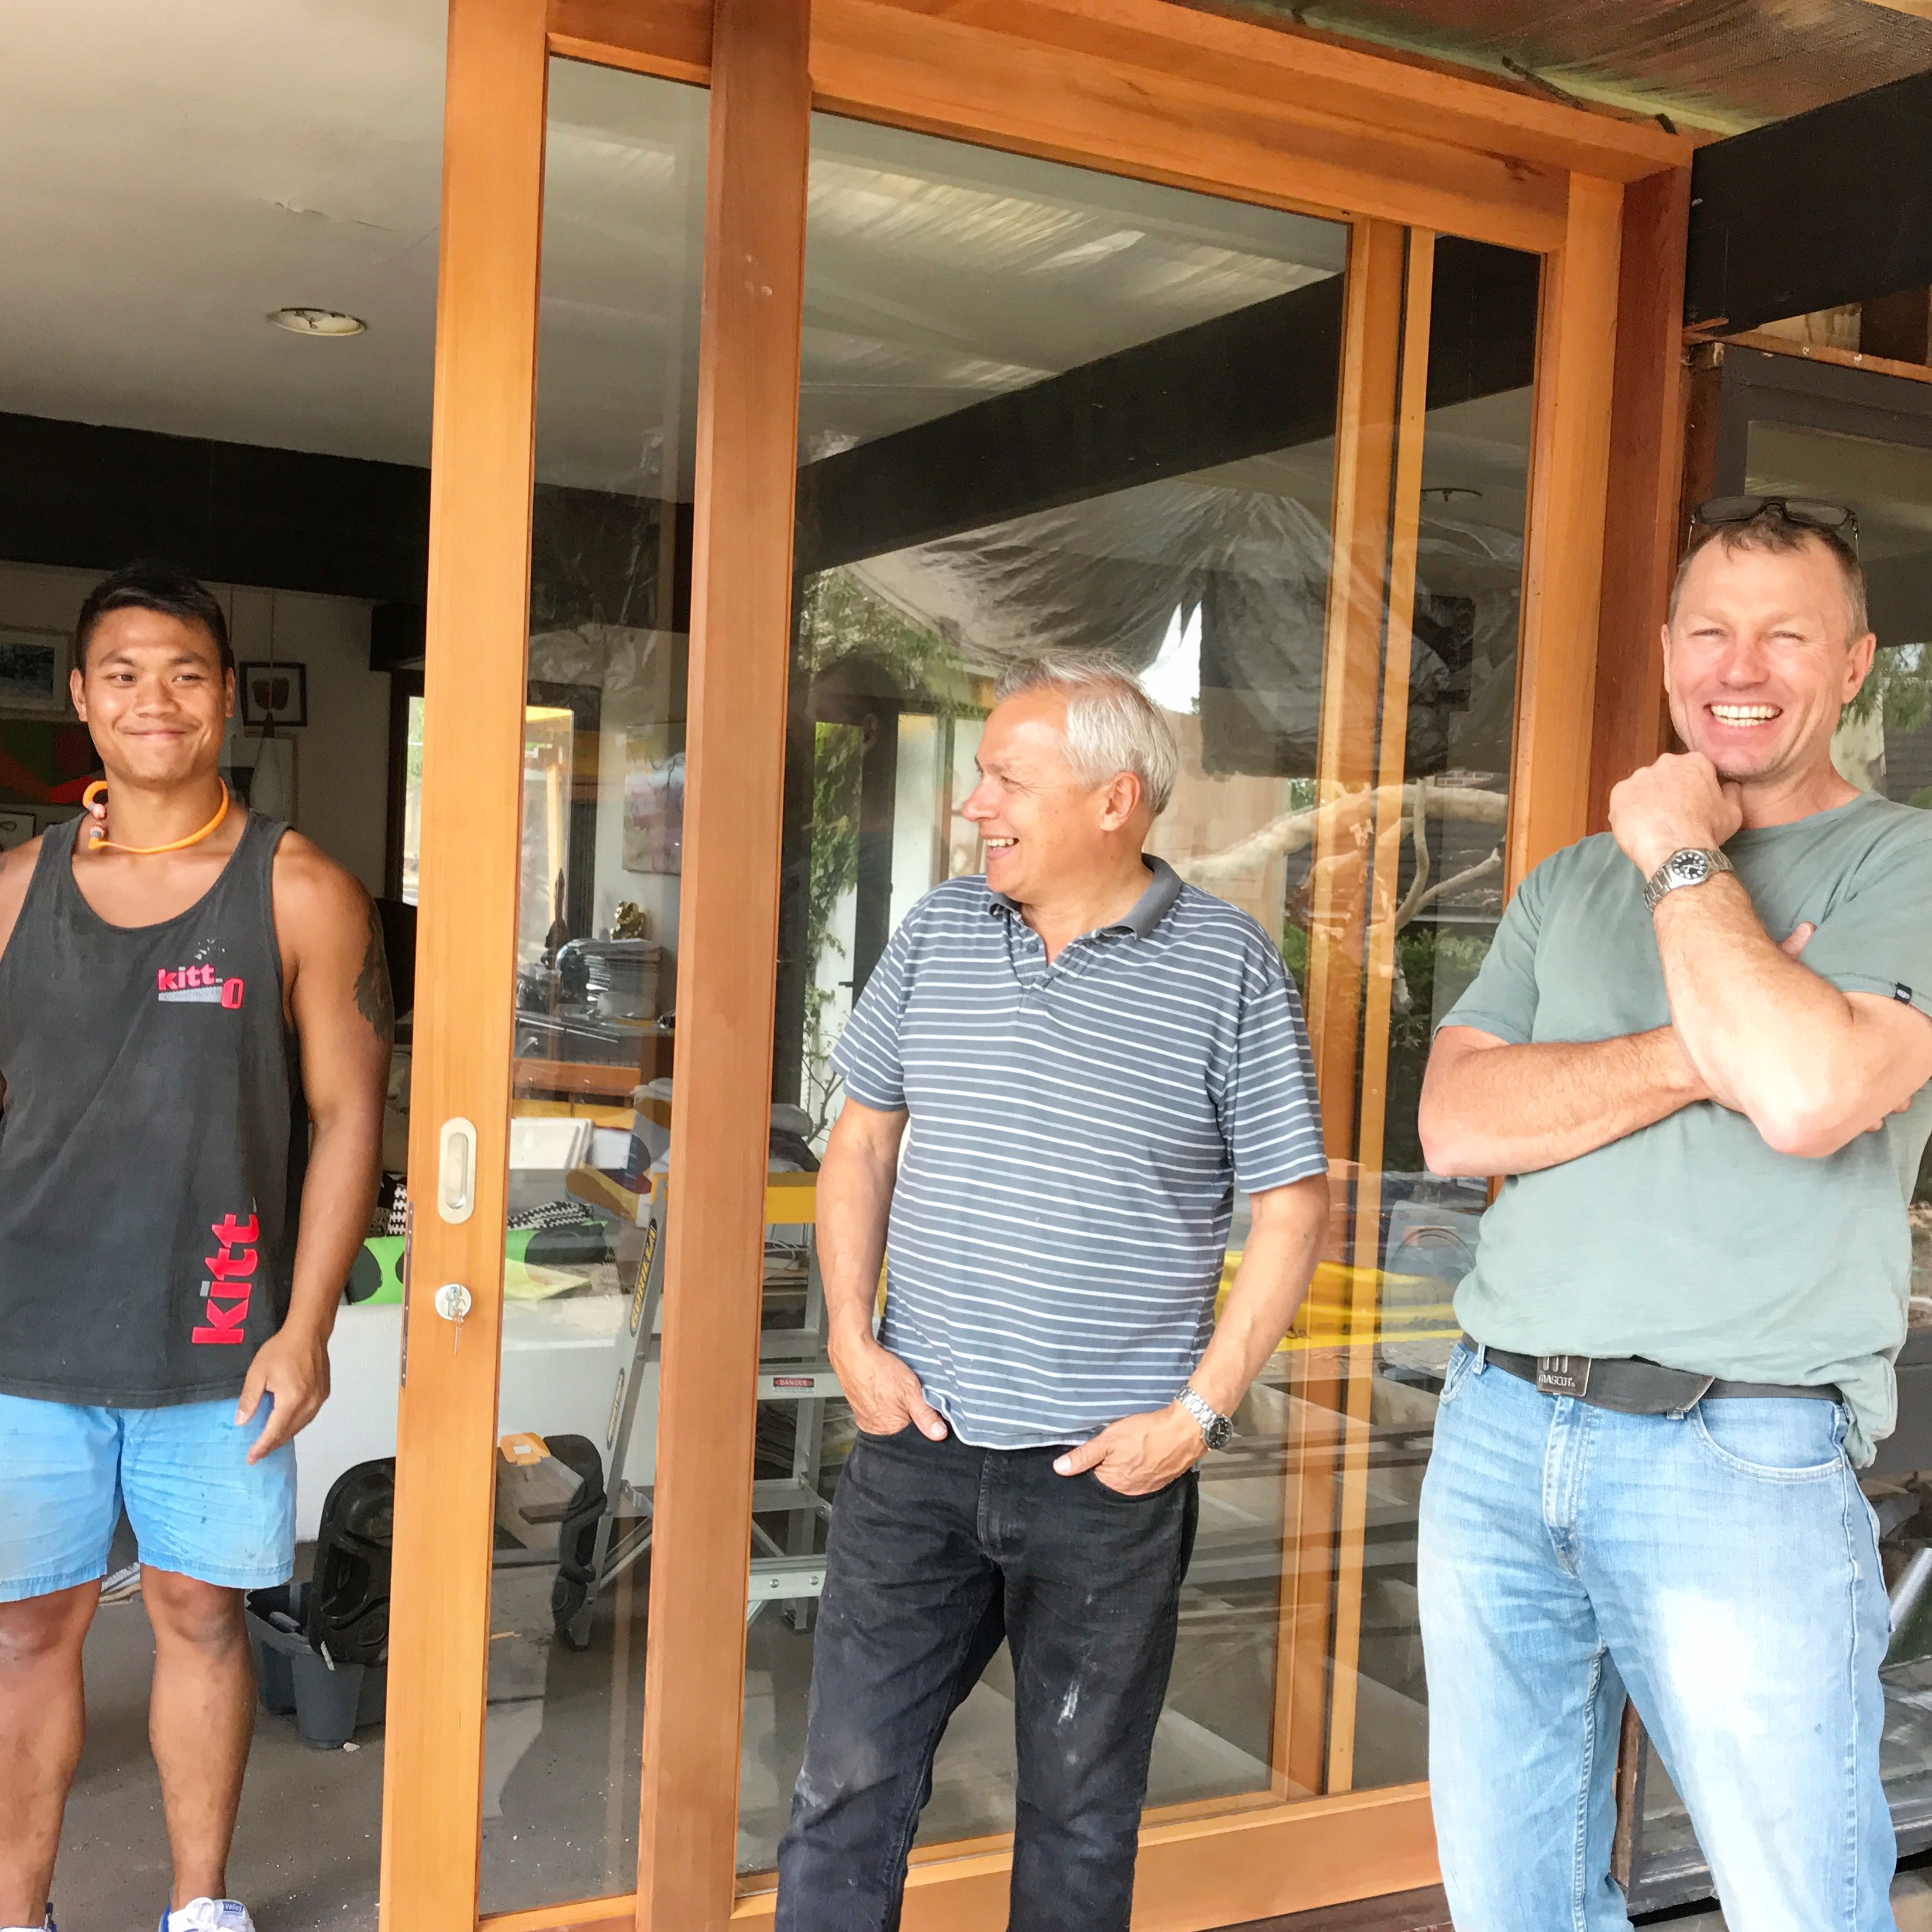 November 2016: Looking pretty happy after installing a replacement sliding door in the old part of the house so that it goes right up to the 2400mm heigh ceilings. Left to right: Kitt our builder, with Alex and Andrew Moar from Moar Windows & Doors. They’re all awesome.
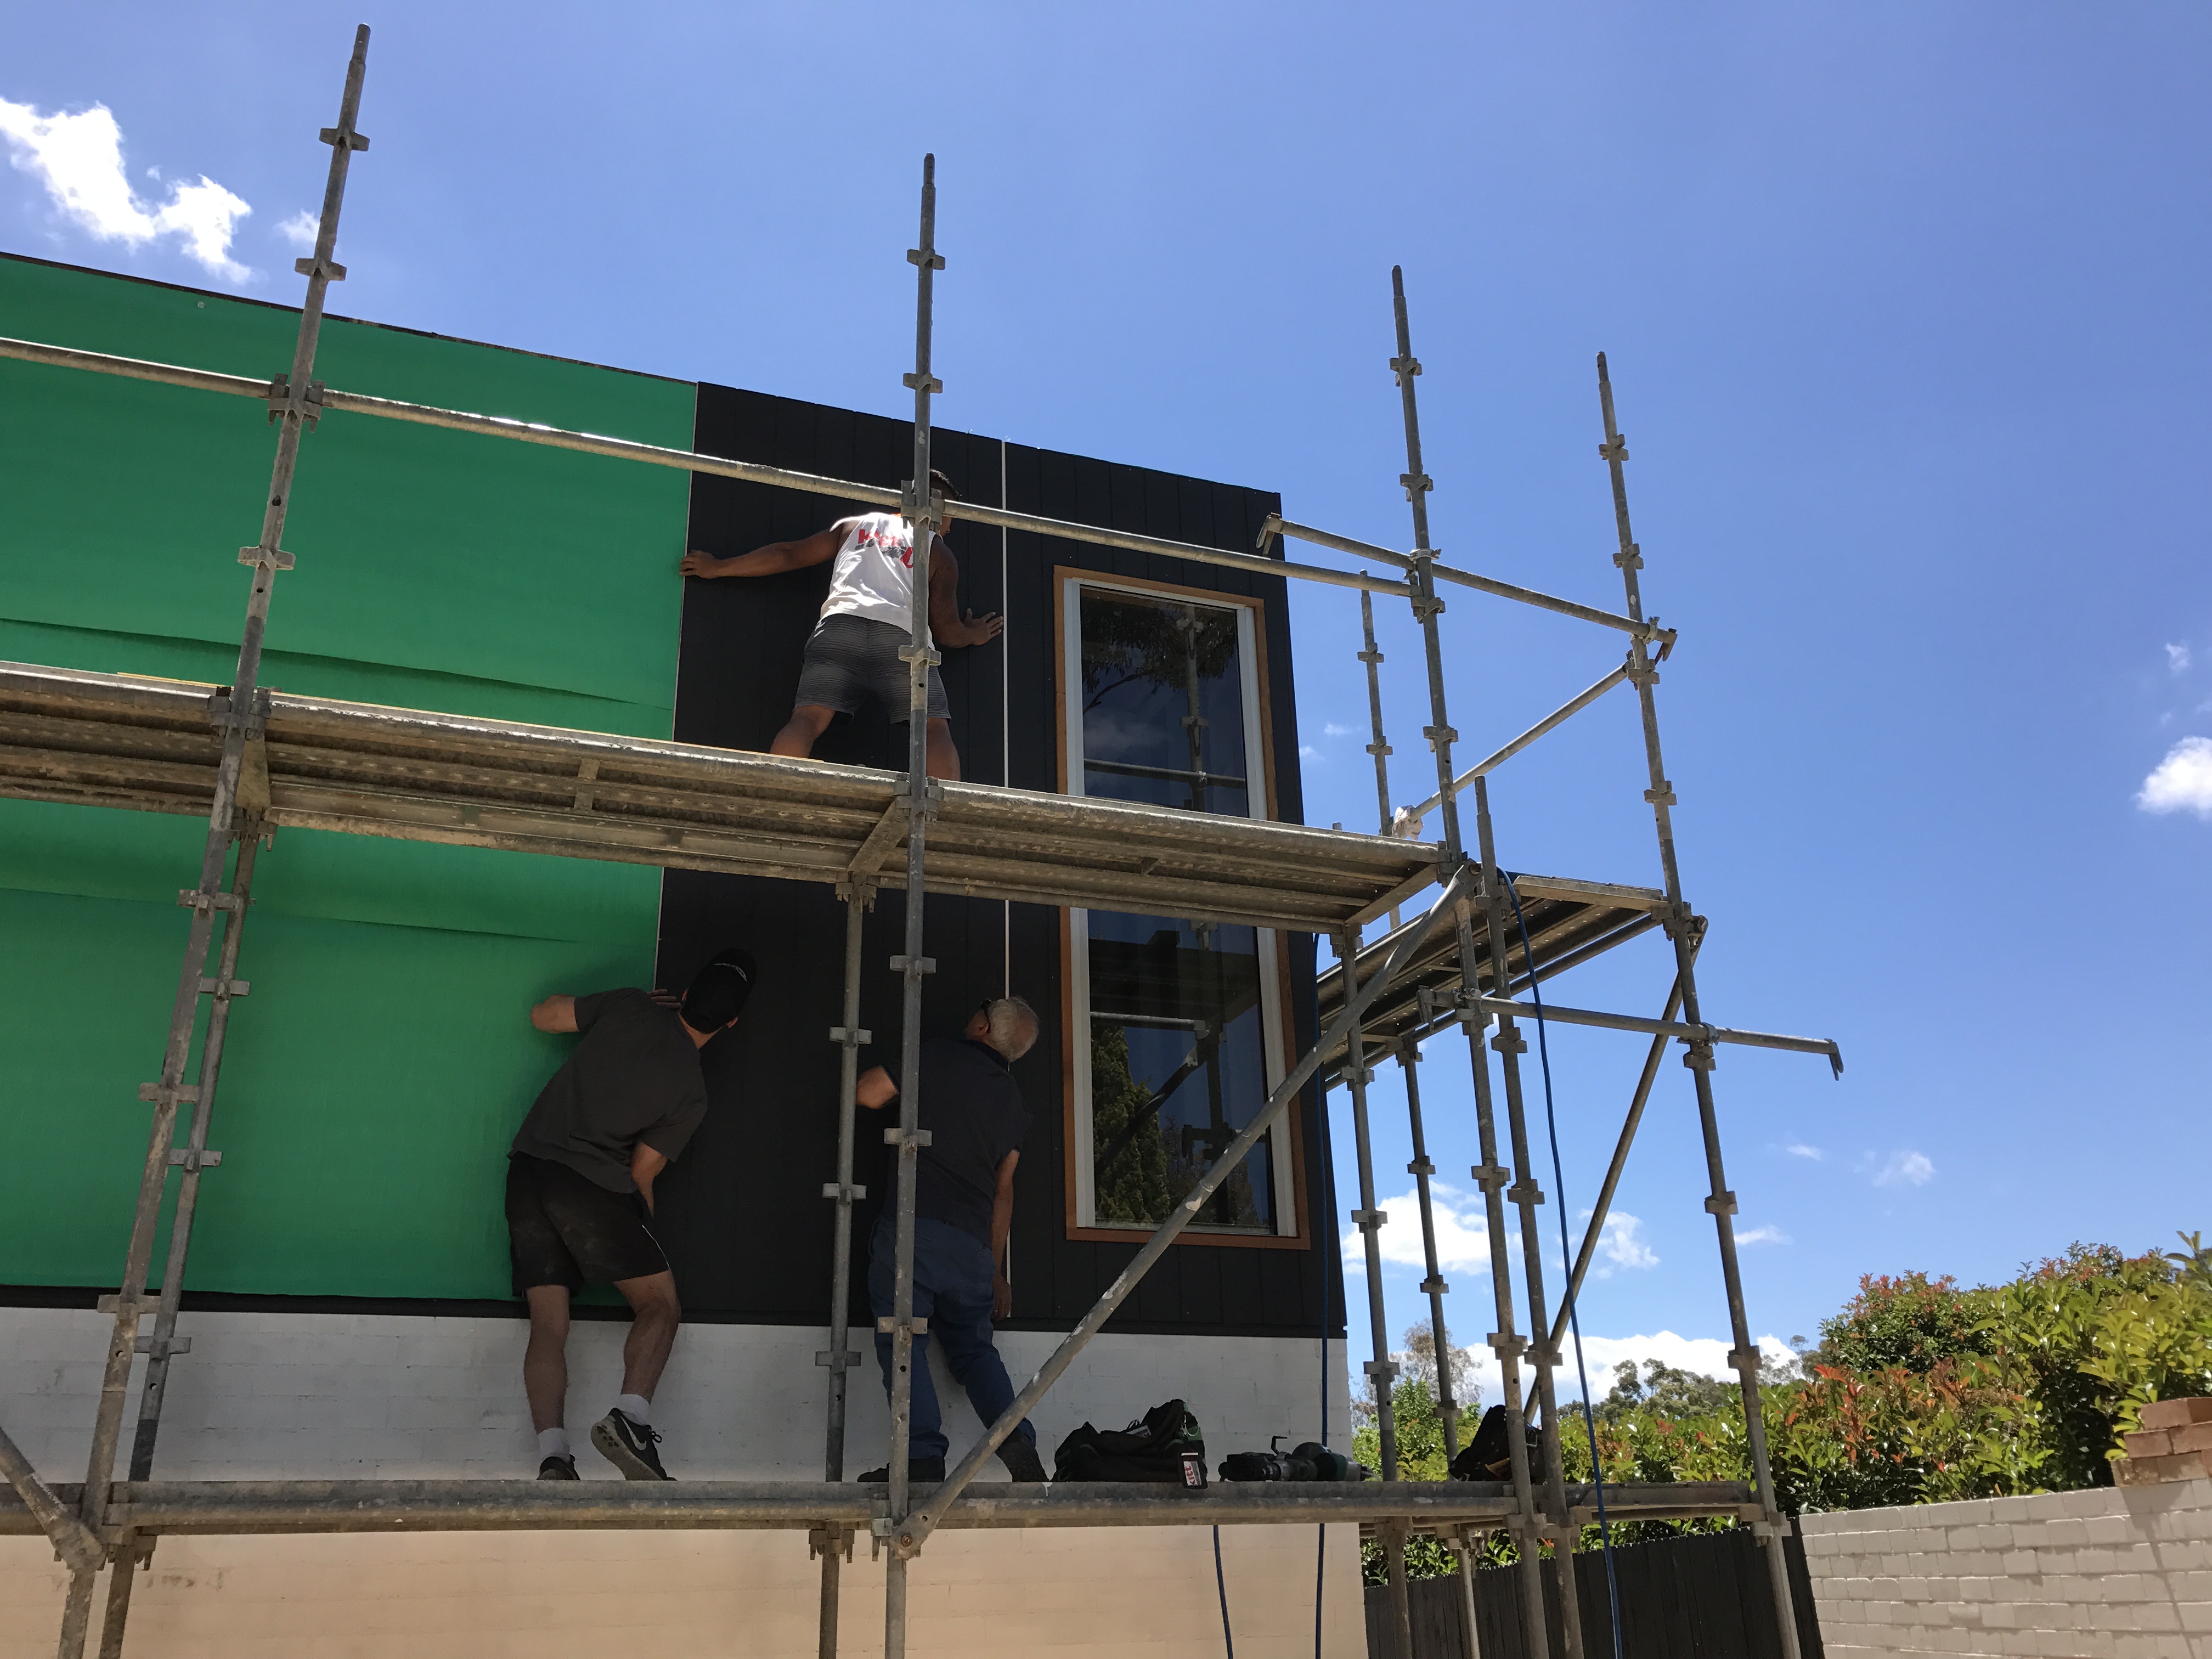 December 2016: As it starts to warm up, the first of our cladding goes up on the living room extension. Hoorah! We pre-painted this batch but will need to paint the final coat/s.
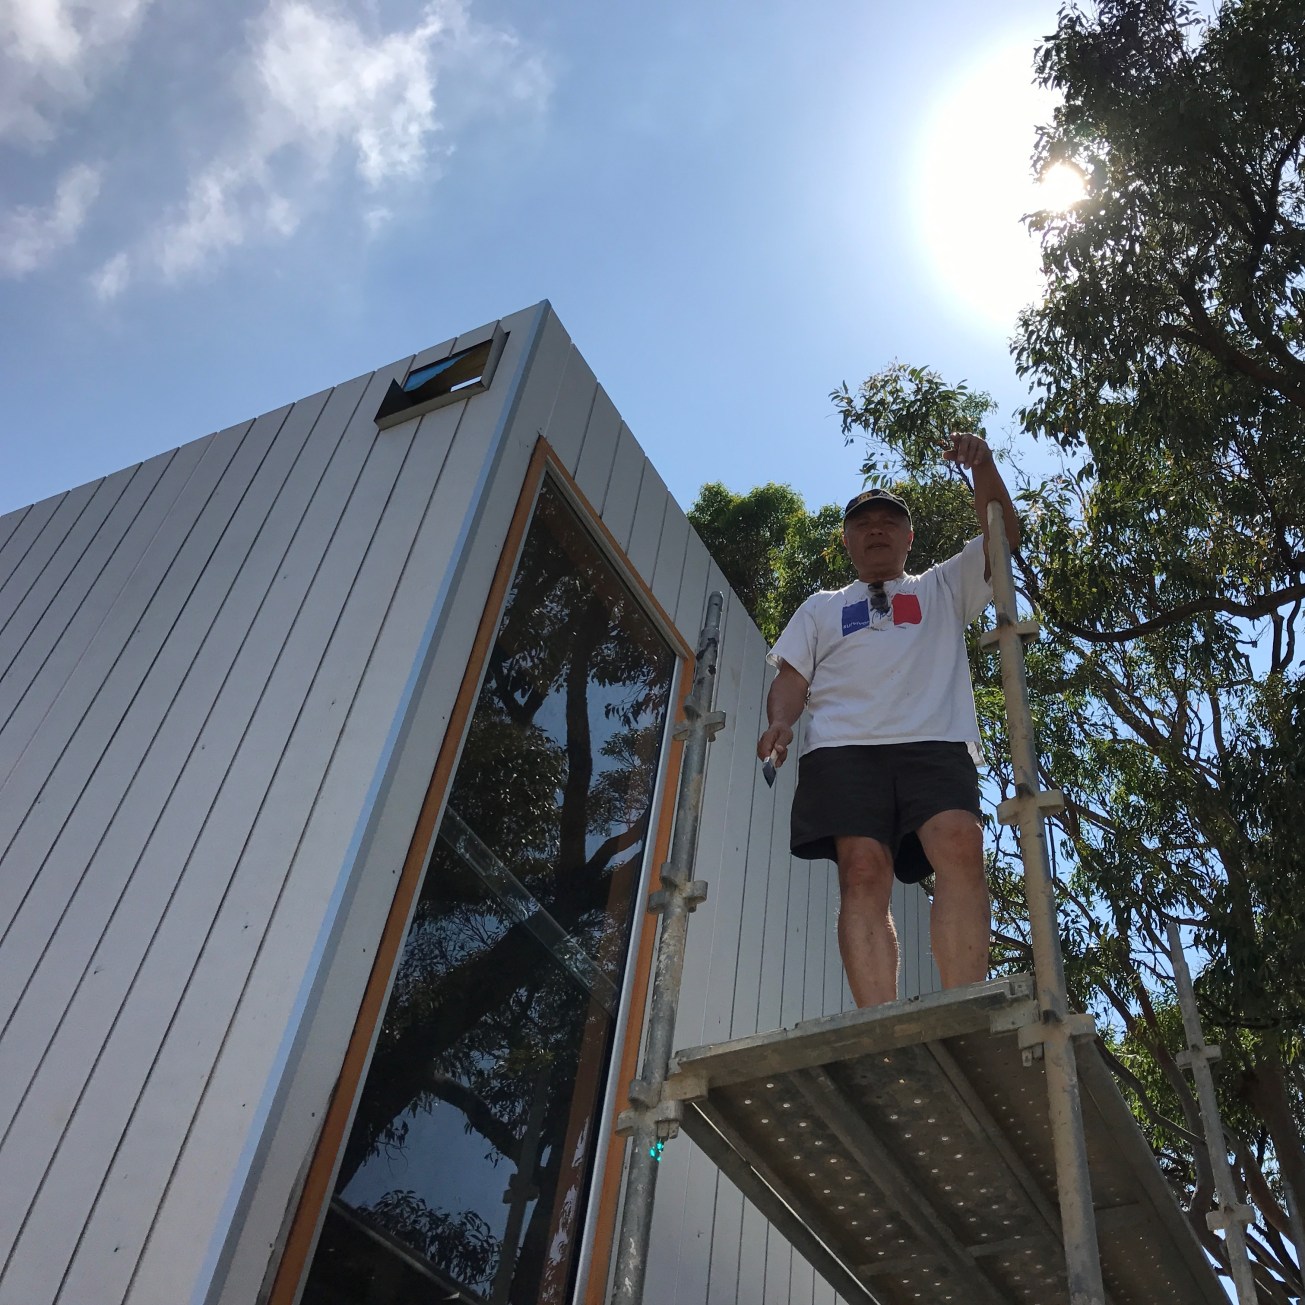
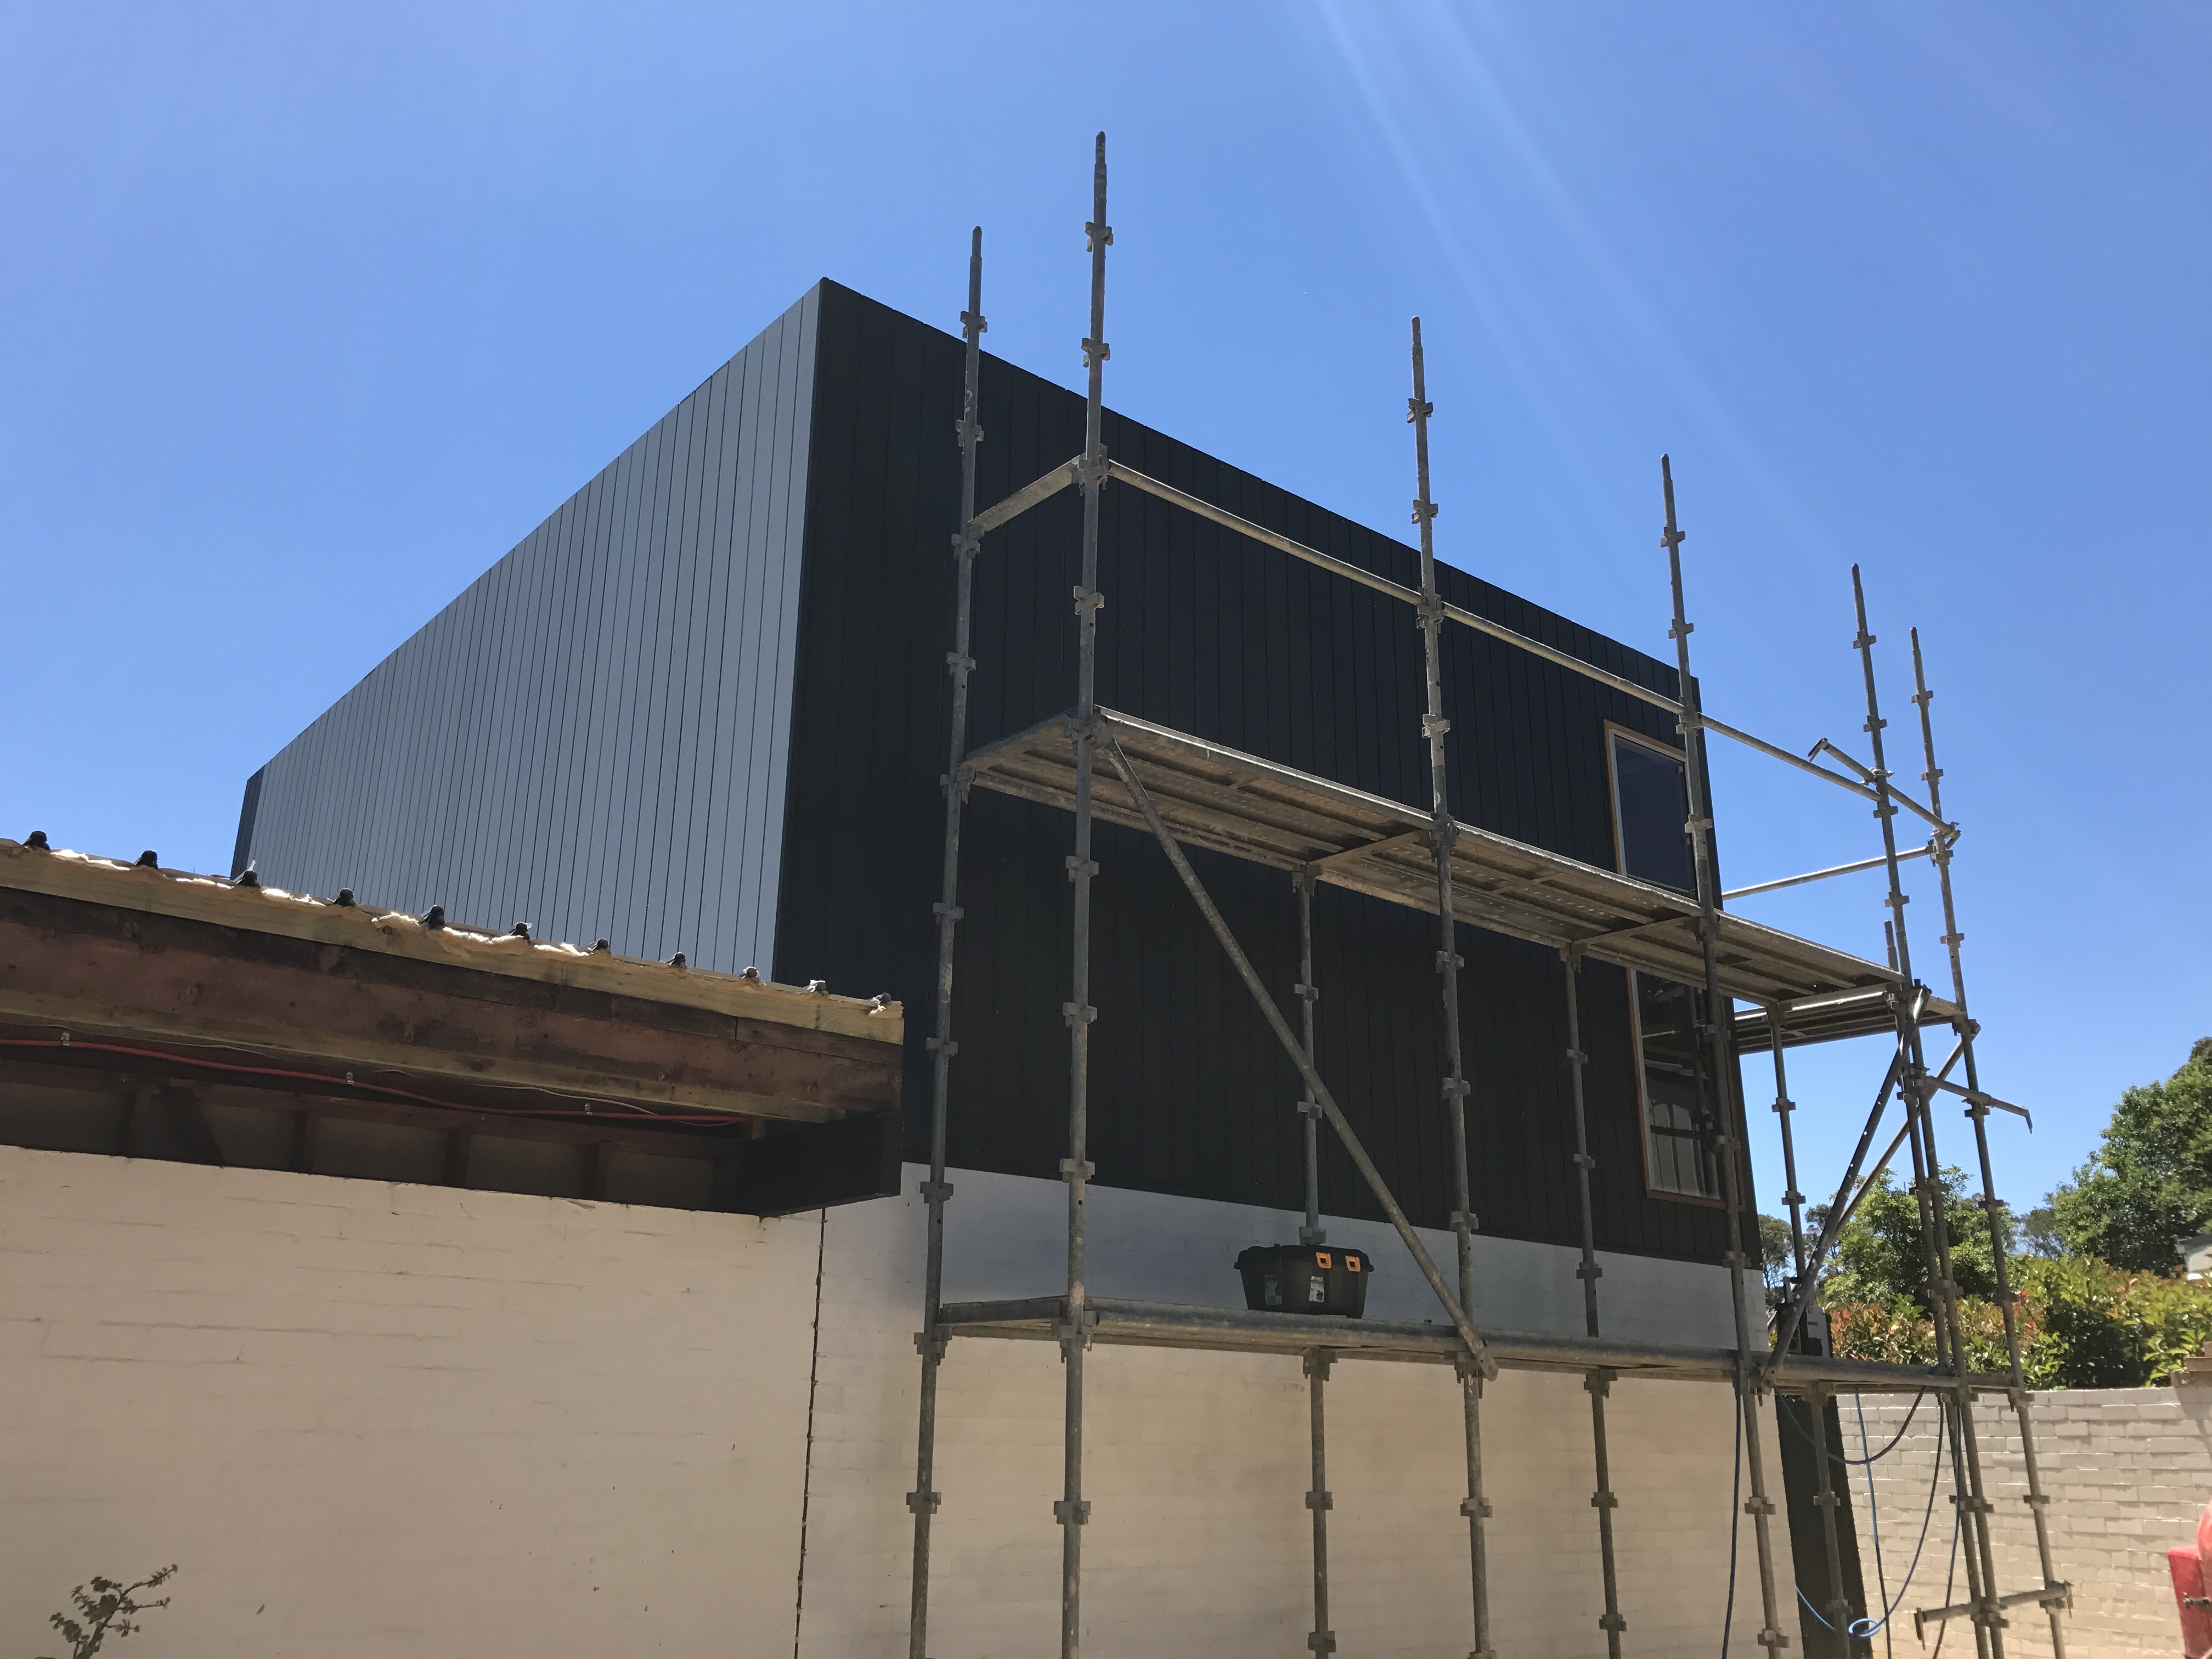 December 2016: As it starts to warm up, the first of our cladding goes up on the living room extension. Hoorah! We’ve even managed to paint. Much debate over black or Monument ensued before Monument was agreed. It matches the new roofing, gutters and capping. And the fascia on the old part of the house will match eventually too. The lower brick wall has been primed.
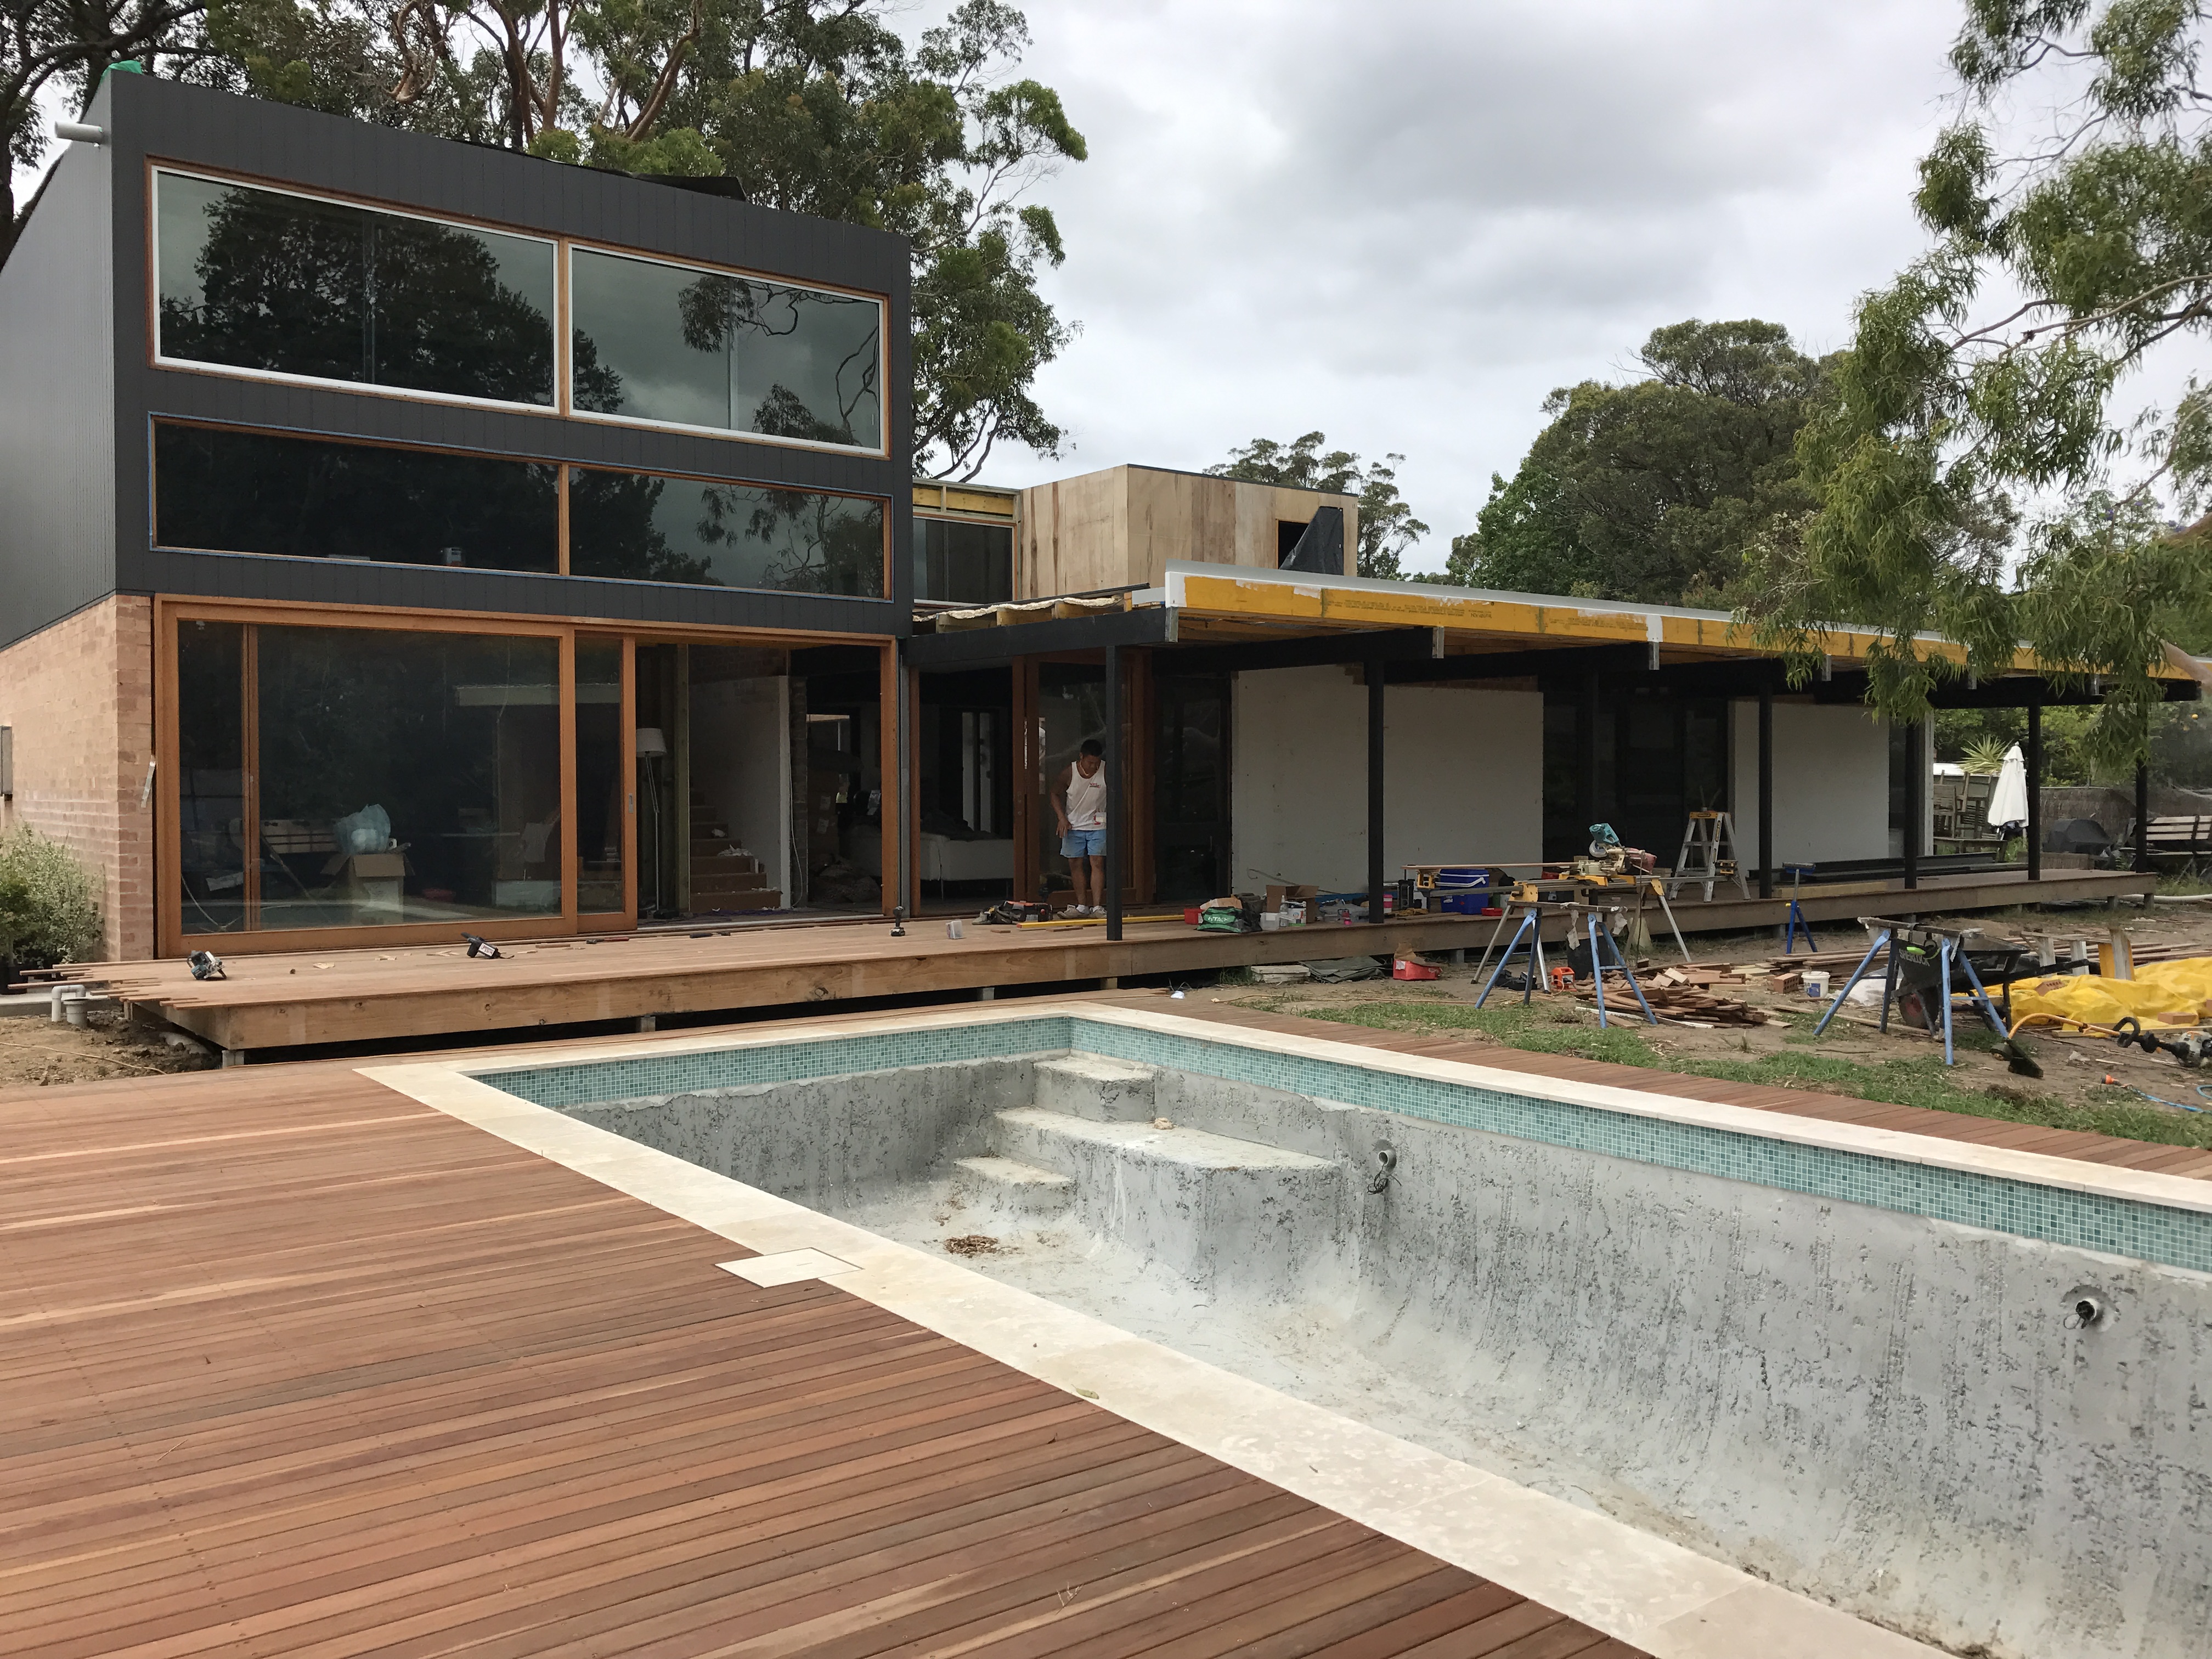 December 2016: These days, pools can’t be filled until glass fencing is completed and certified. We took on an extra carpenter called Matt and together with Kitt, some labourers and Alex…they have done an extraordinarily precise job of beautiful decking around the pool. The eaves have also been extended along the old house as planned and we hope to resolve the cover over the new extension volume. We like it open but it is a very hot northerly aspect. Thankfully it is all Low E Glass. After the glass pool fencing, the pool will be lined with a fine screed pebble in Arctic White so that the water will be truly blue, and then set. Filling the pool will help harden the surface. We decided against mosaic through out because those tiles are beautiful ….but are expensive enough to feed a small African nation. We felt we didn’t need it. Read more about the pool in the pool blog post.
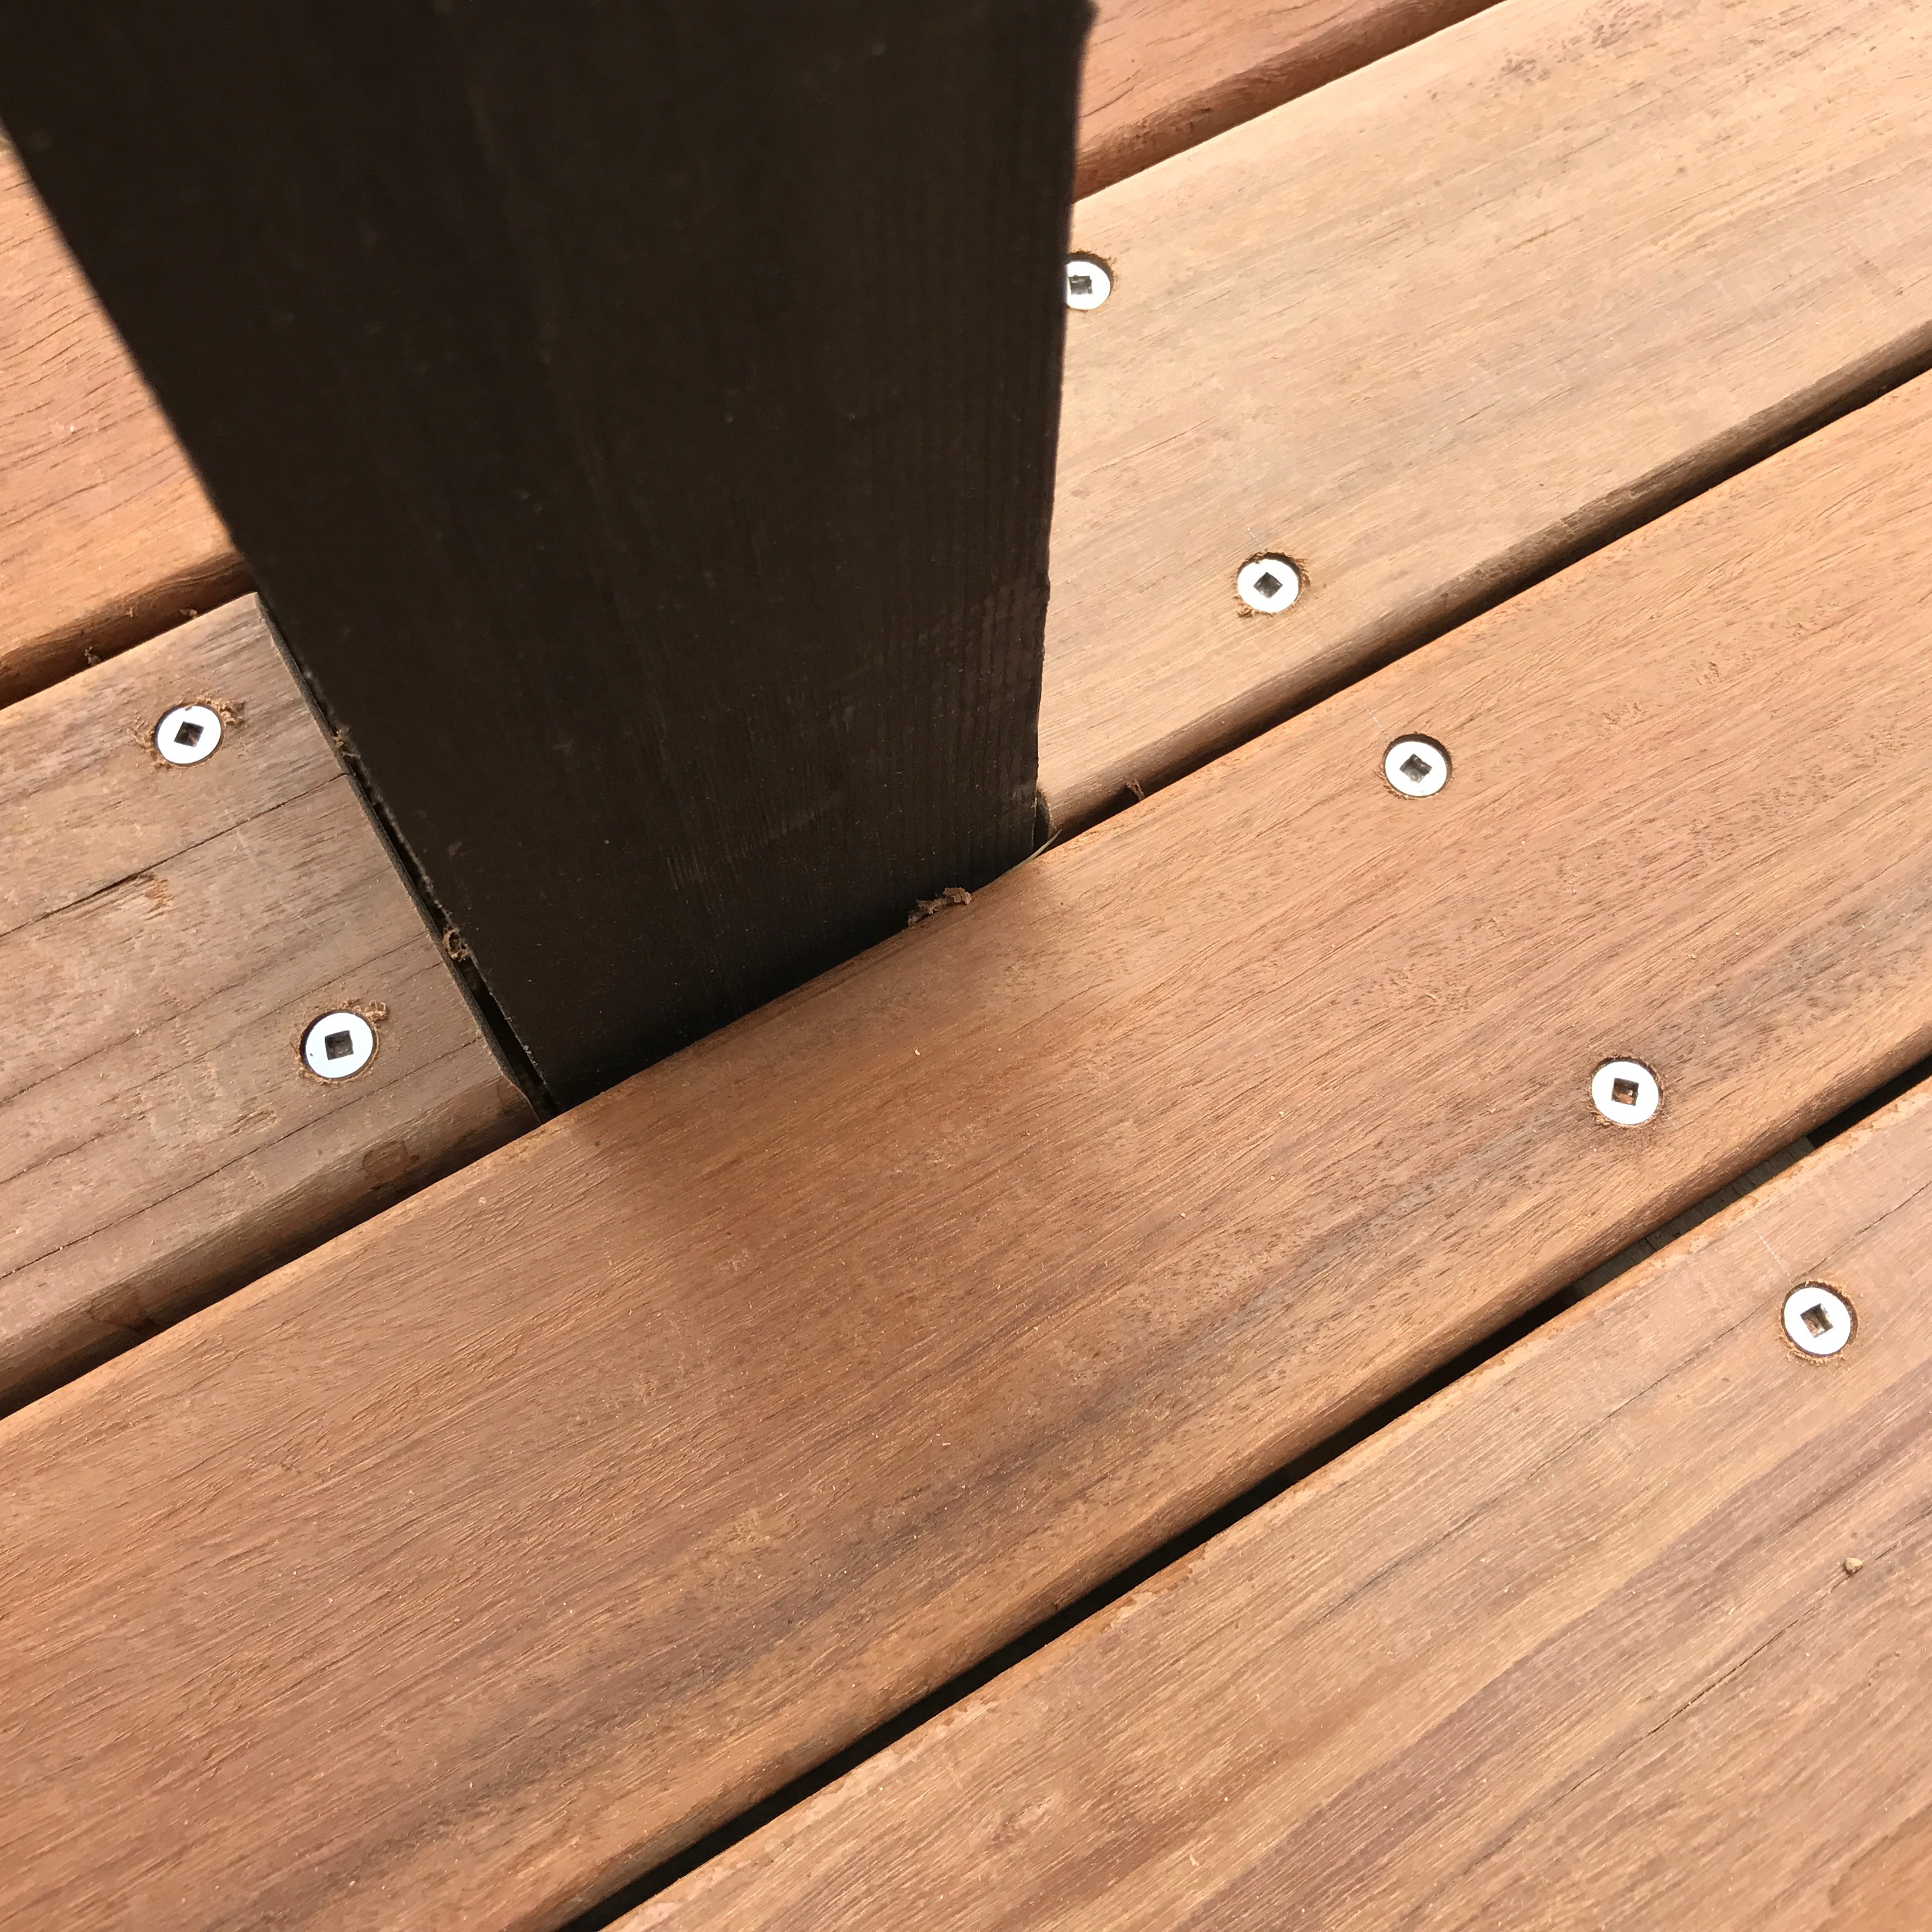 December 2016: Decking and post detail. We chose Iron Bark for its hardness, strength, and durability around water. And the great price we were able to obtain. In all our decking has required around 3000 stainless steel screws.
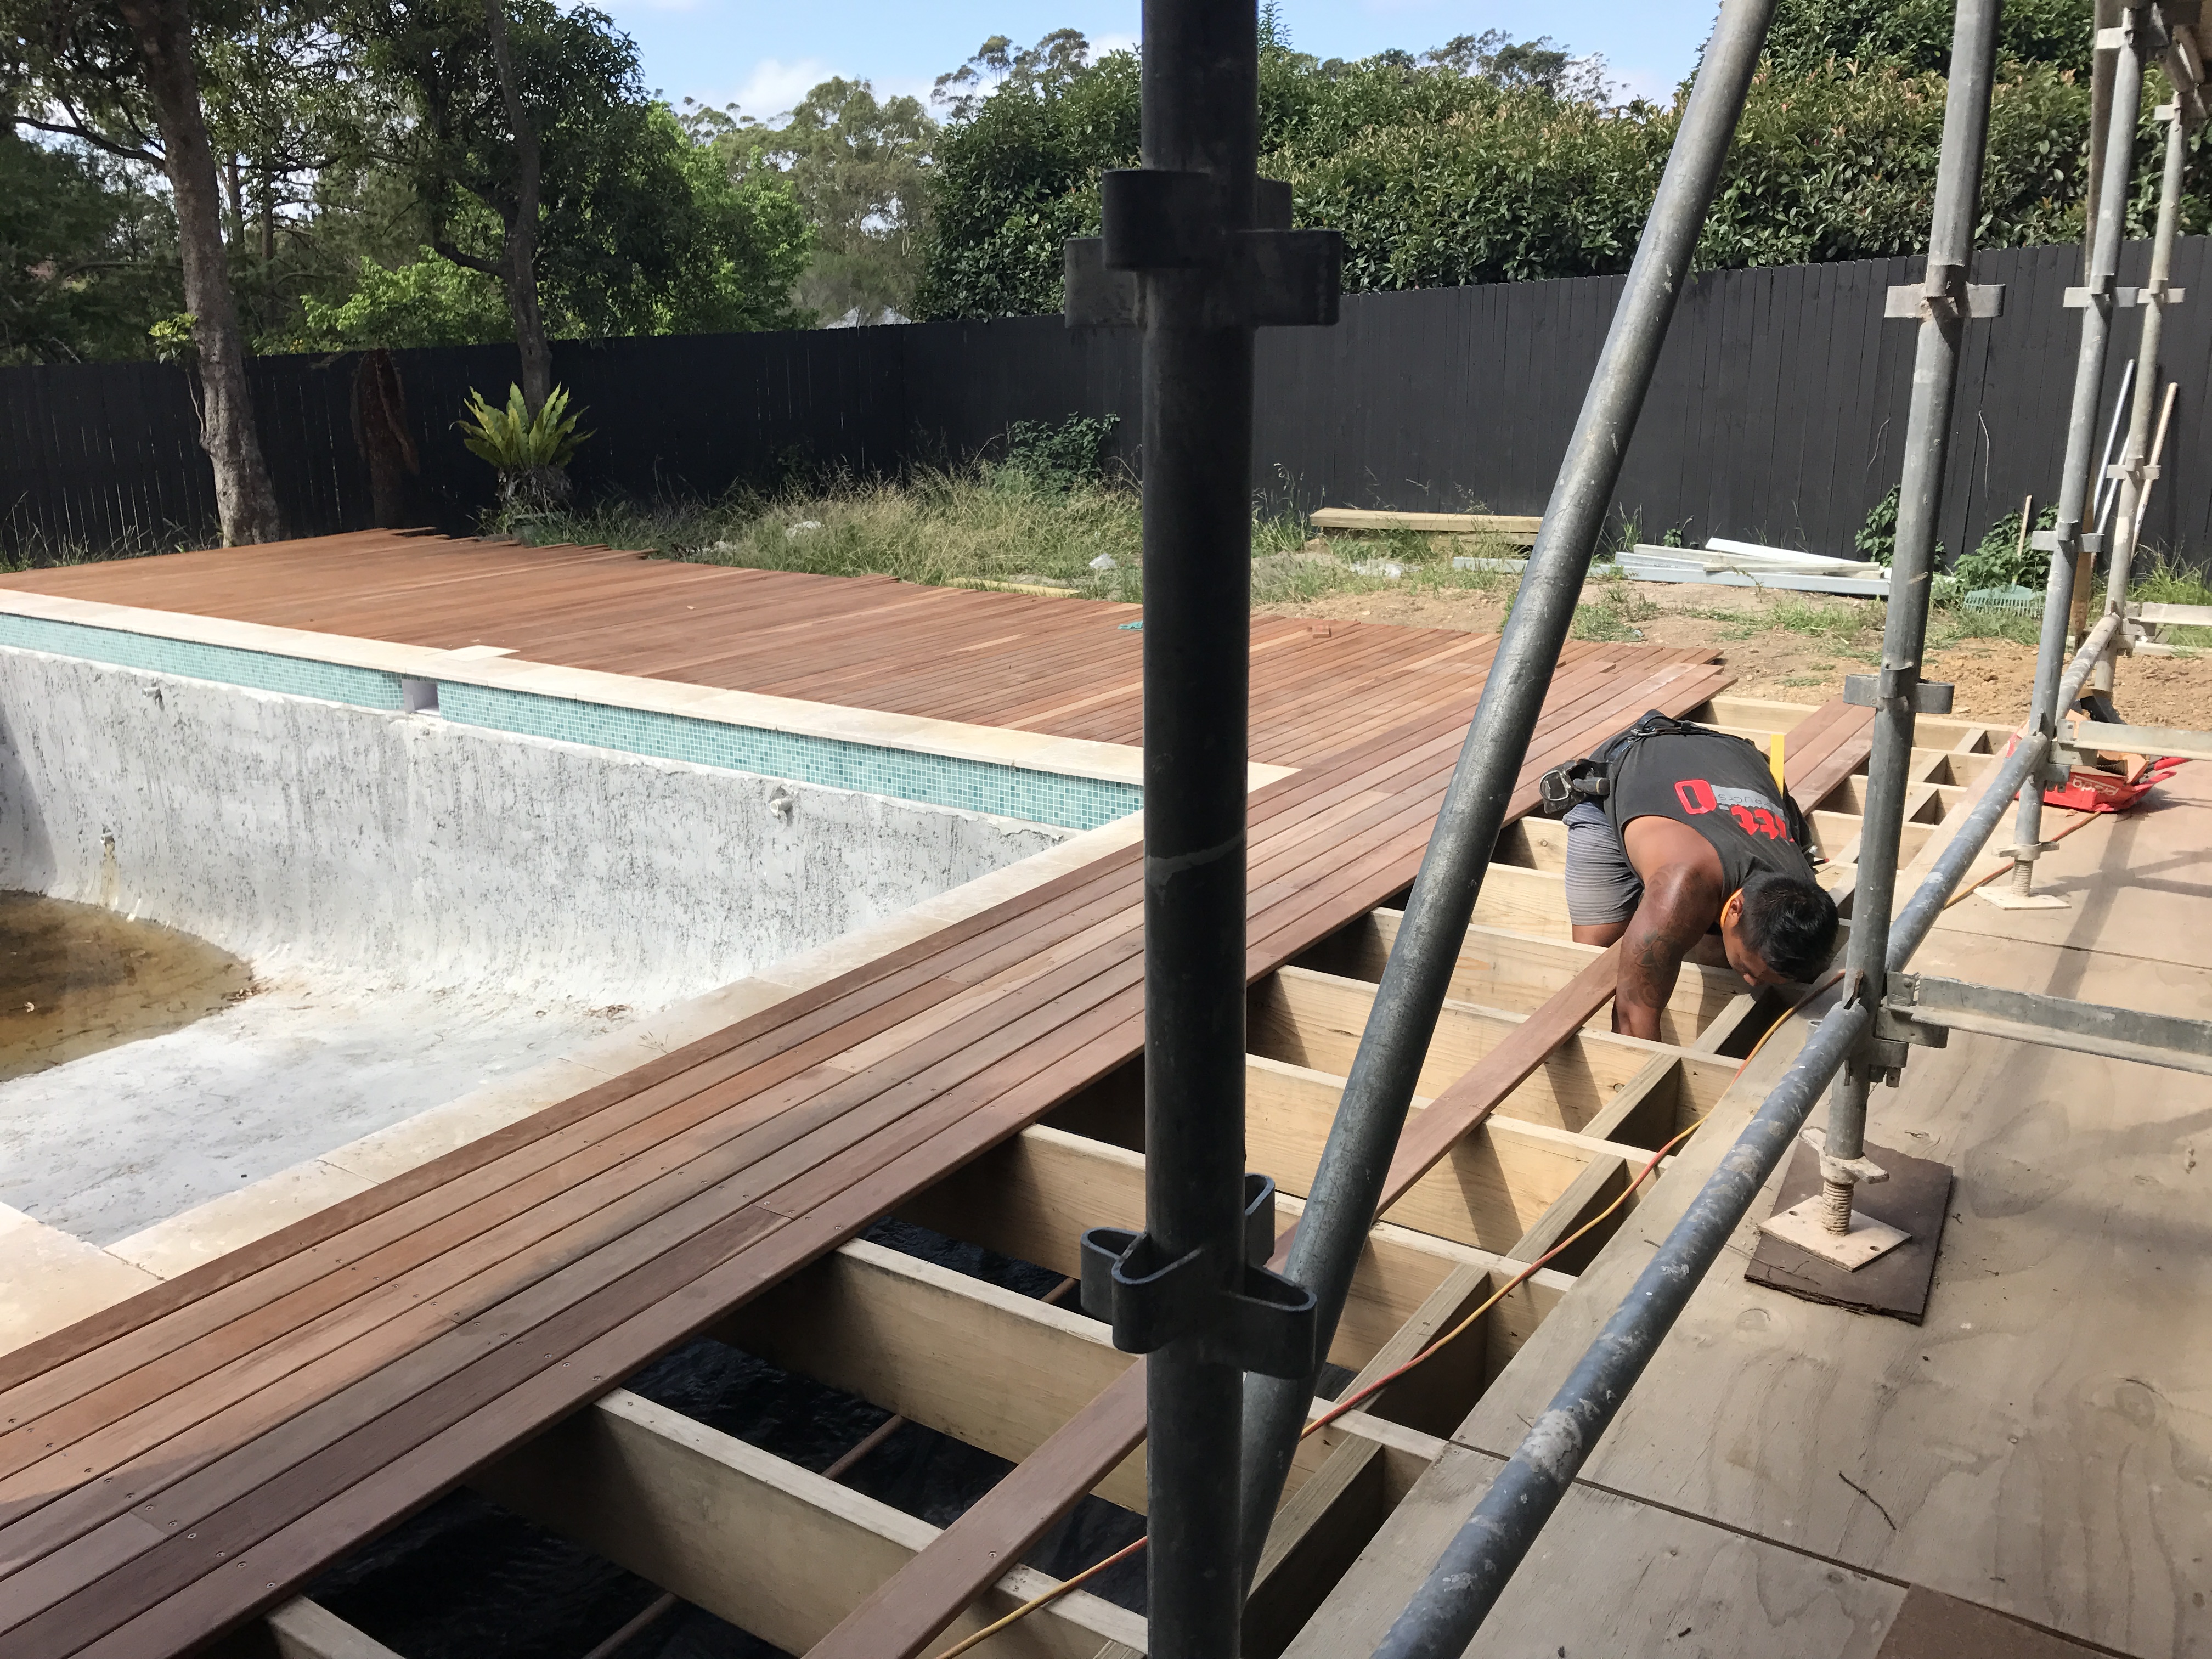 December 2016: While decking was happening so was painting (by us!). Then the scaffold was removed so that decking could continue. Weed mat is laid beneath the decking.
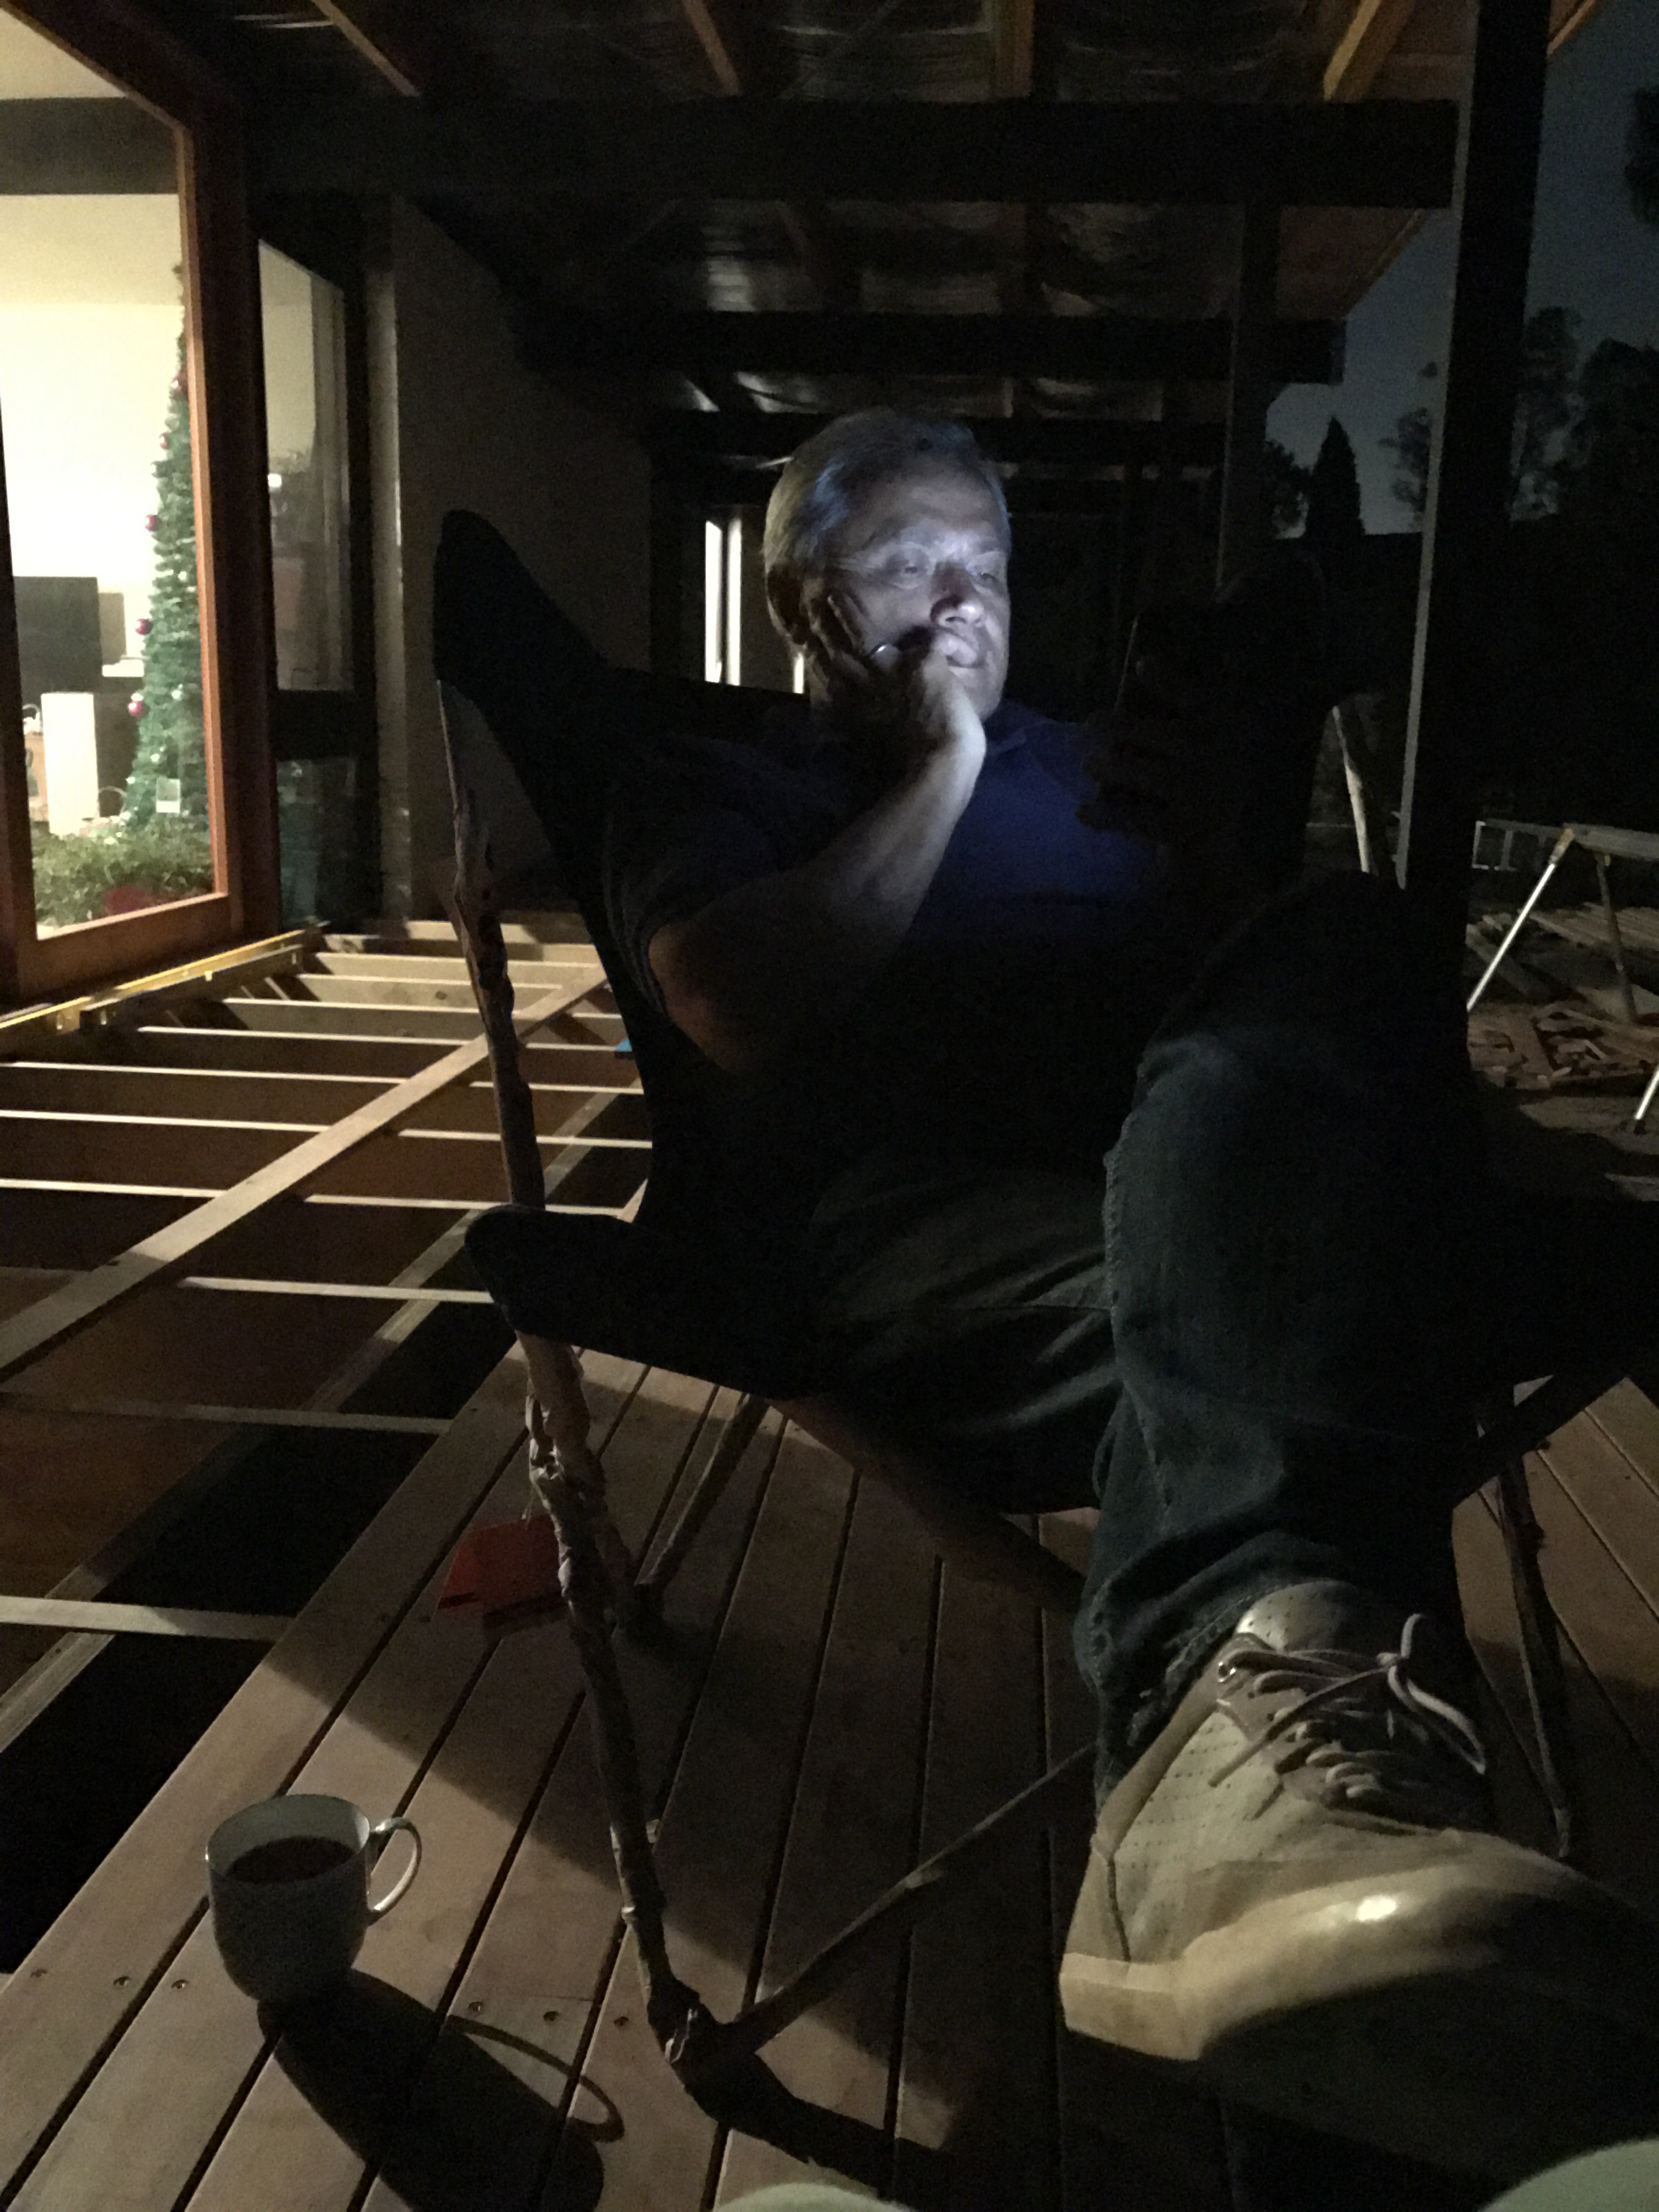 December 2016: Time to savour a cup of tea on the deck on a balmy night. This was a nice night.
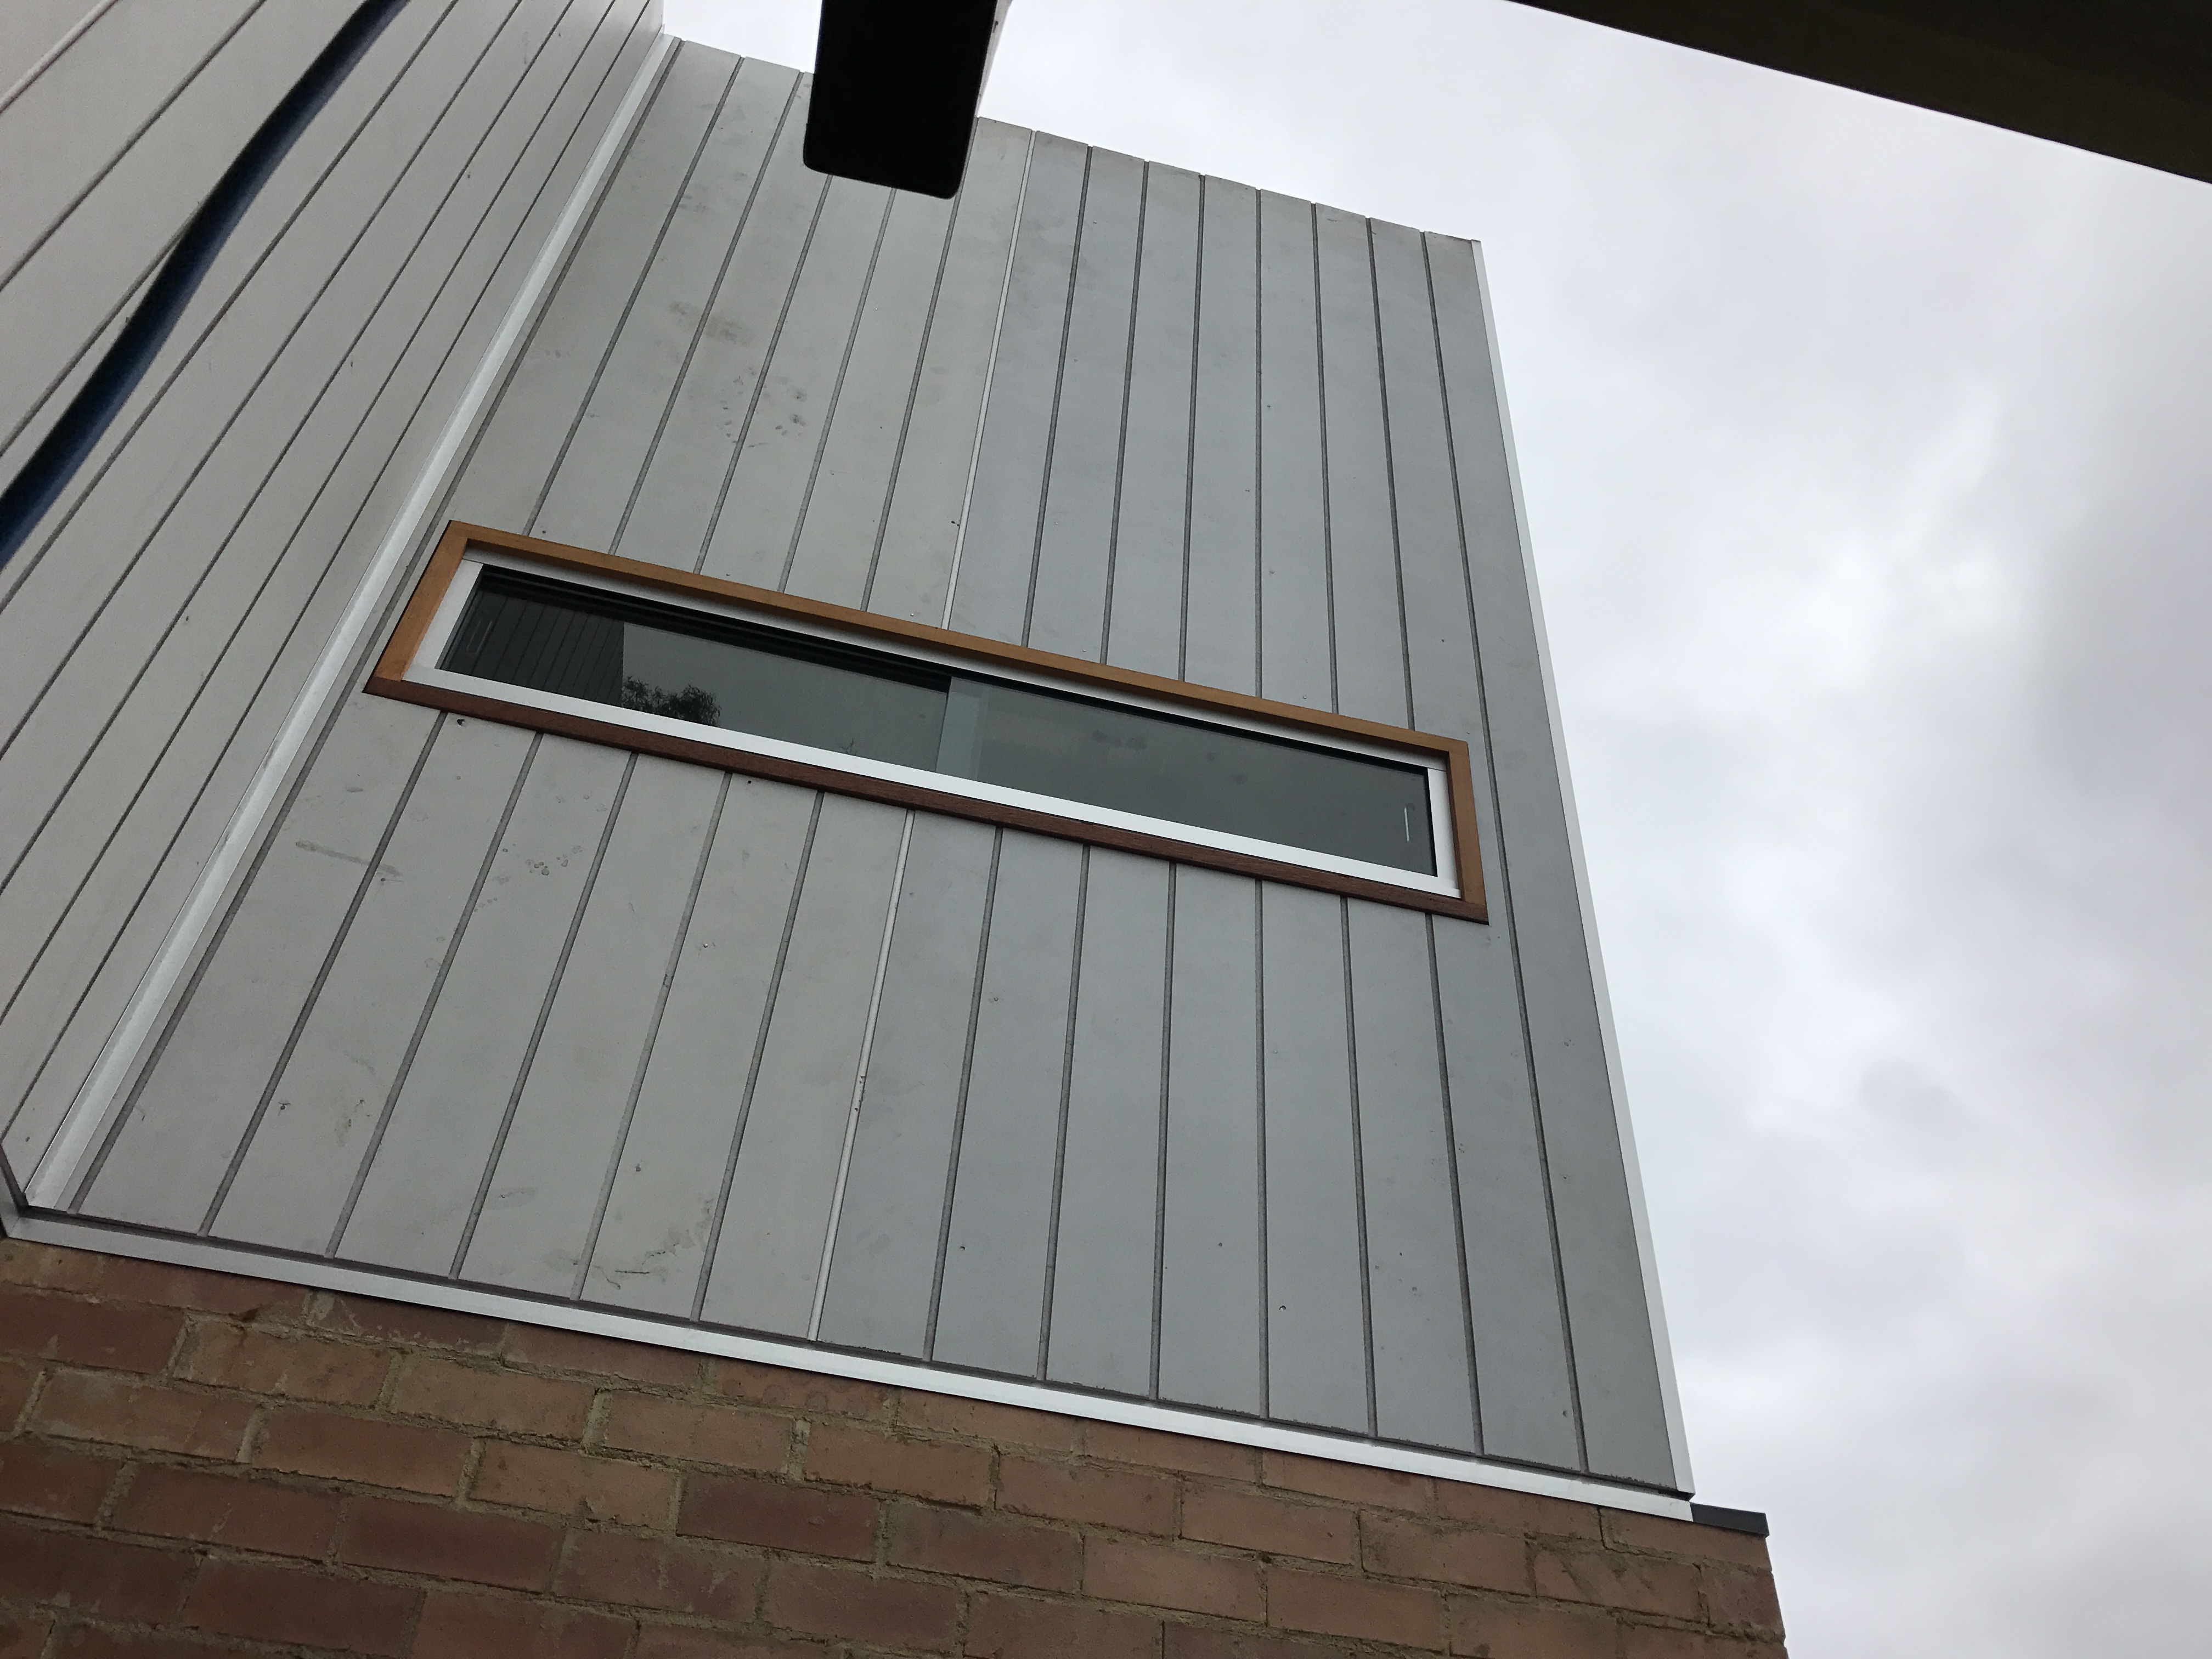 January 2017: The team have managed to clad the master bedroom extension, this is the peak-a-boo window from the bathroom (and bathtub). The cladding shown is pre-primed and will be painted in Monument, the brick below will be white.